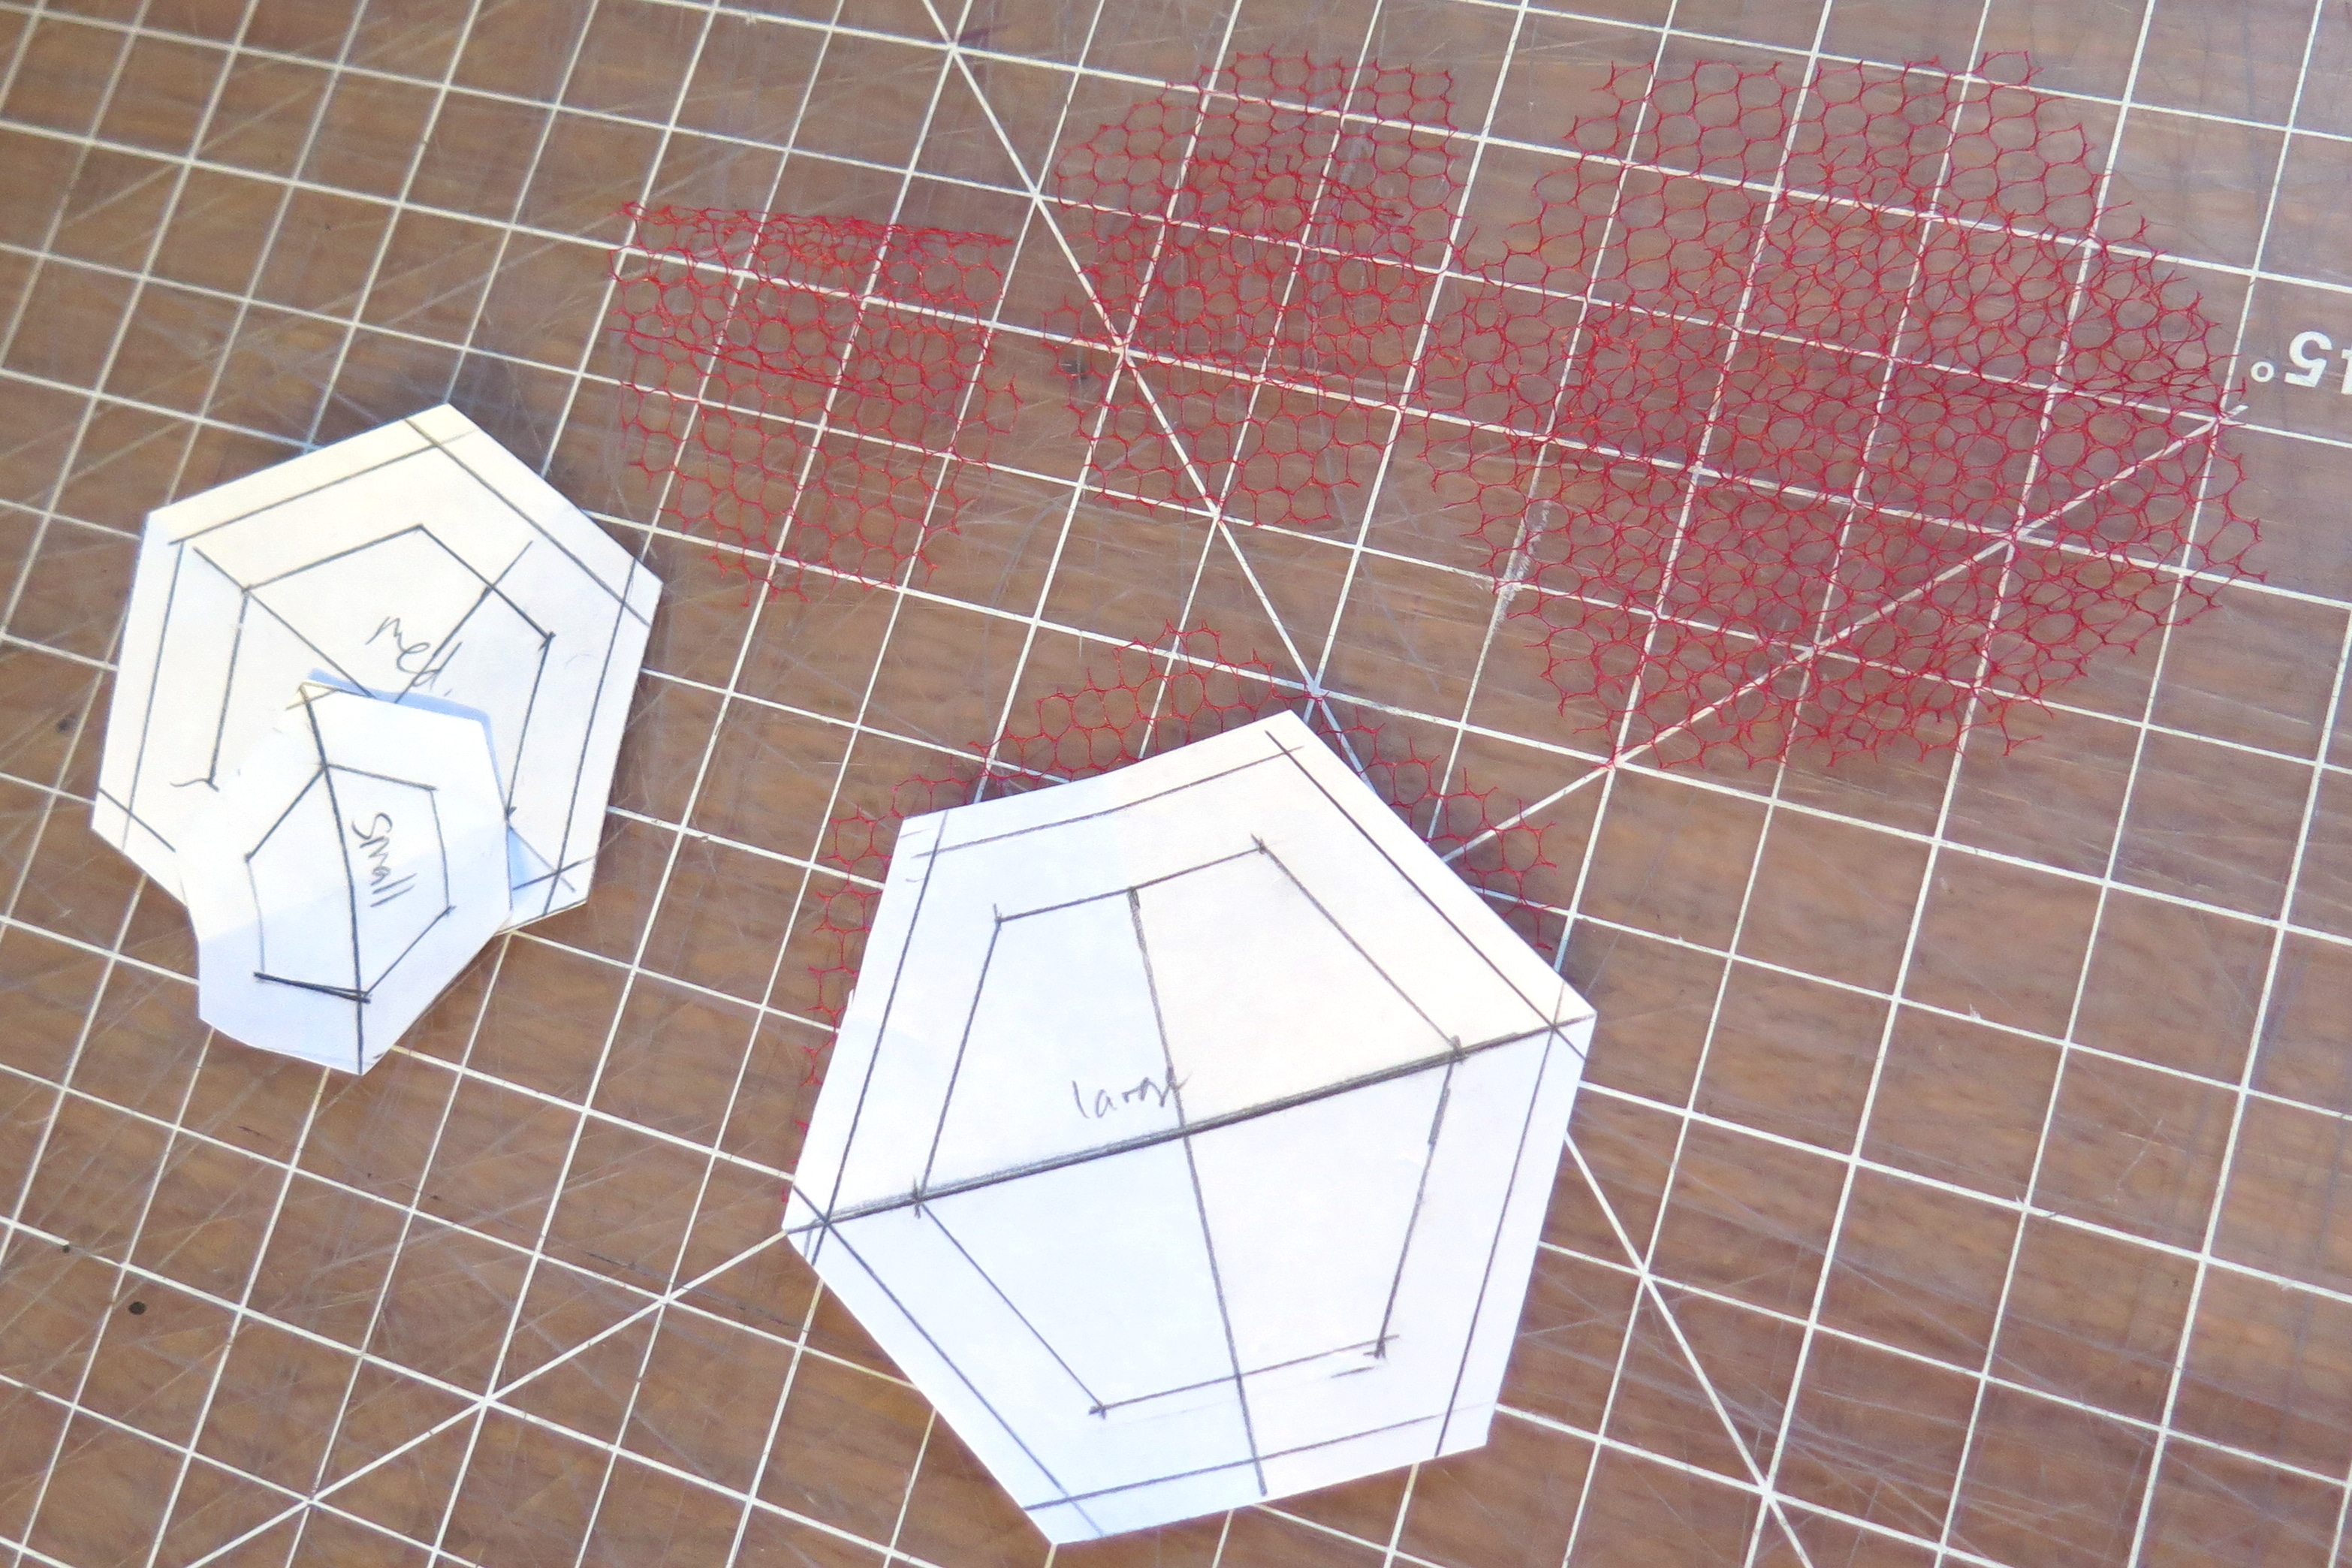
Step 1. Cut Conductive Fabric
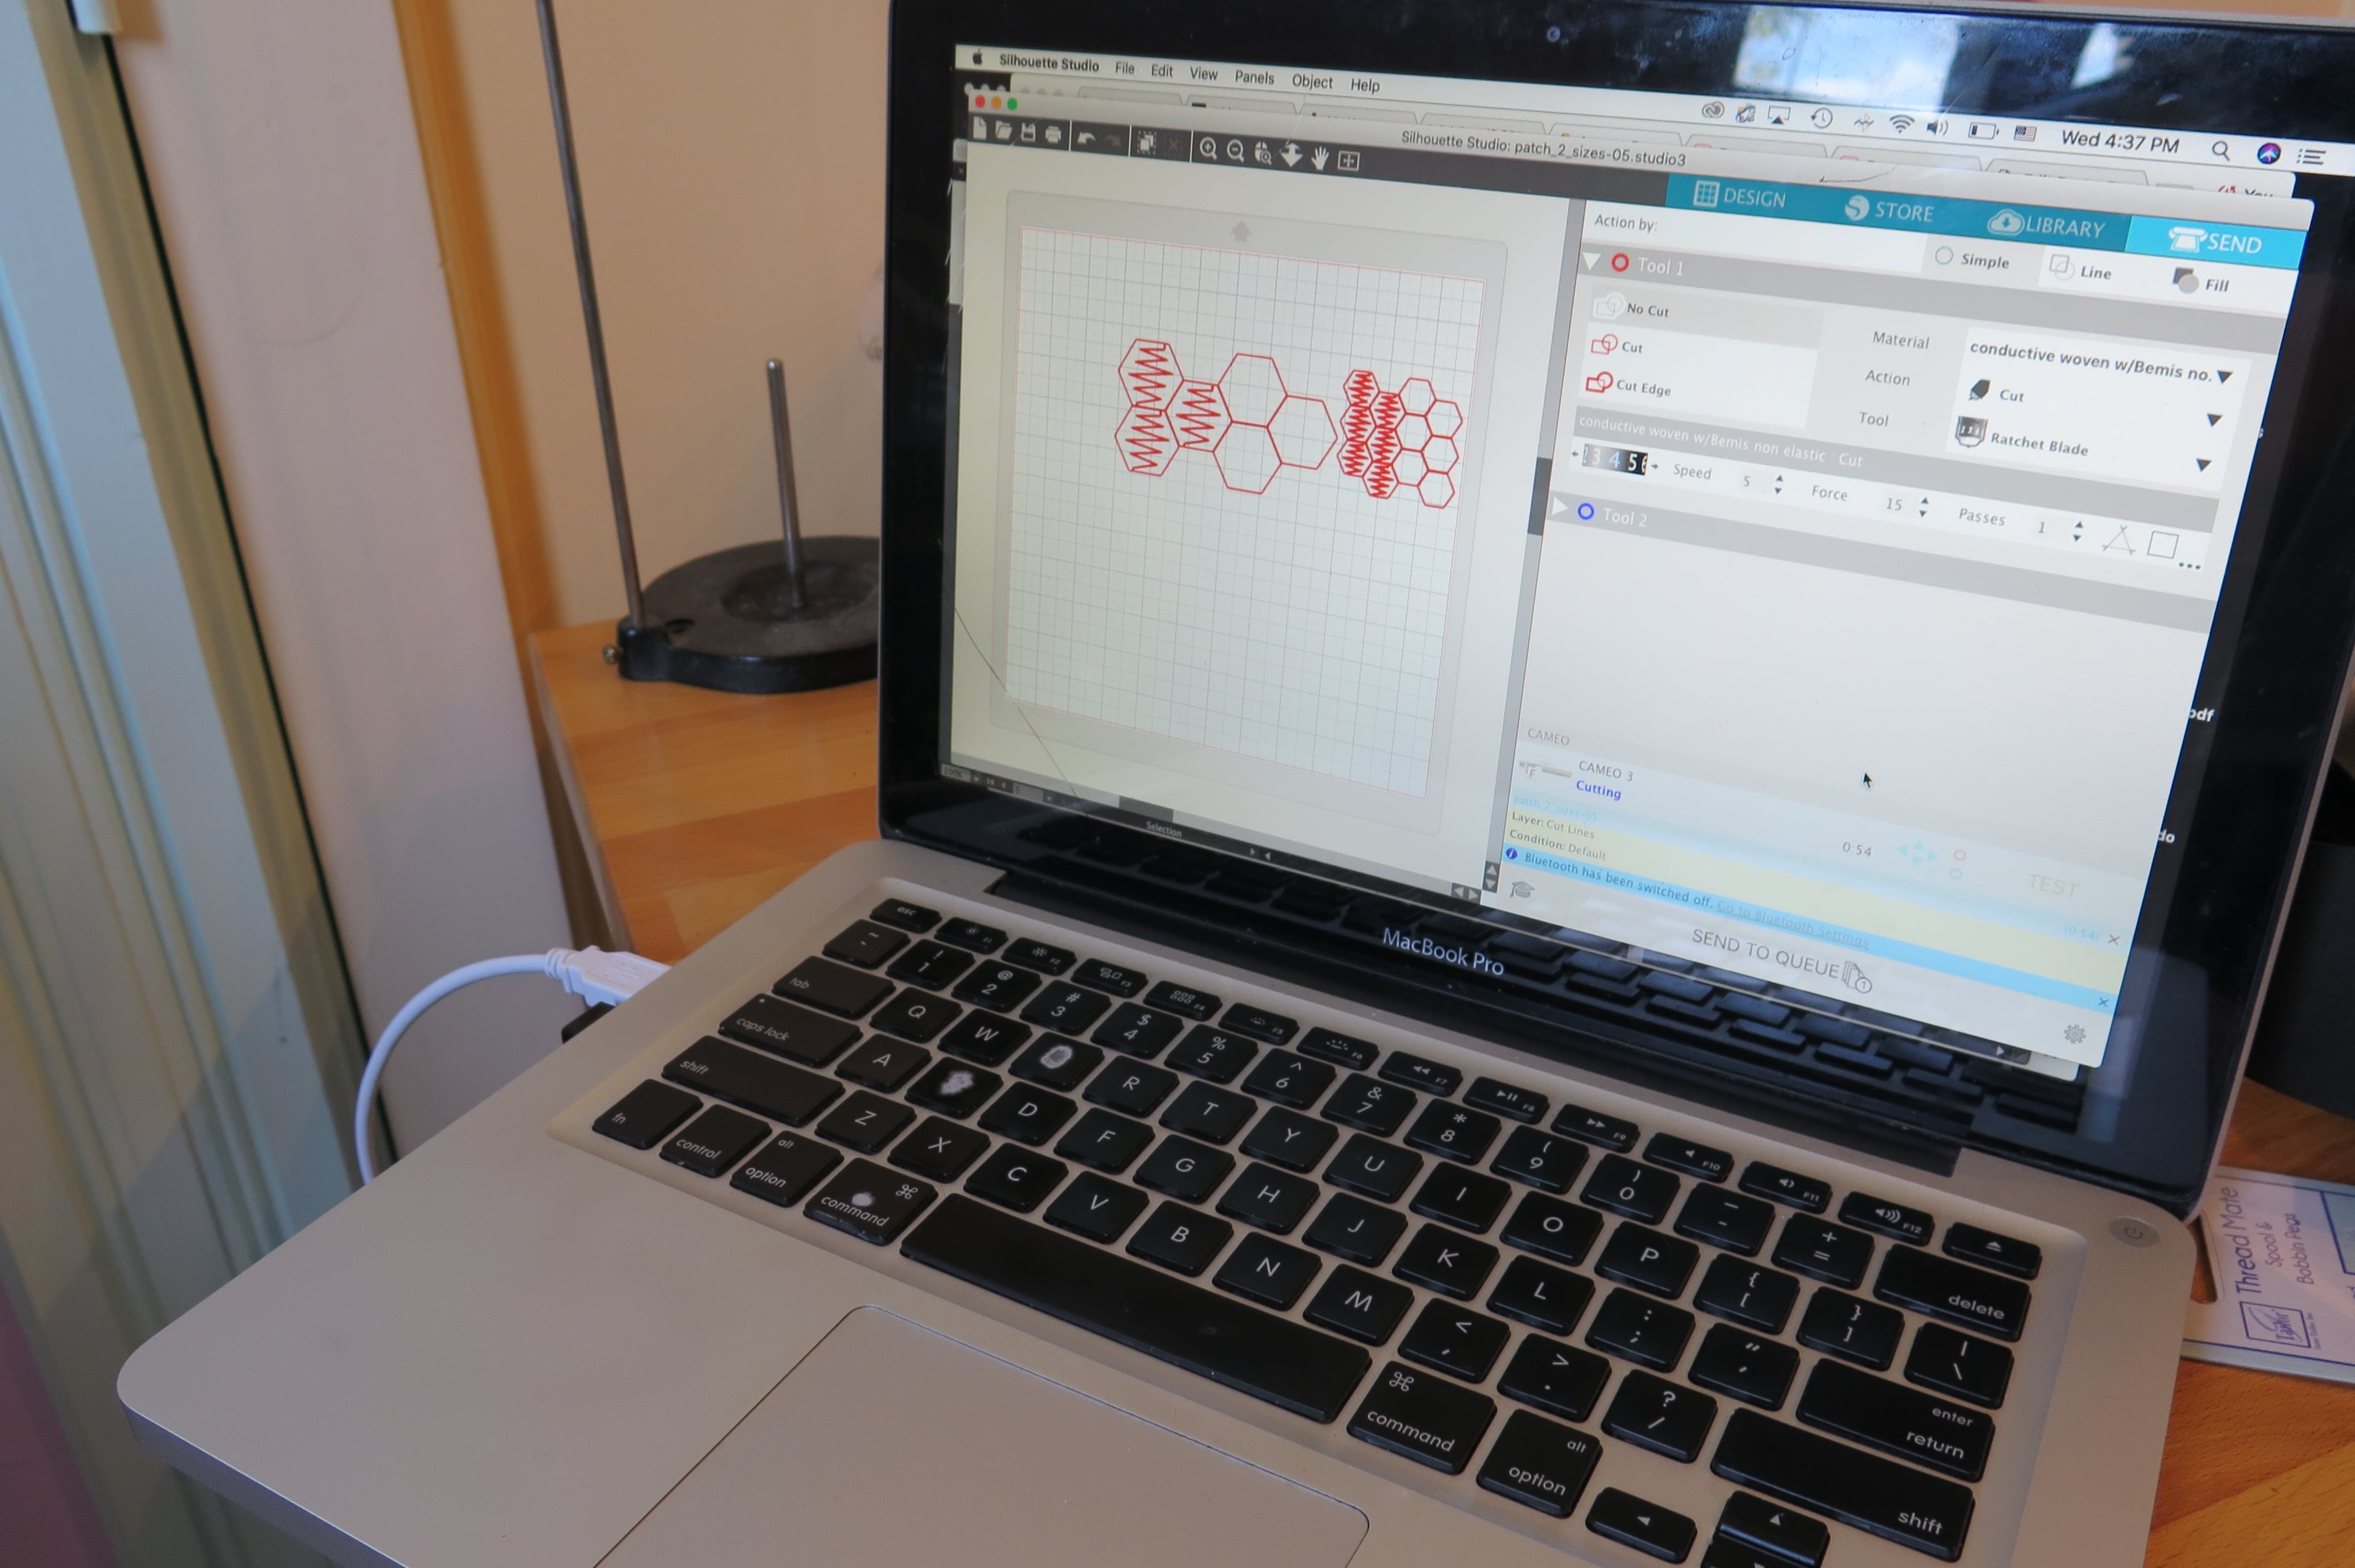
Download the attached files and use them to cut the switch parts. The switch is made up of 2 layers of conductive fabric. One layer is cut in half with interdigitating points. The second layer is a solid hexagon. A setting that is good for iron-on conductive fabric is:
Blade Length: 4
Speed: 5
Force: 15
This setting has been used with Ripstop Silver with Sewfree Elastic, CobalTex with Sewfree Elastic and Shiedit Super. You can get away with a 3 for the blade height and less force with the Shieldit Super. The Elastic Sewfree is fairly thick.
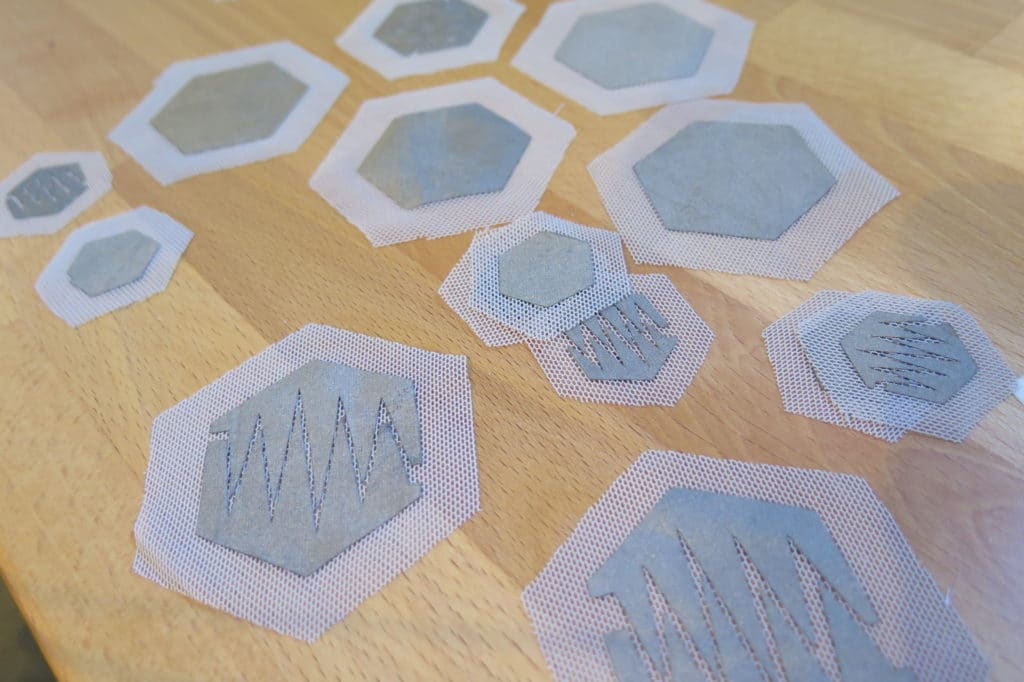
Step 2. Cut Adhesive

Use the attached files to cut adhesive. You only need one layer that goes around the outer edge of the patch. Depending on how many and what size you want to cut you can either stack the sizes within each other or tile them for minimal waste.
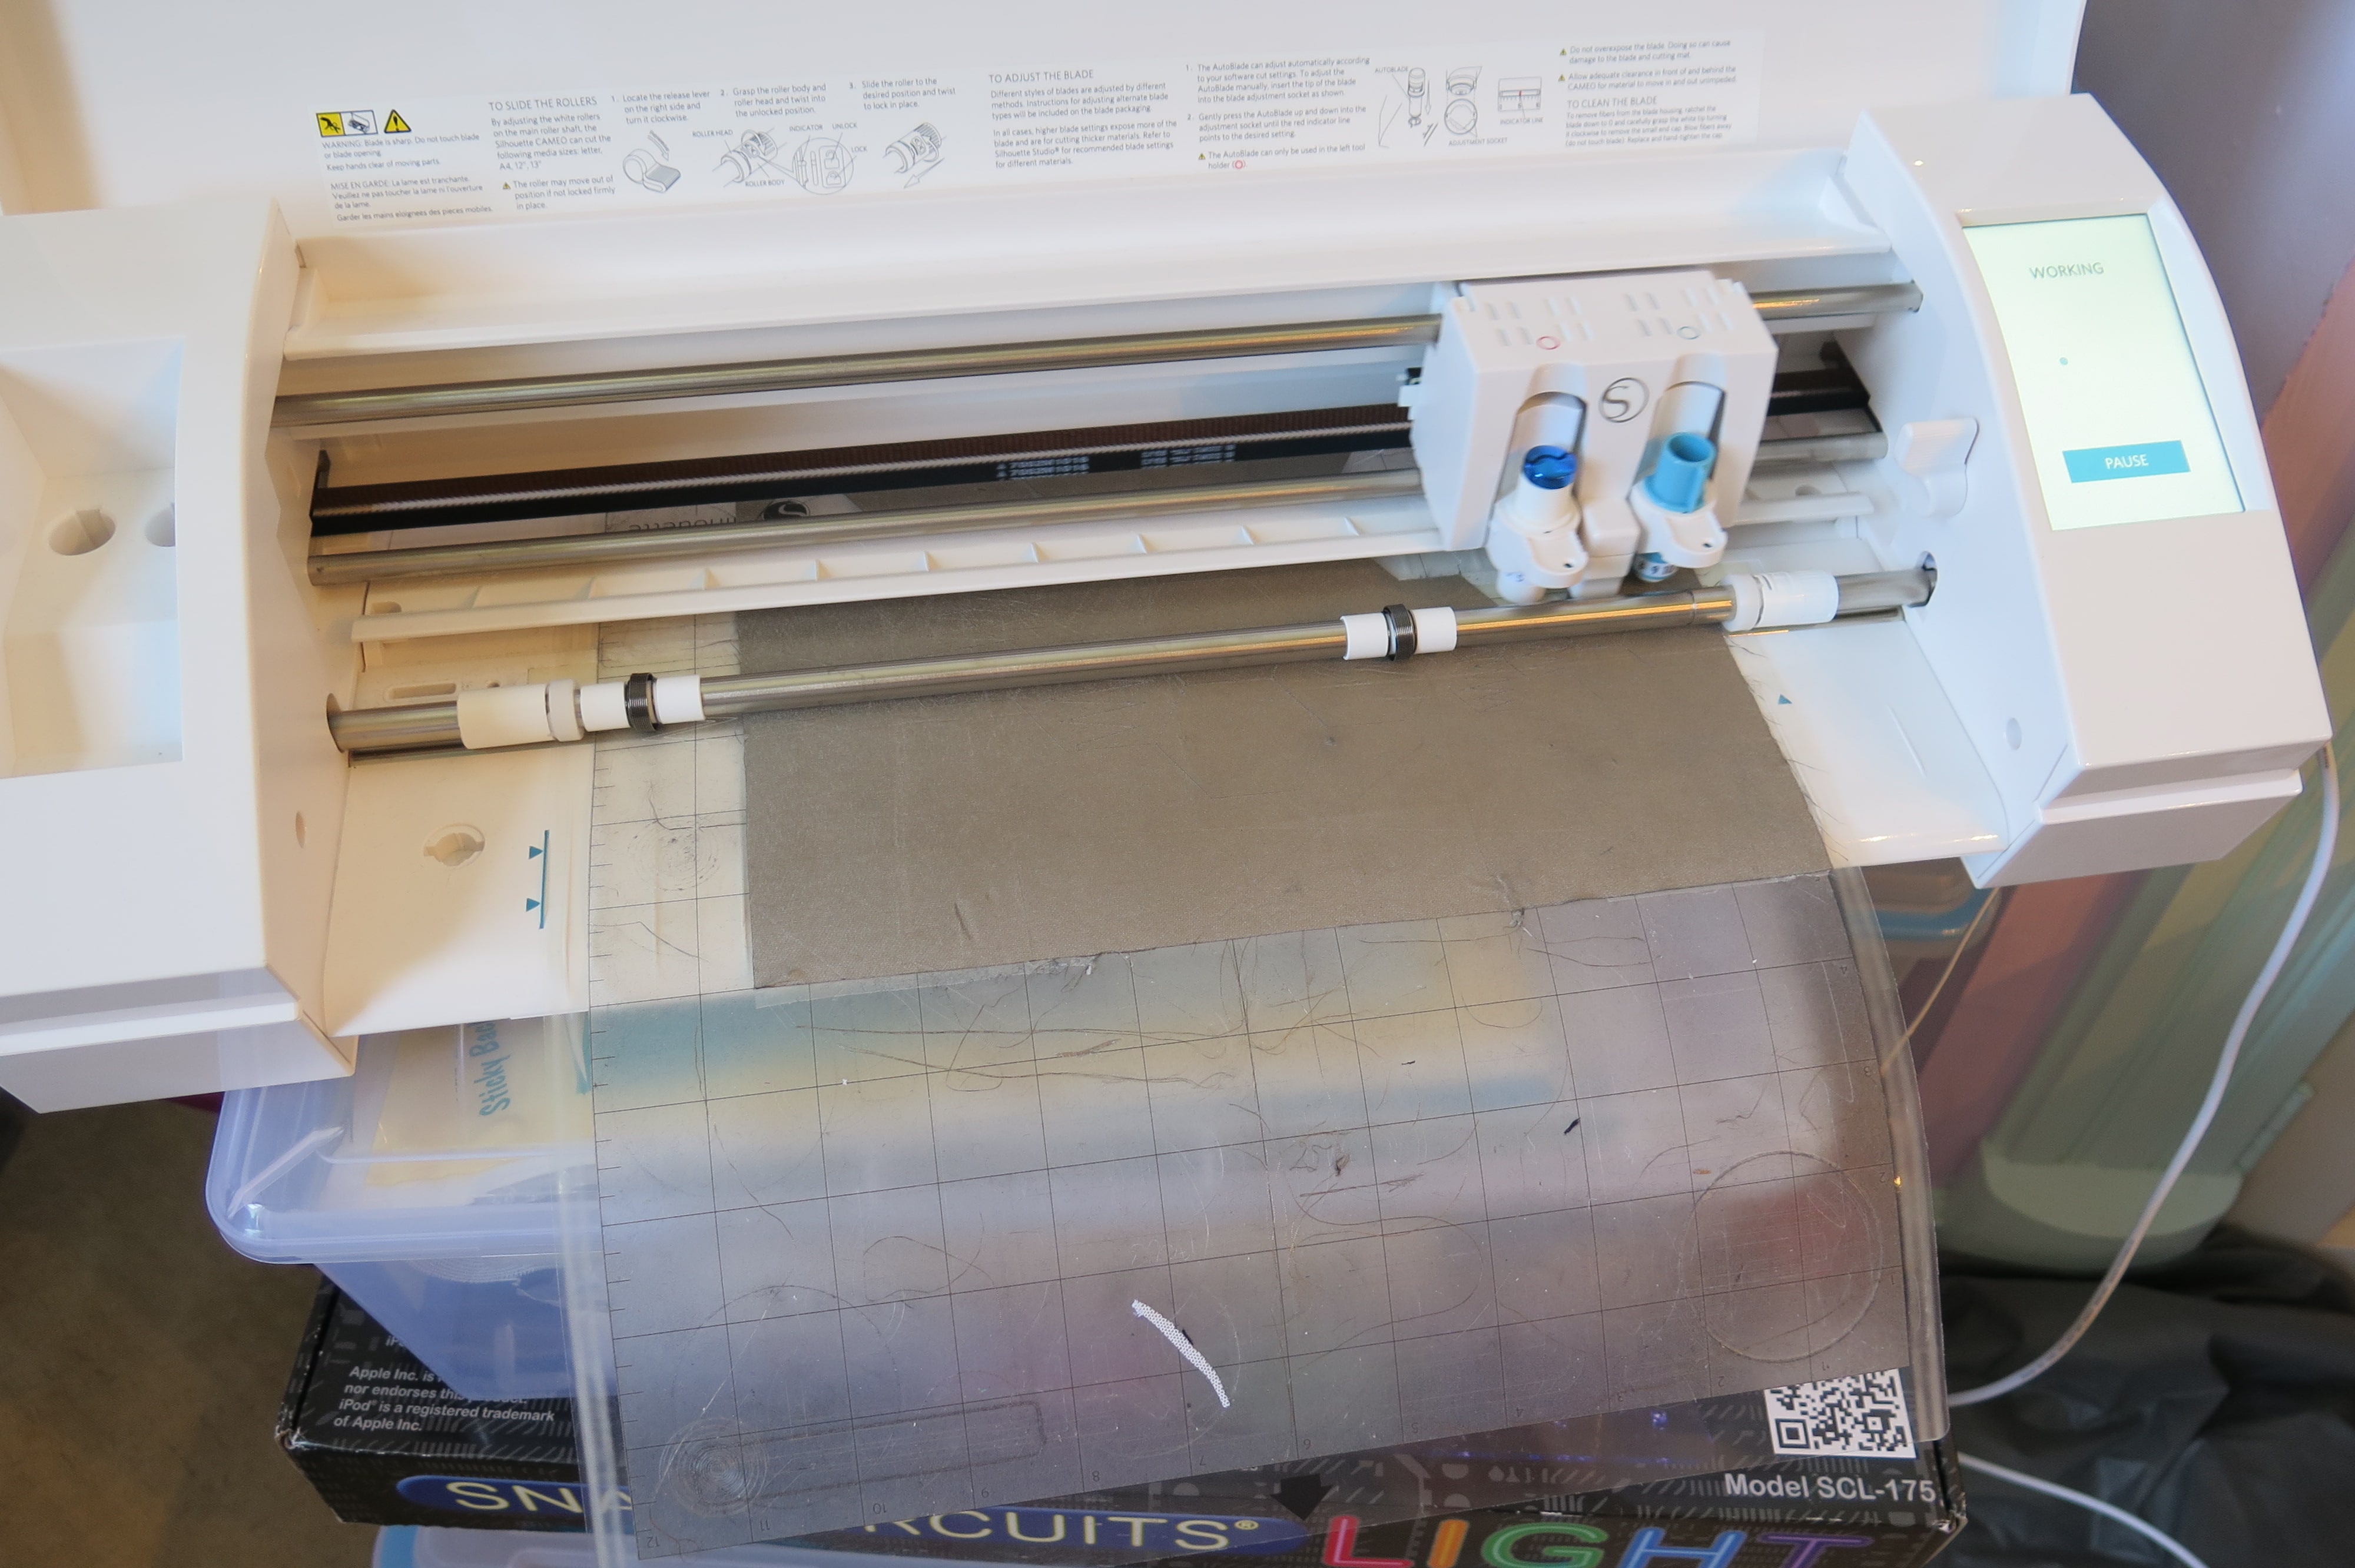
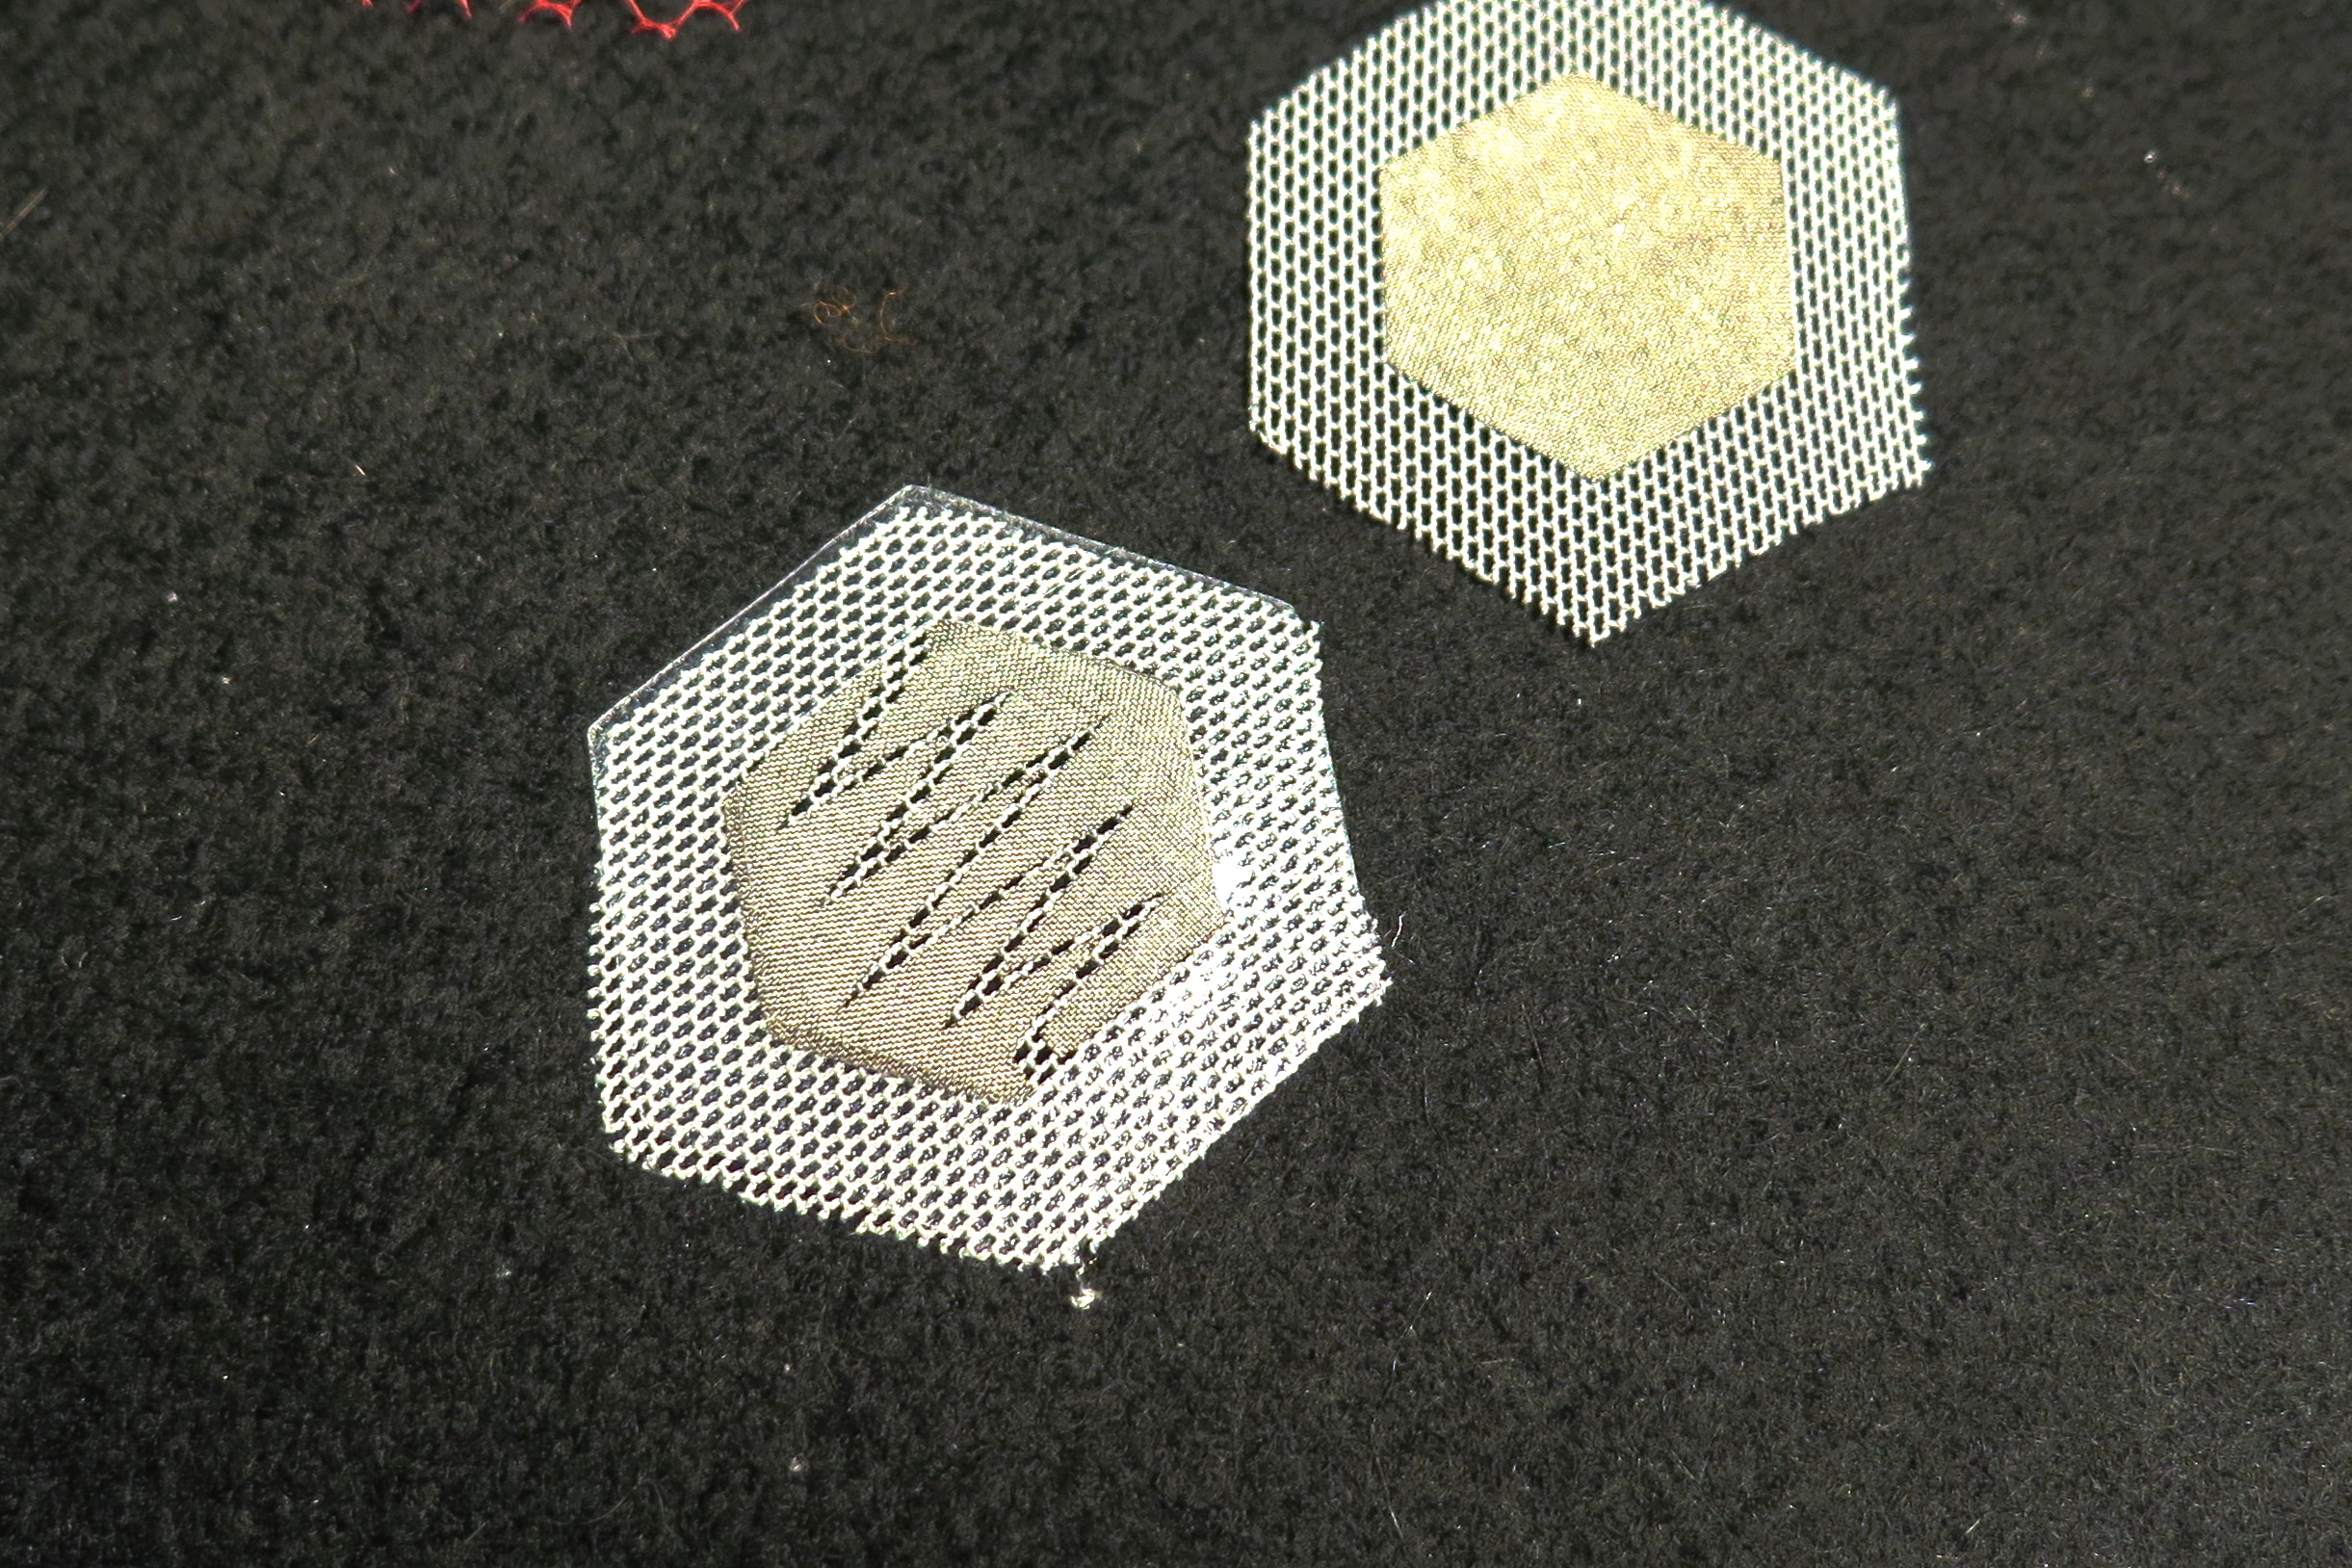
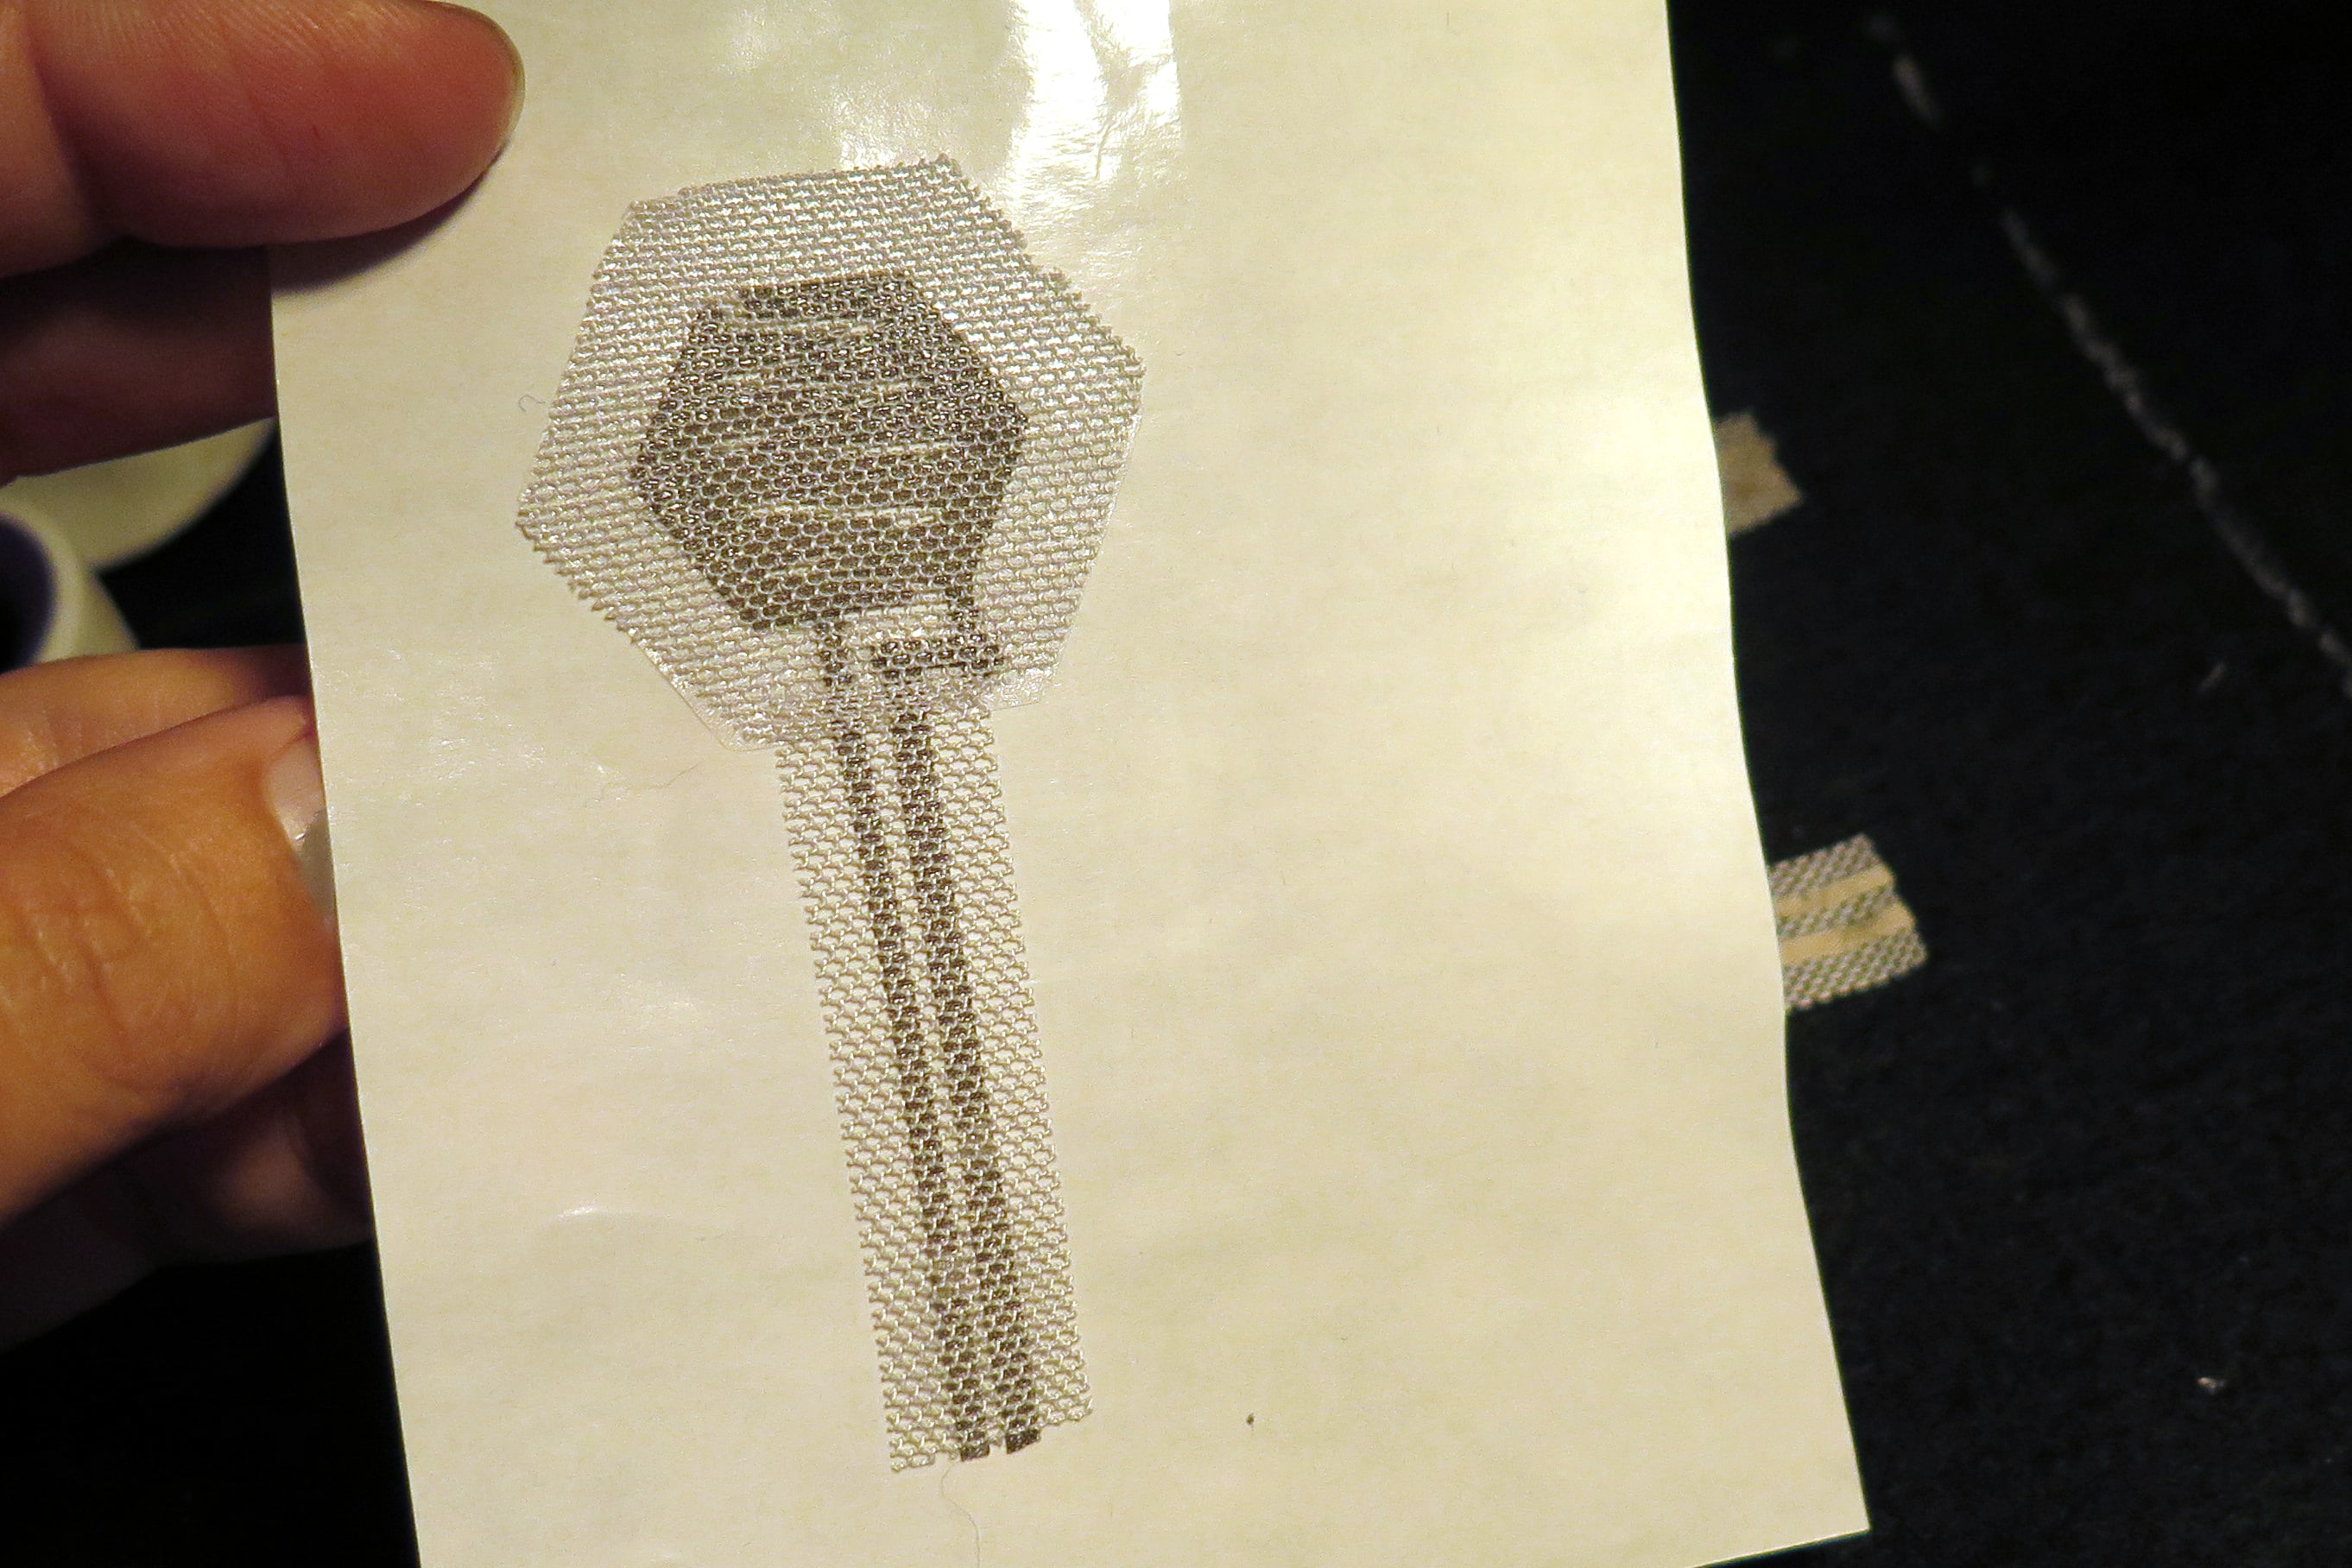
Step 3. Cut Powermesh and Net
Use the attached files to cut two hexagons of powermesh for each switch you would like to make. Pictured is a cut being done with the conductive fabric already ironed onto the fabric. The fabric should actually be cut before ironing to reduce fabric waste.
Cut one layer of net for each switch using the same size hex pattern.
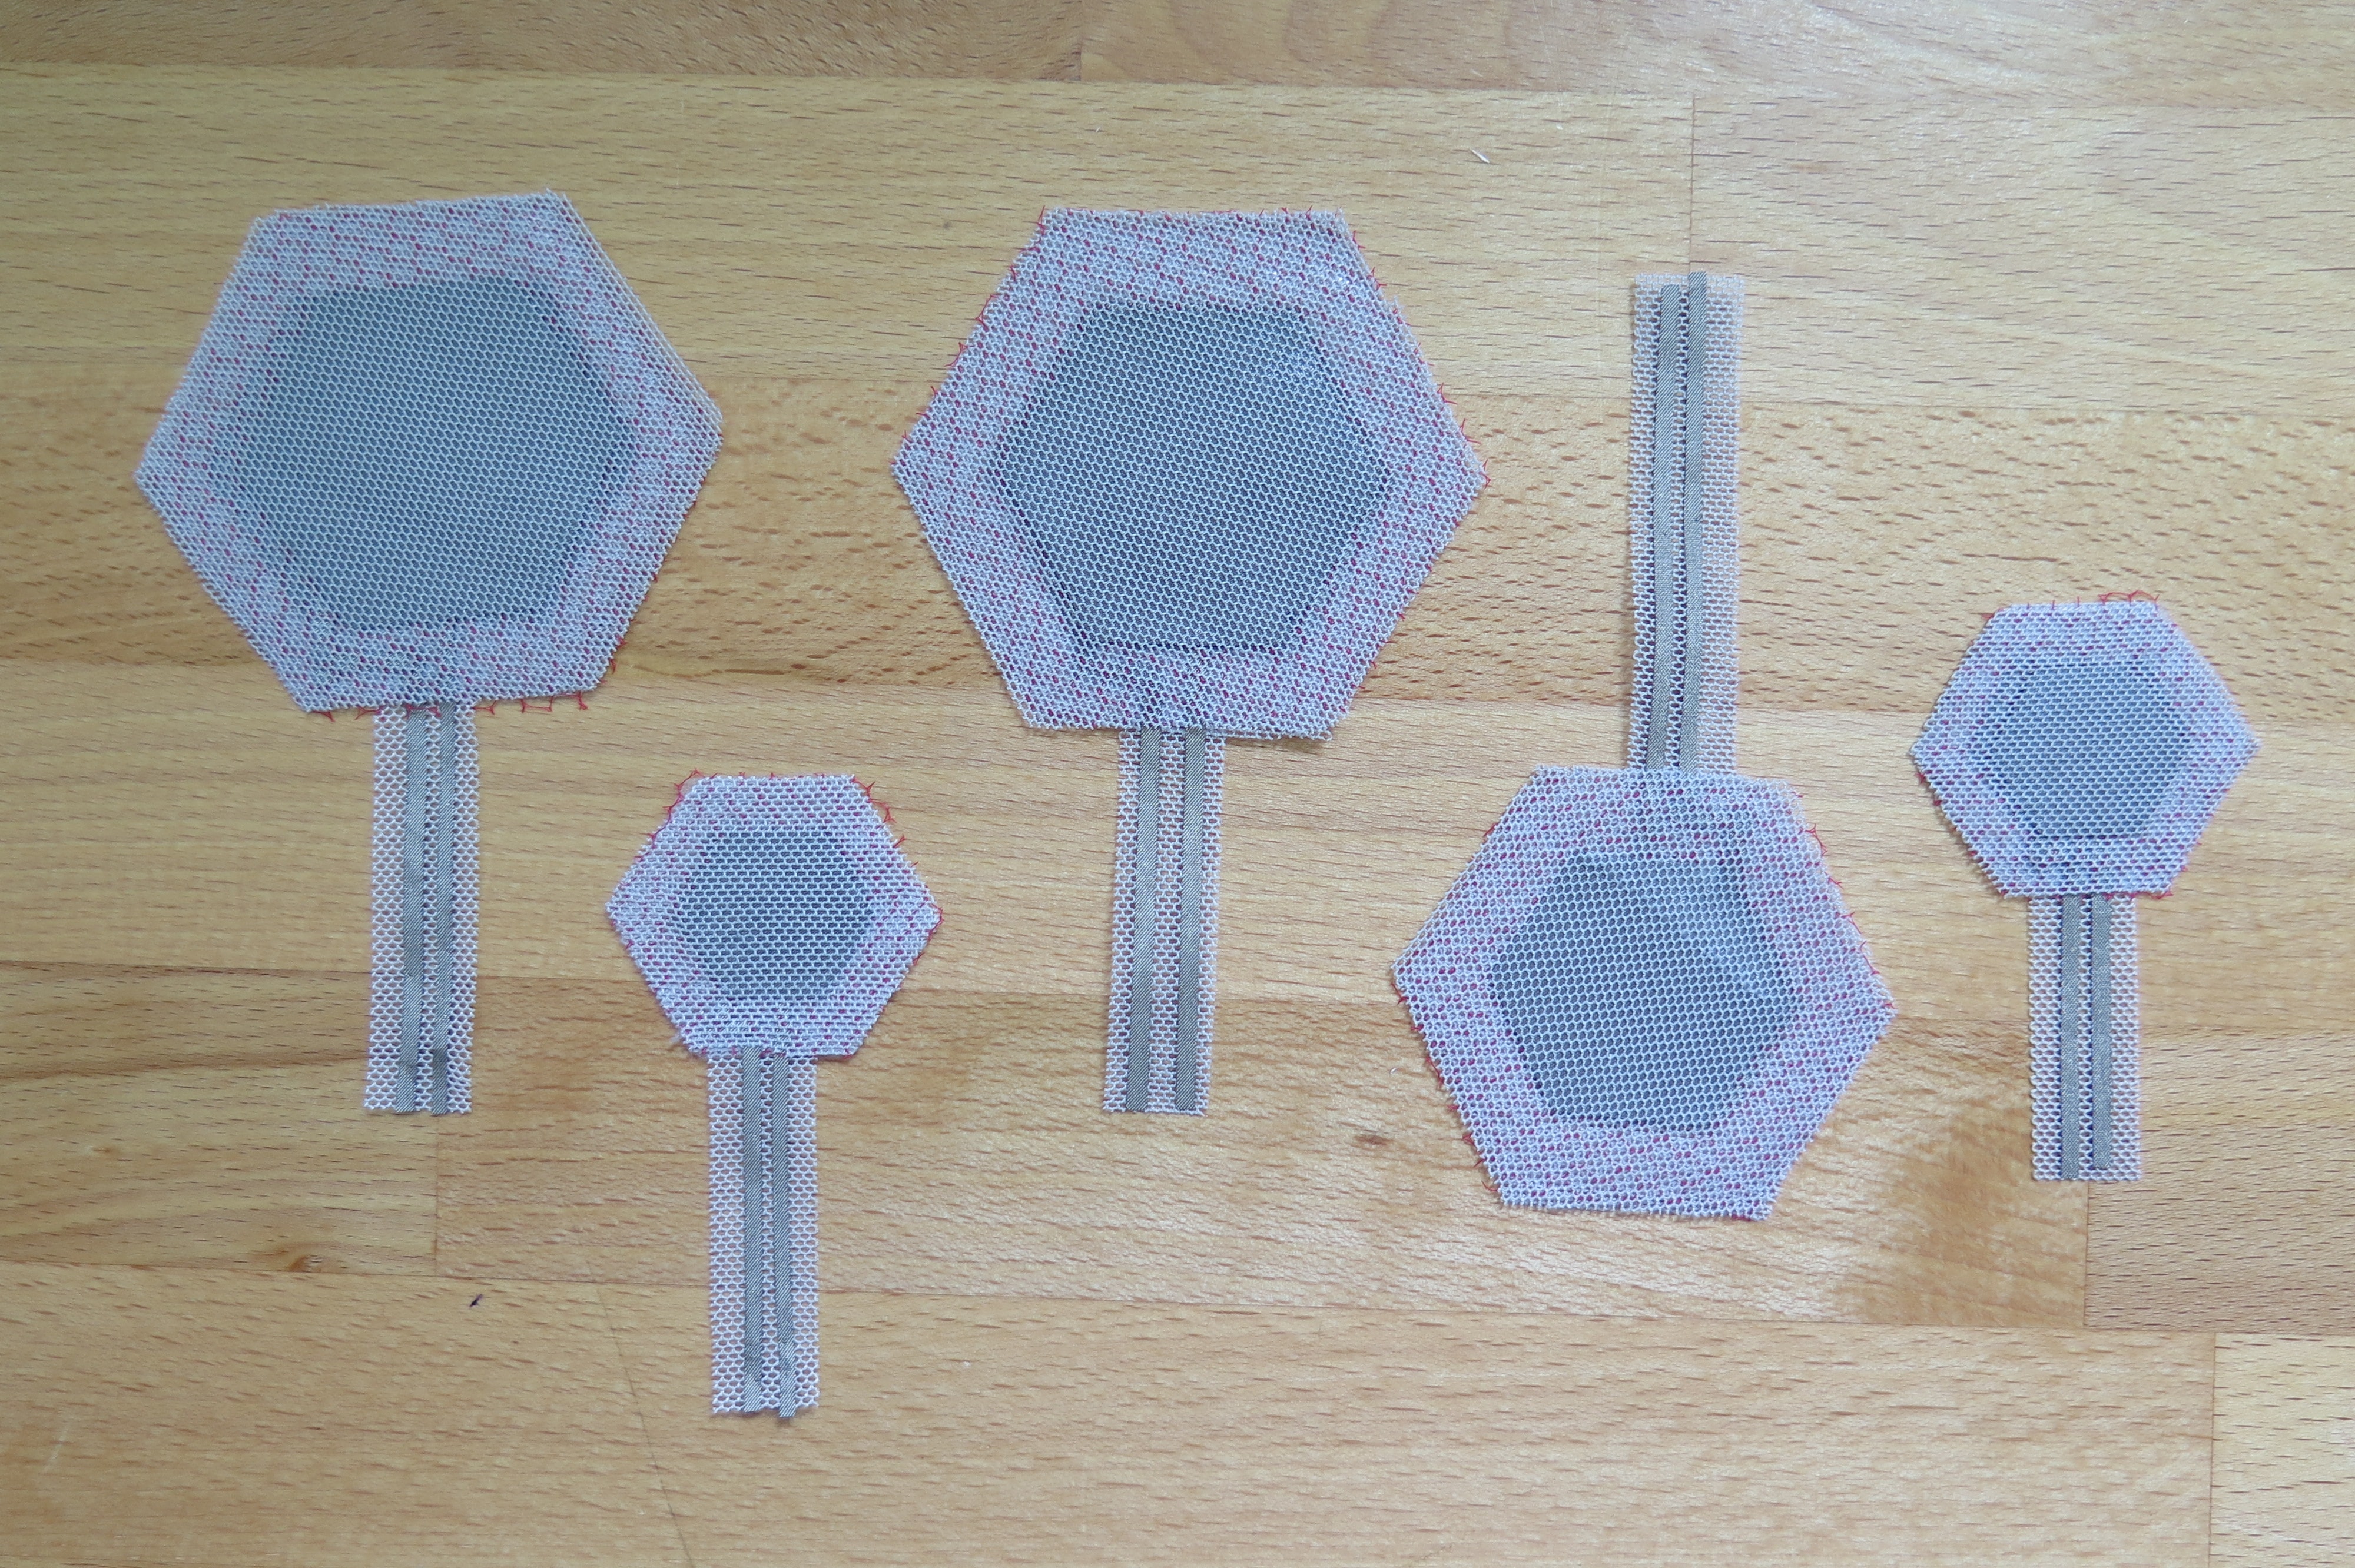
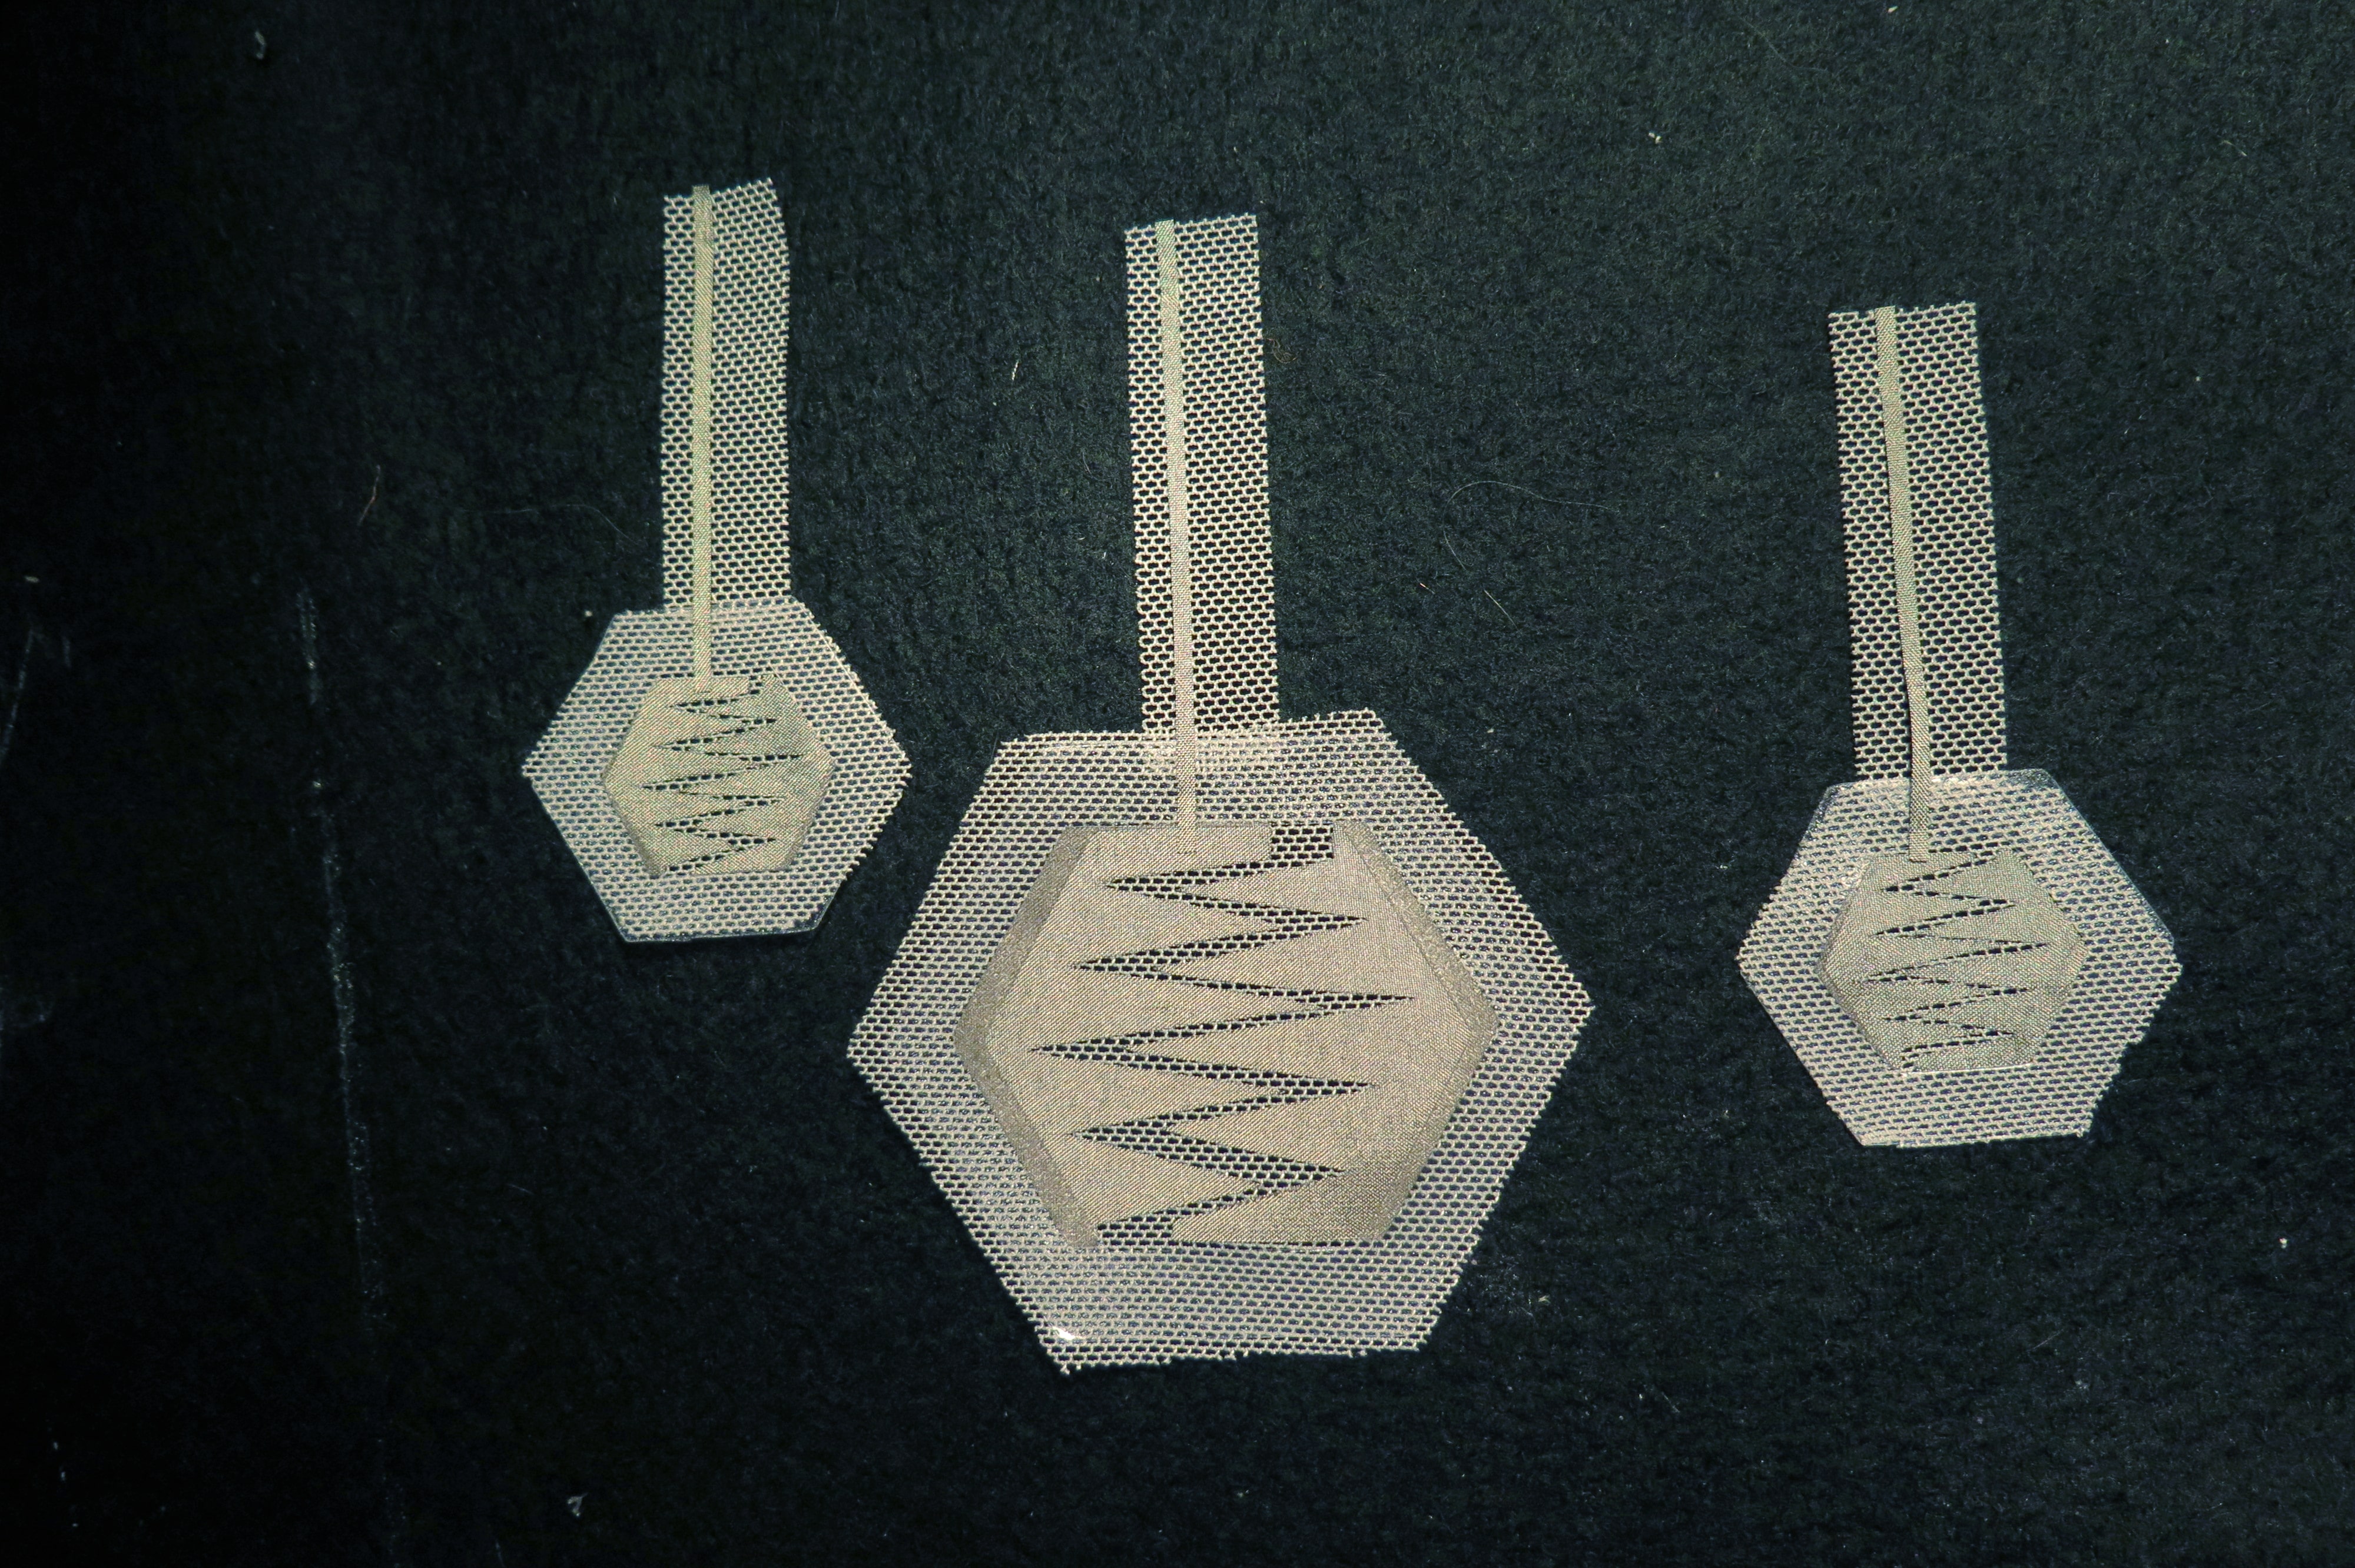
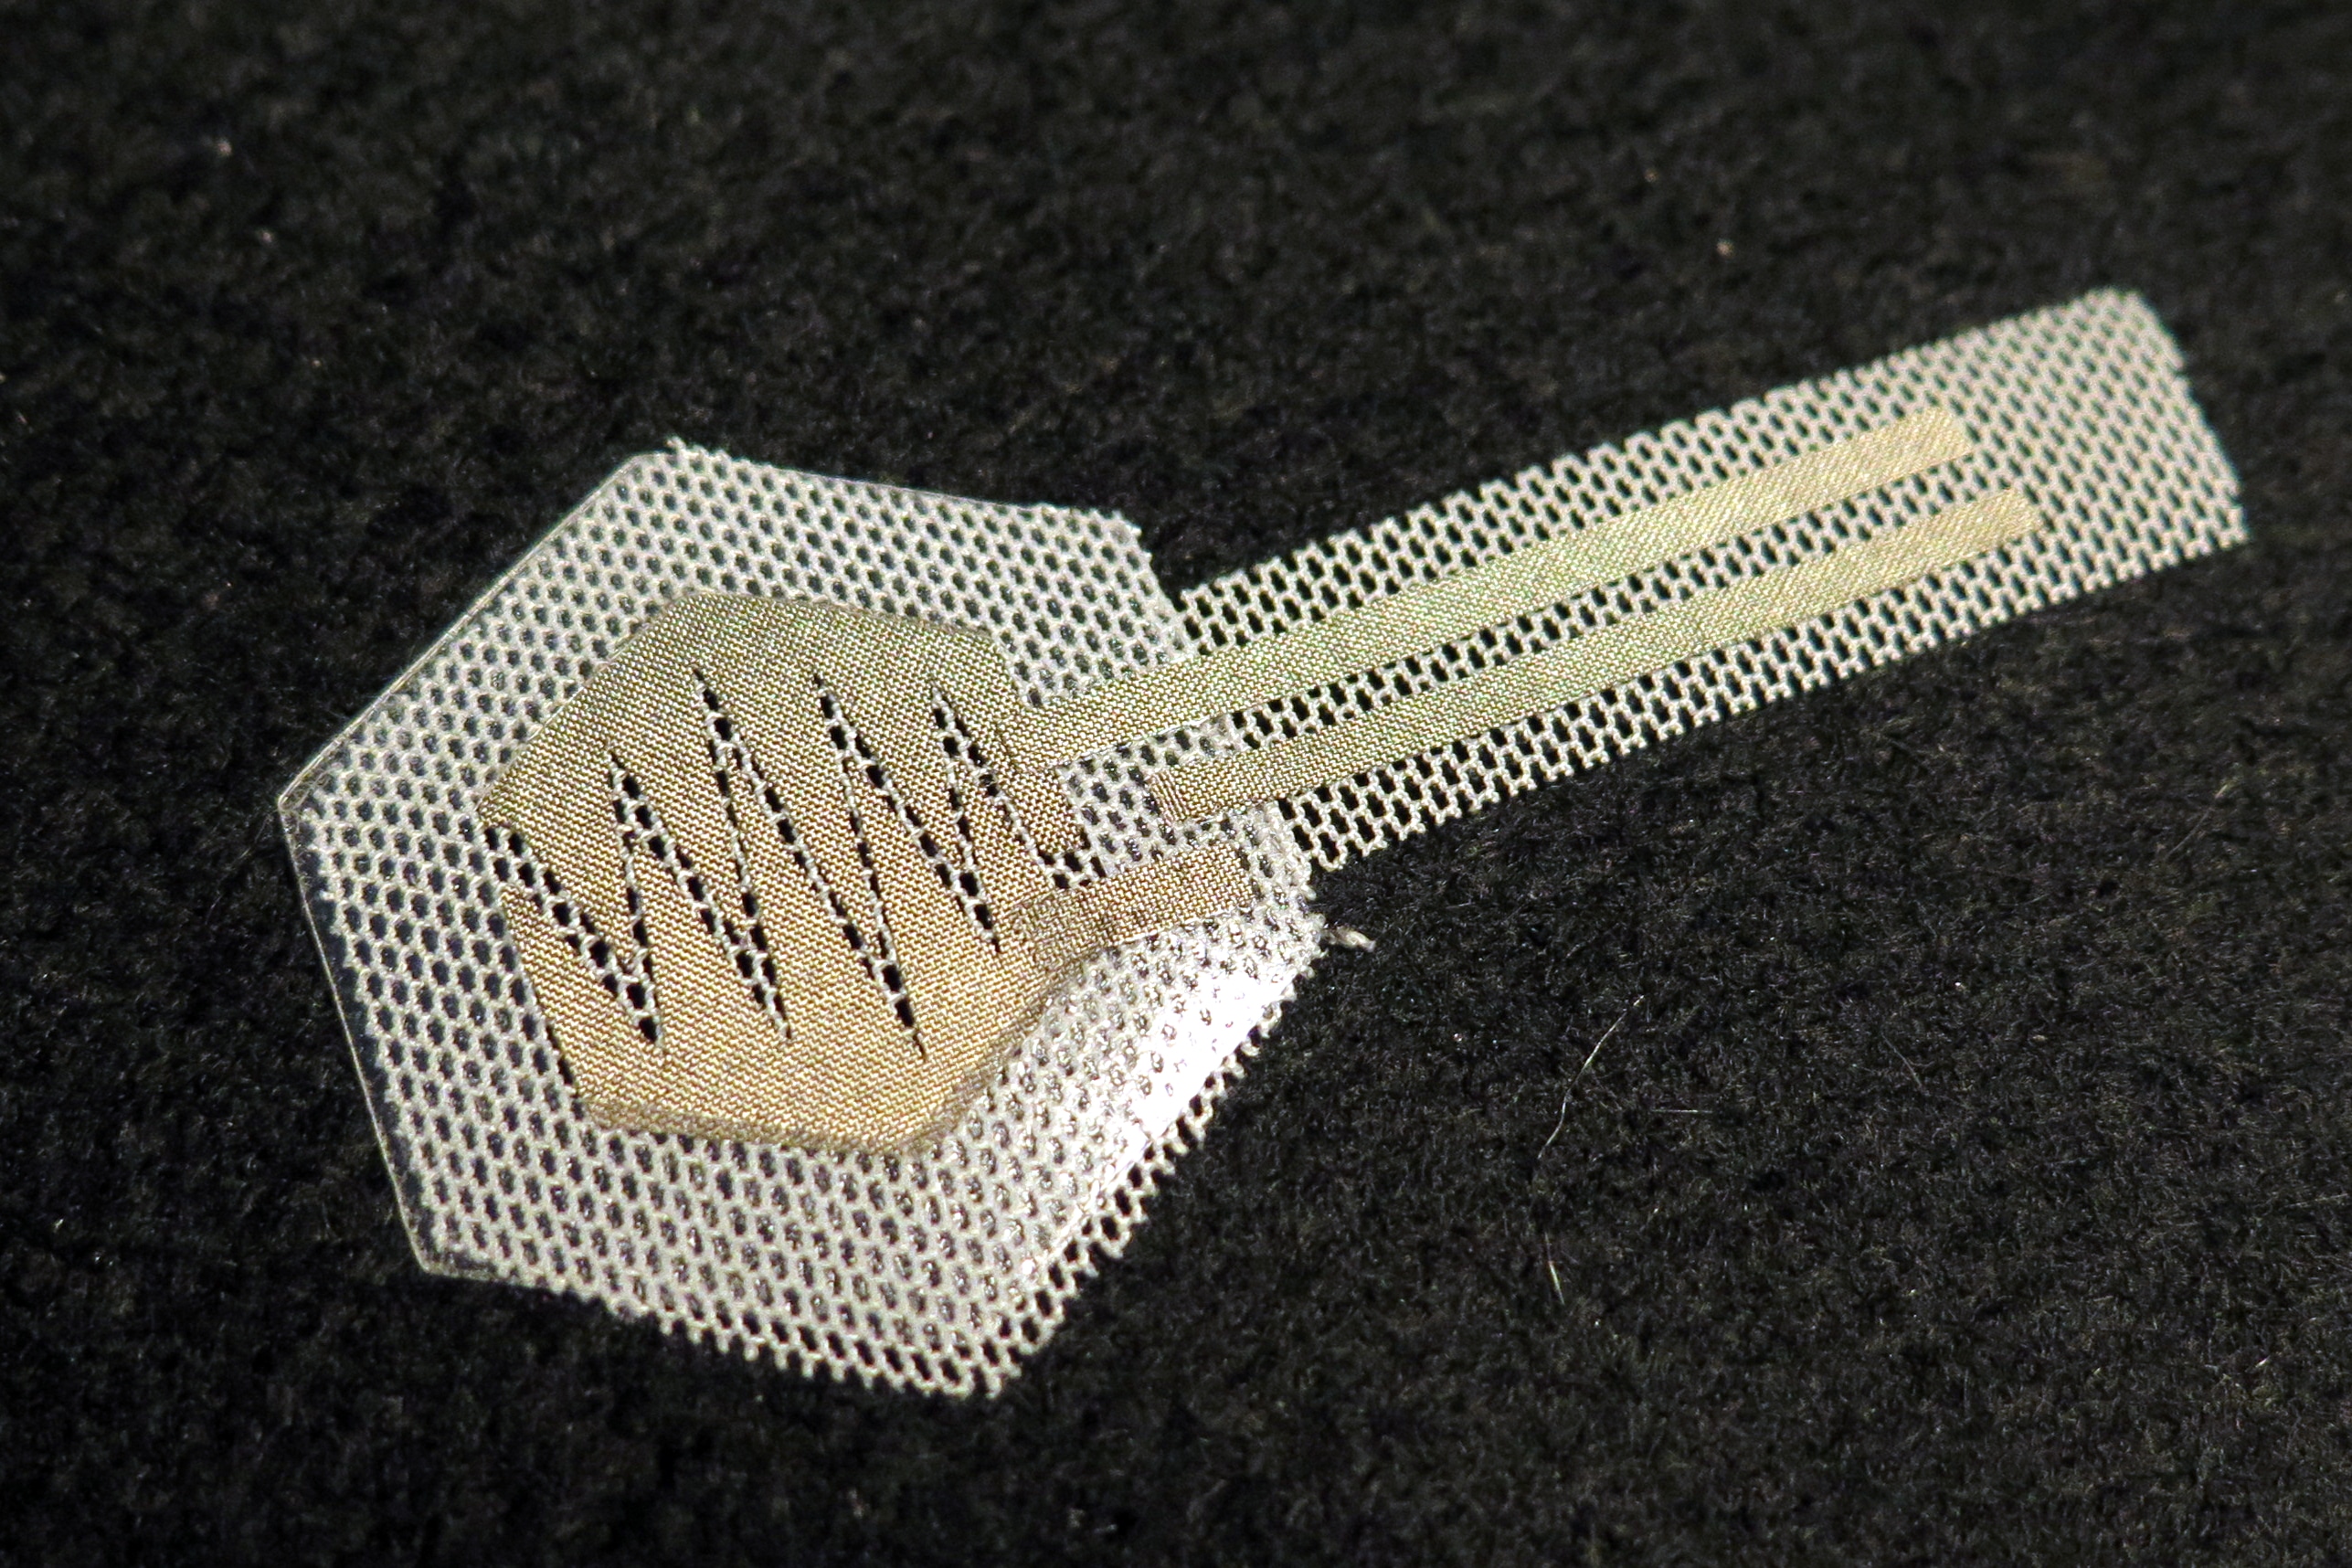
Step 4. Iron Conductive Fabric onto Powermesh
For each switch, you have one zig-zag side and one solid side. Each gets ironed to a powermesh hex. Before you iron the zig-zag side you need to separate the two halves and make sure to remove the middle bit which can be quite thin and hard to see that it’s still attached to one half. Iron one half down first, then iron the second spreading the middle cut open enough so the points do not touch but are still in close proximity. You are creating a disconnect that will be bridged by the solid hexagon that eventually is laid on top. Keep you multimeter handy and test for a short after you have ironed both halves.
After you have dealt with the zig-zag side iron a solid hex of the same size onto a powermesh hex.
Step 5. Iron adhesive
Iron the adhesive to the powermesh. It doesn’t matter too much which side. I found it easier to stick my leads to the switch if it’s ironed onto the zig-zag side.
Step 6. Iron on Leads
Each half of the zig-zag side gets a lead. I kept them centered and close together which meant I needed to turn one lead a couple times. Check your connections with the multimeter afterward.
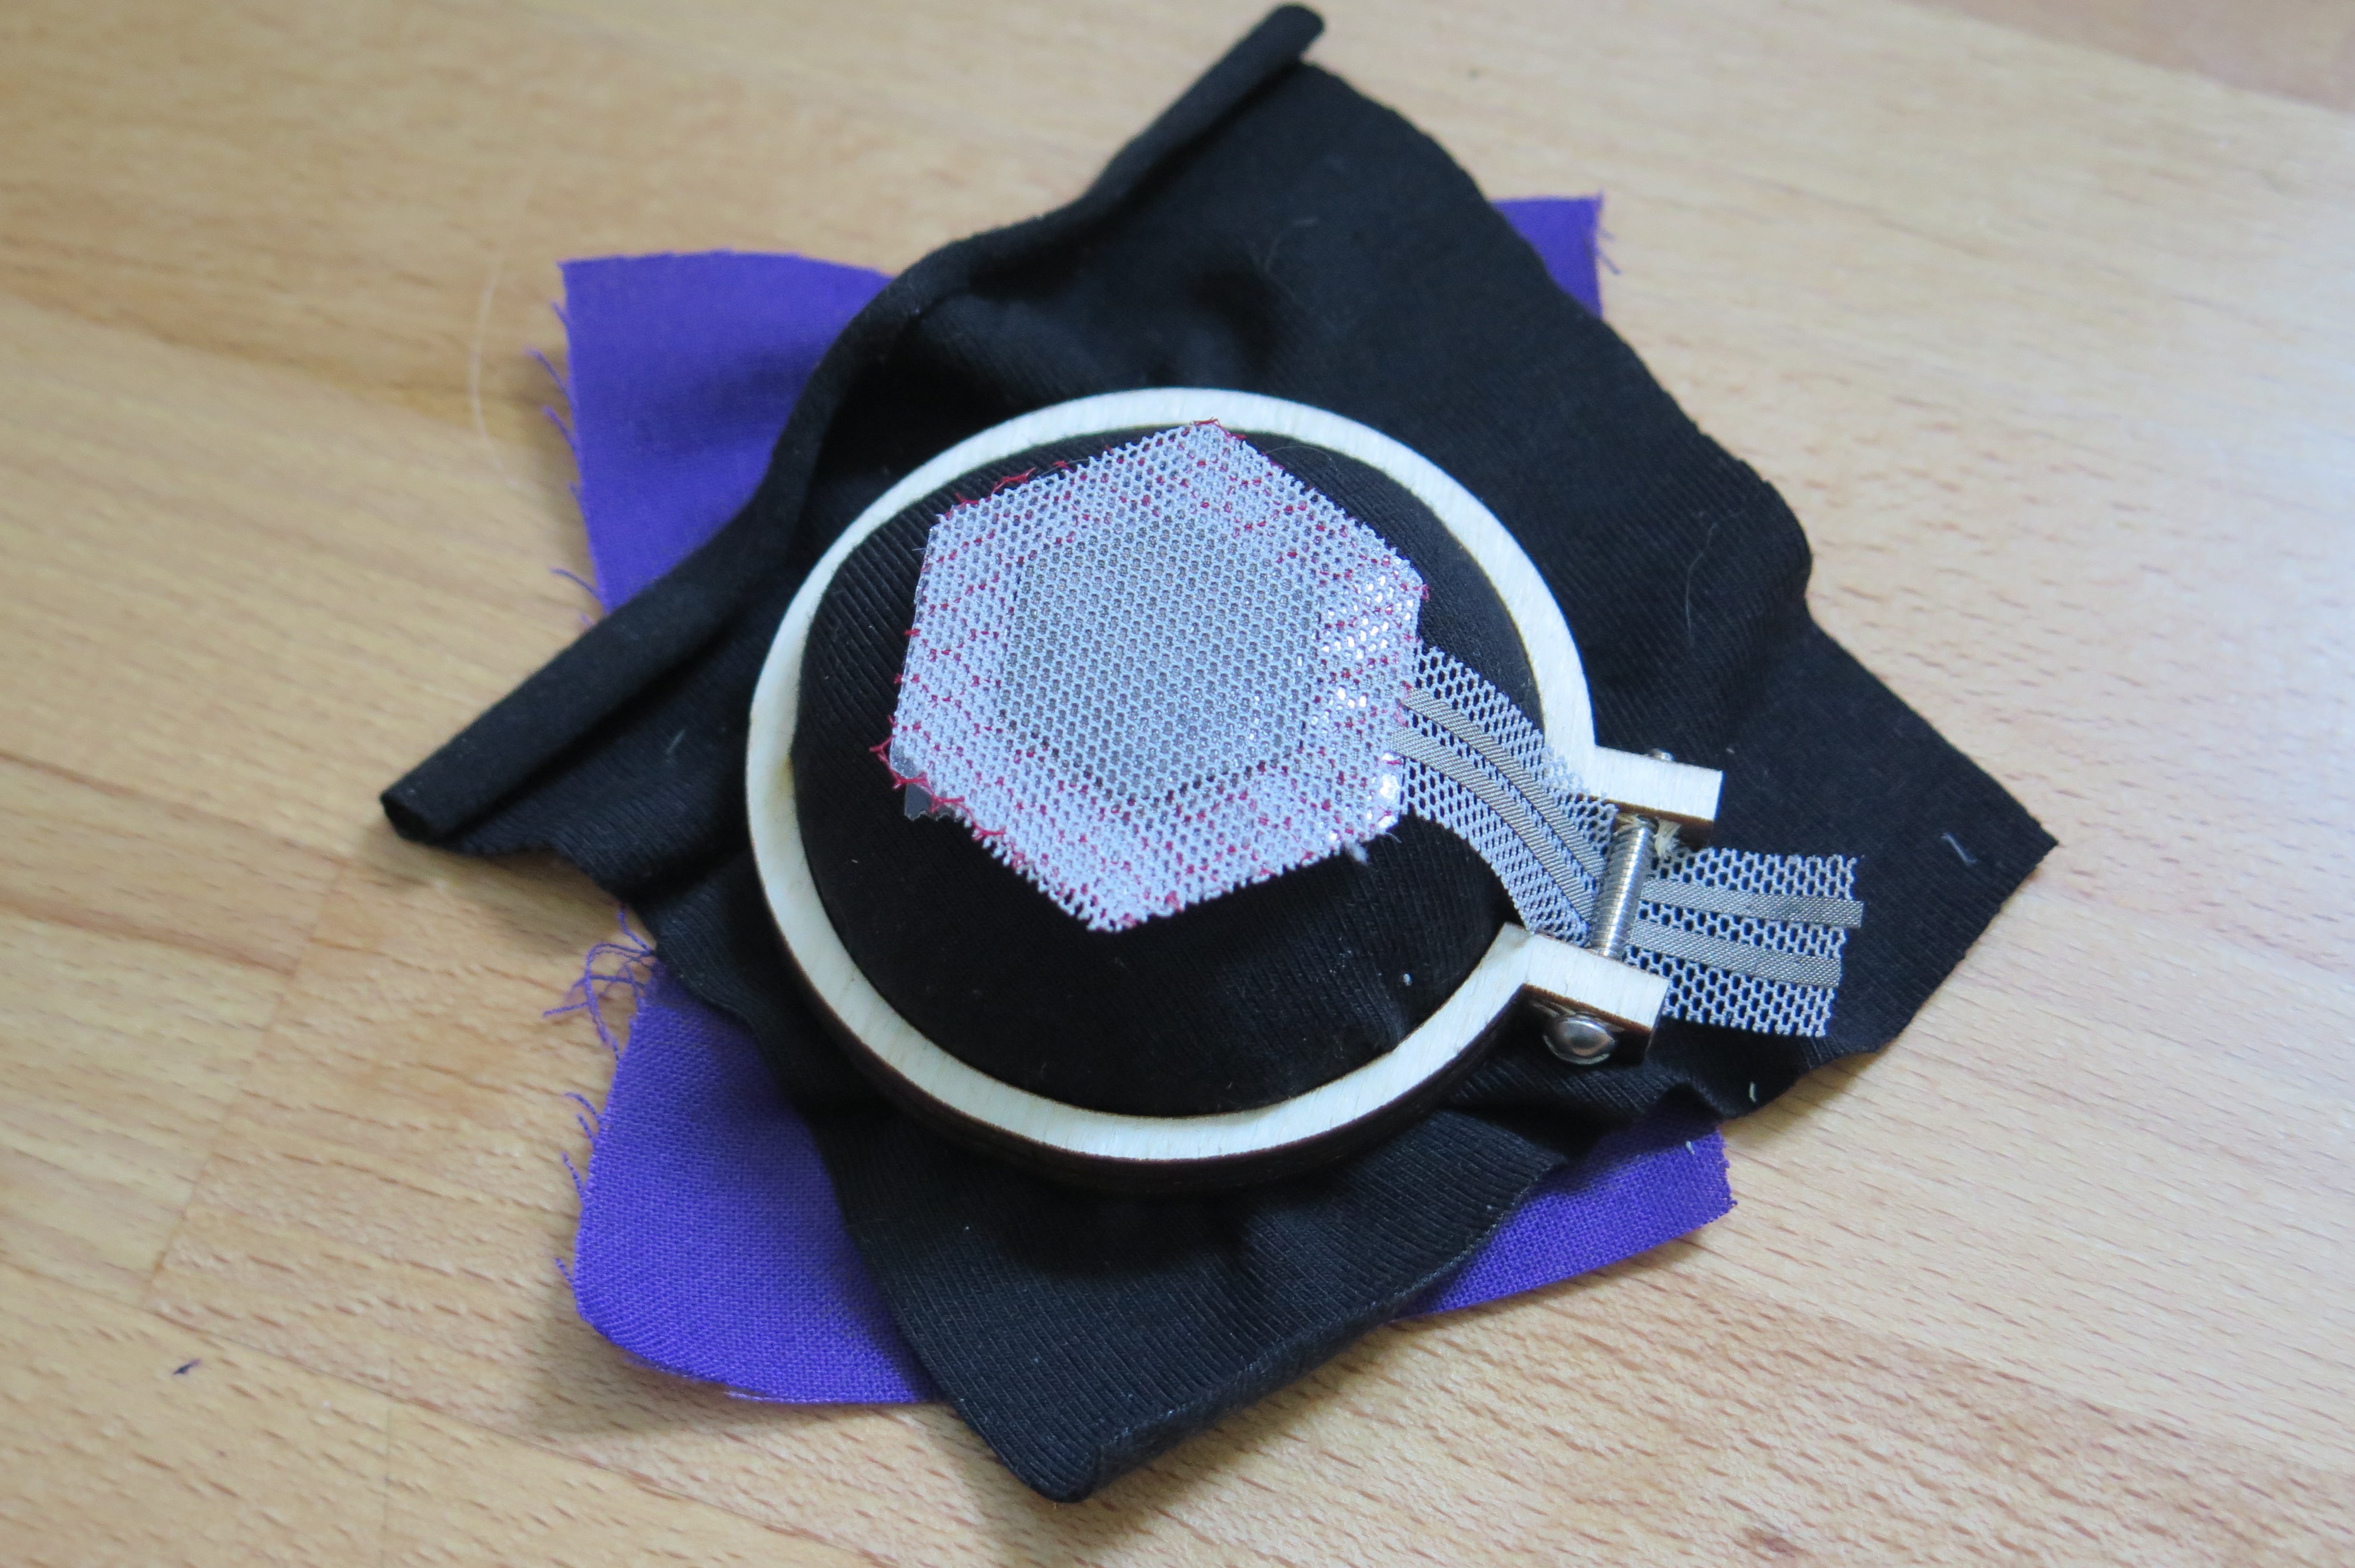
Step 7. Add Net and Iron Together
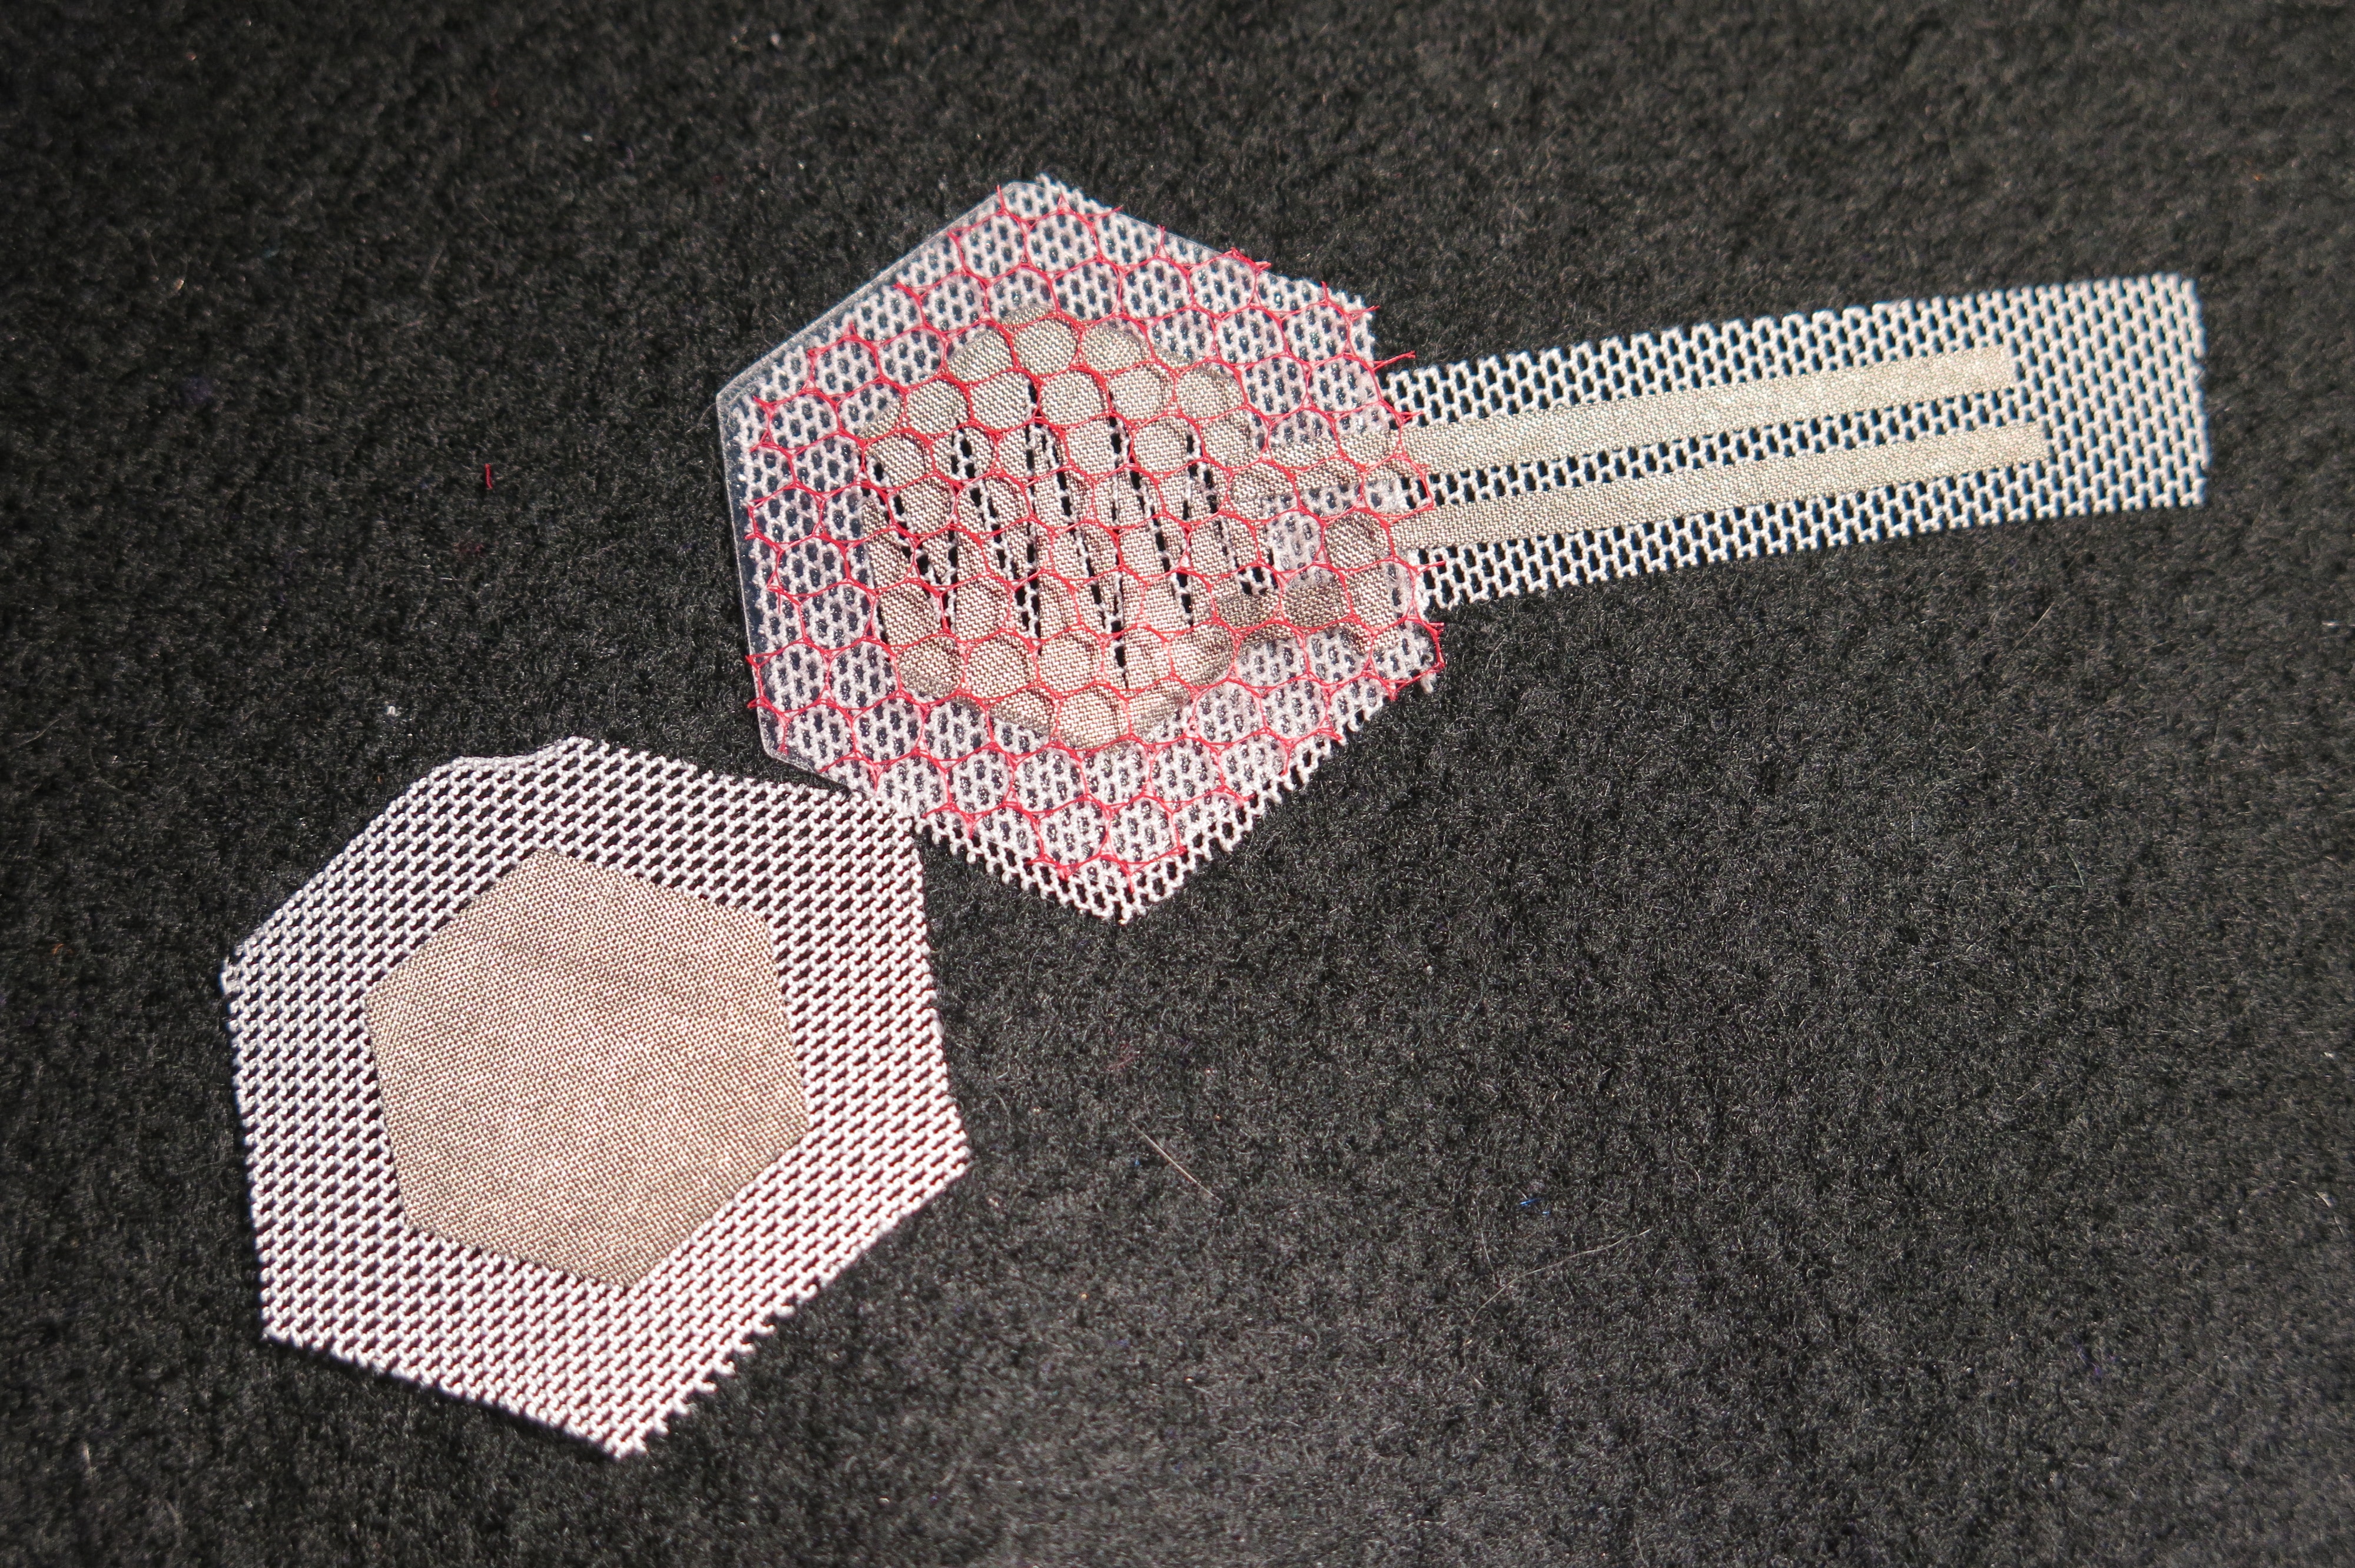
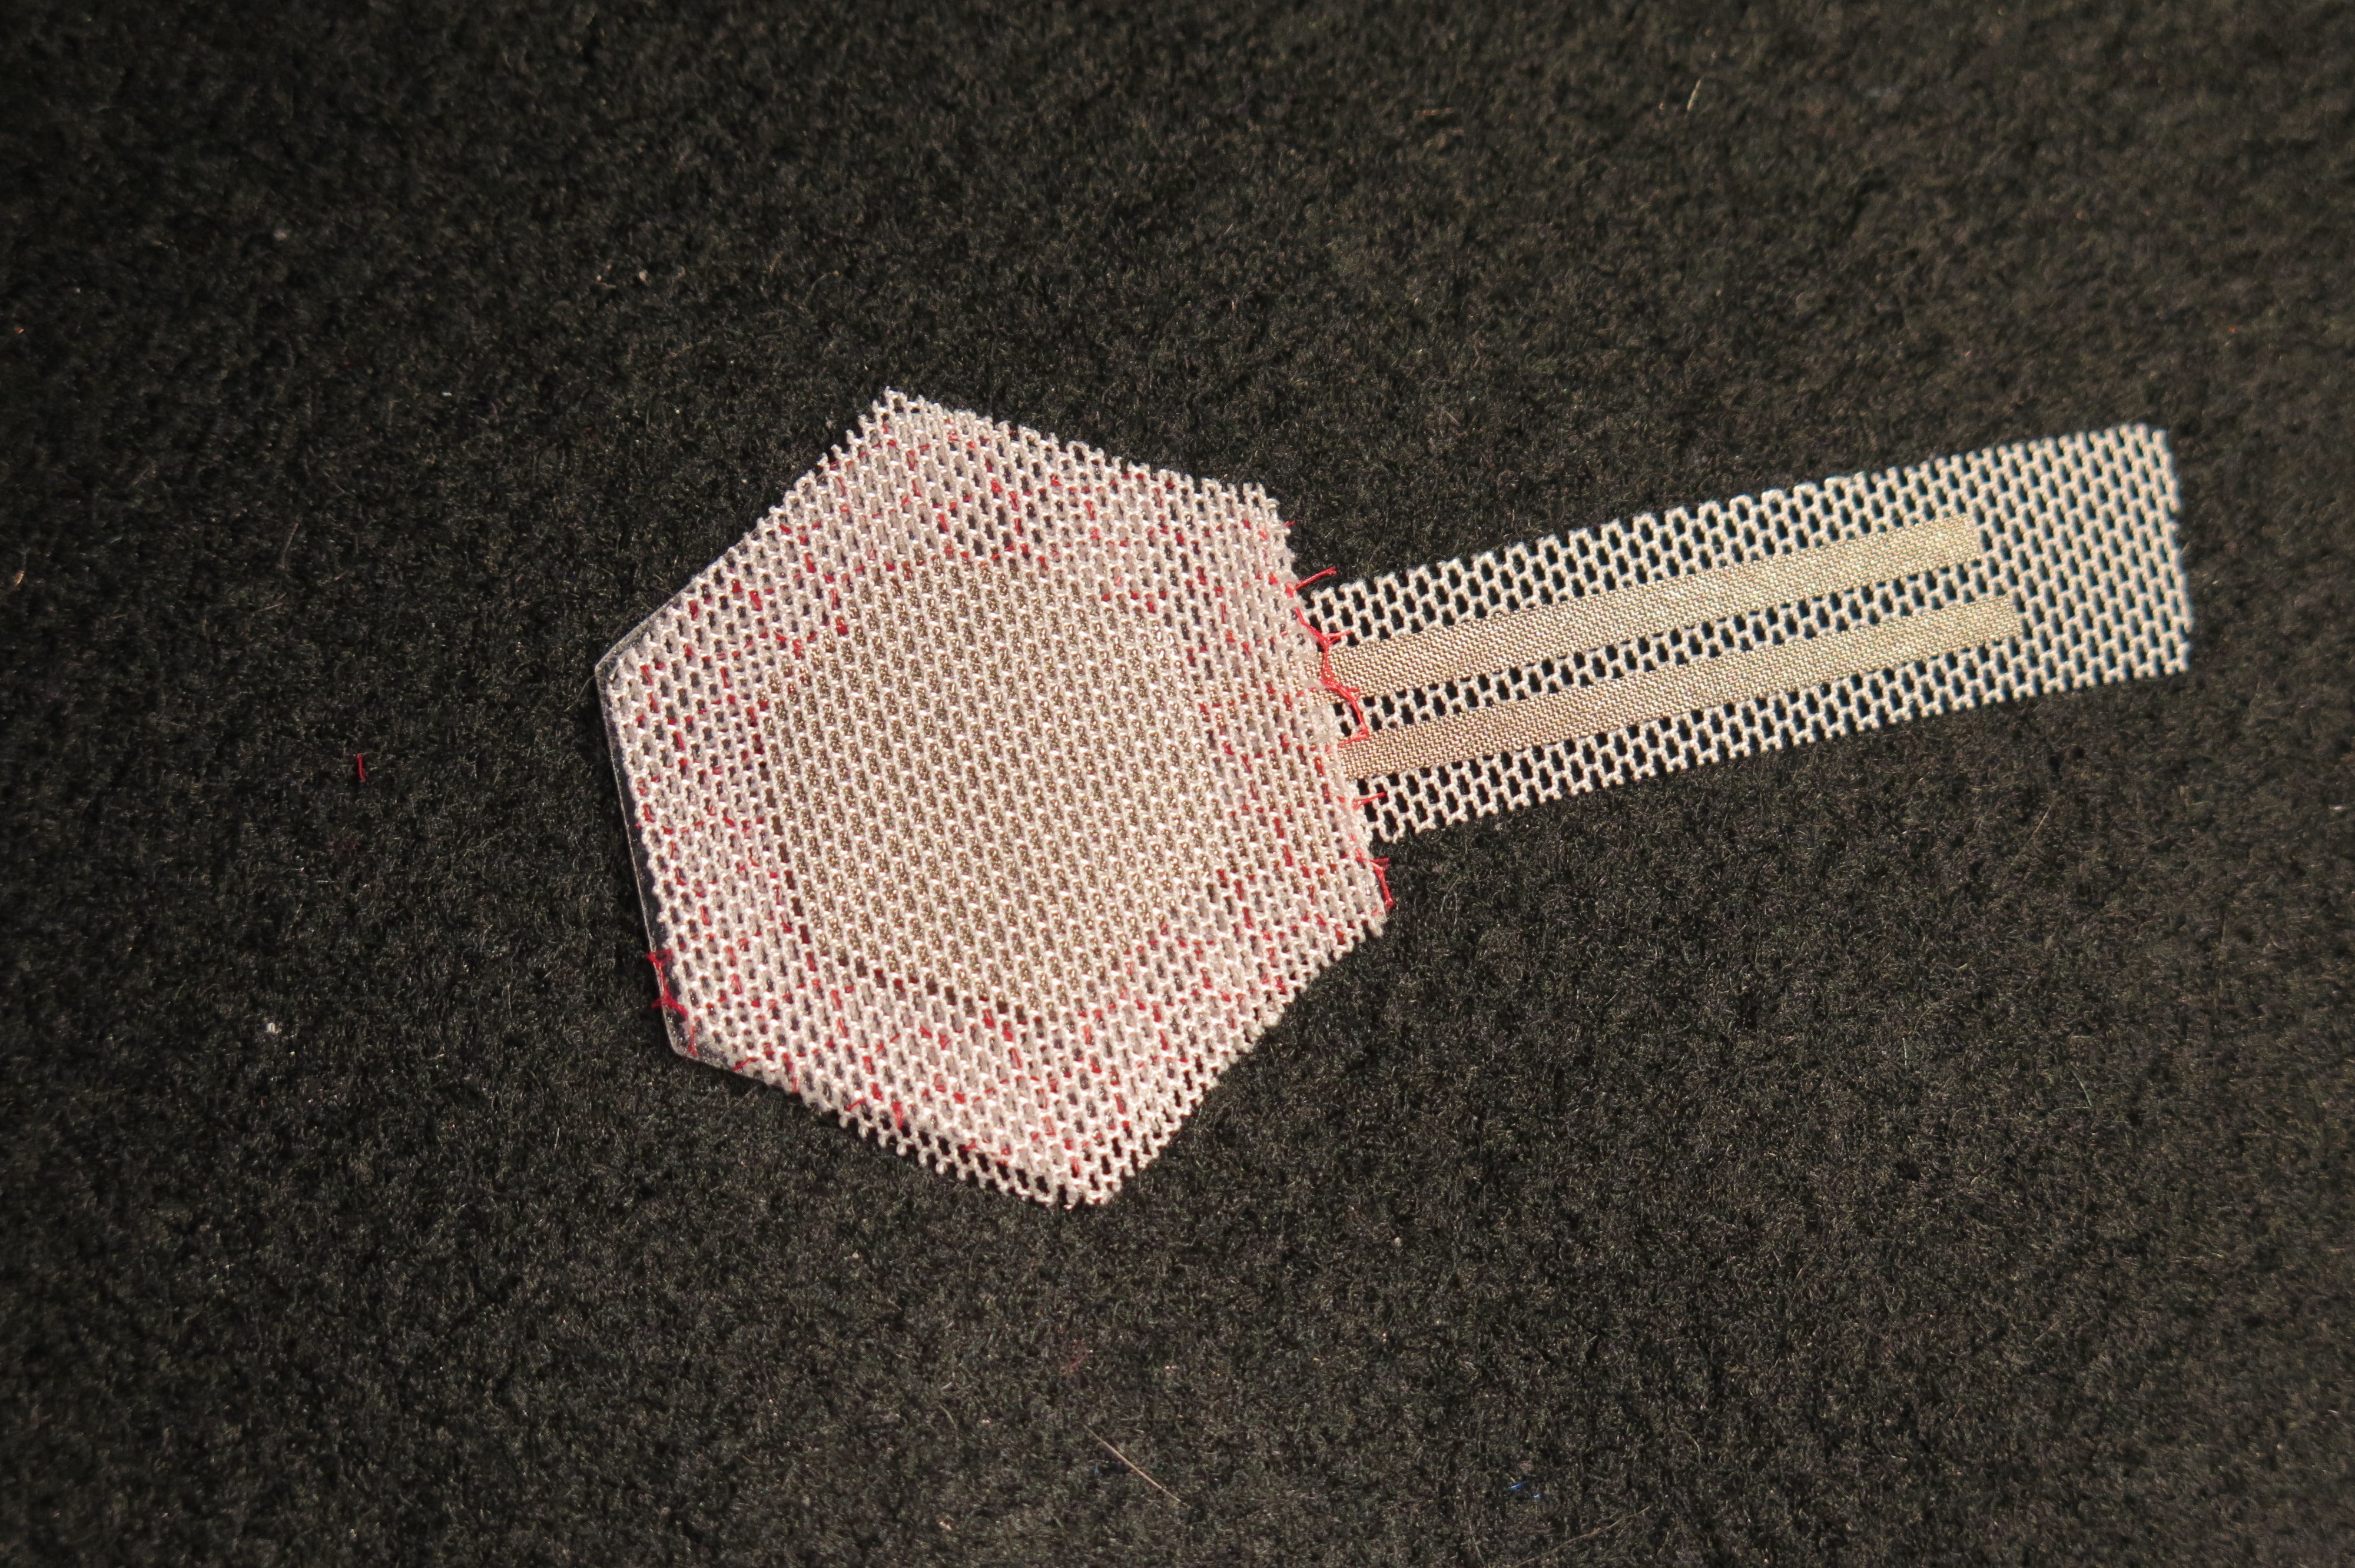
Add a layer of the net between the two switch sides and use the iron to melt the adhesive around the border. If the adhesive extends between the two conductive fabric pieces a bit be careful not to fuse them together, this could lead to a short. Only fuse the powermesh and net together around the outside border.