Create an e-textile touchpad using piezoresistive material. Either nonwoven or knit piezoresistive material can be used. The dimensions of this particular touchpad are based on one of our consultant’s preferences and the area of which she can move within.
Step 1. Cut All Fabric
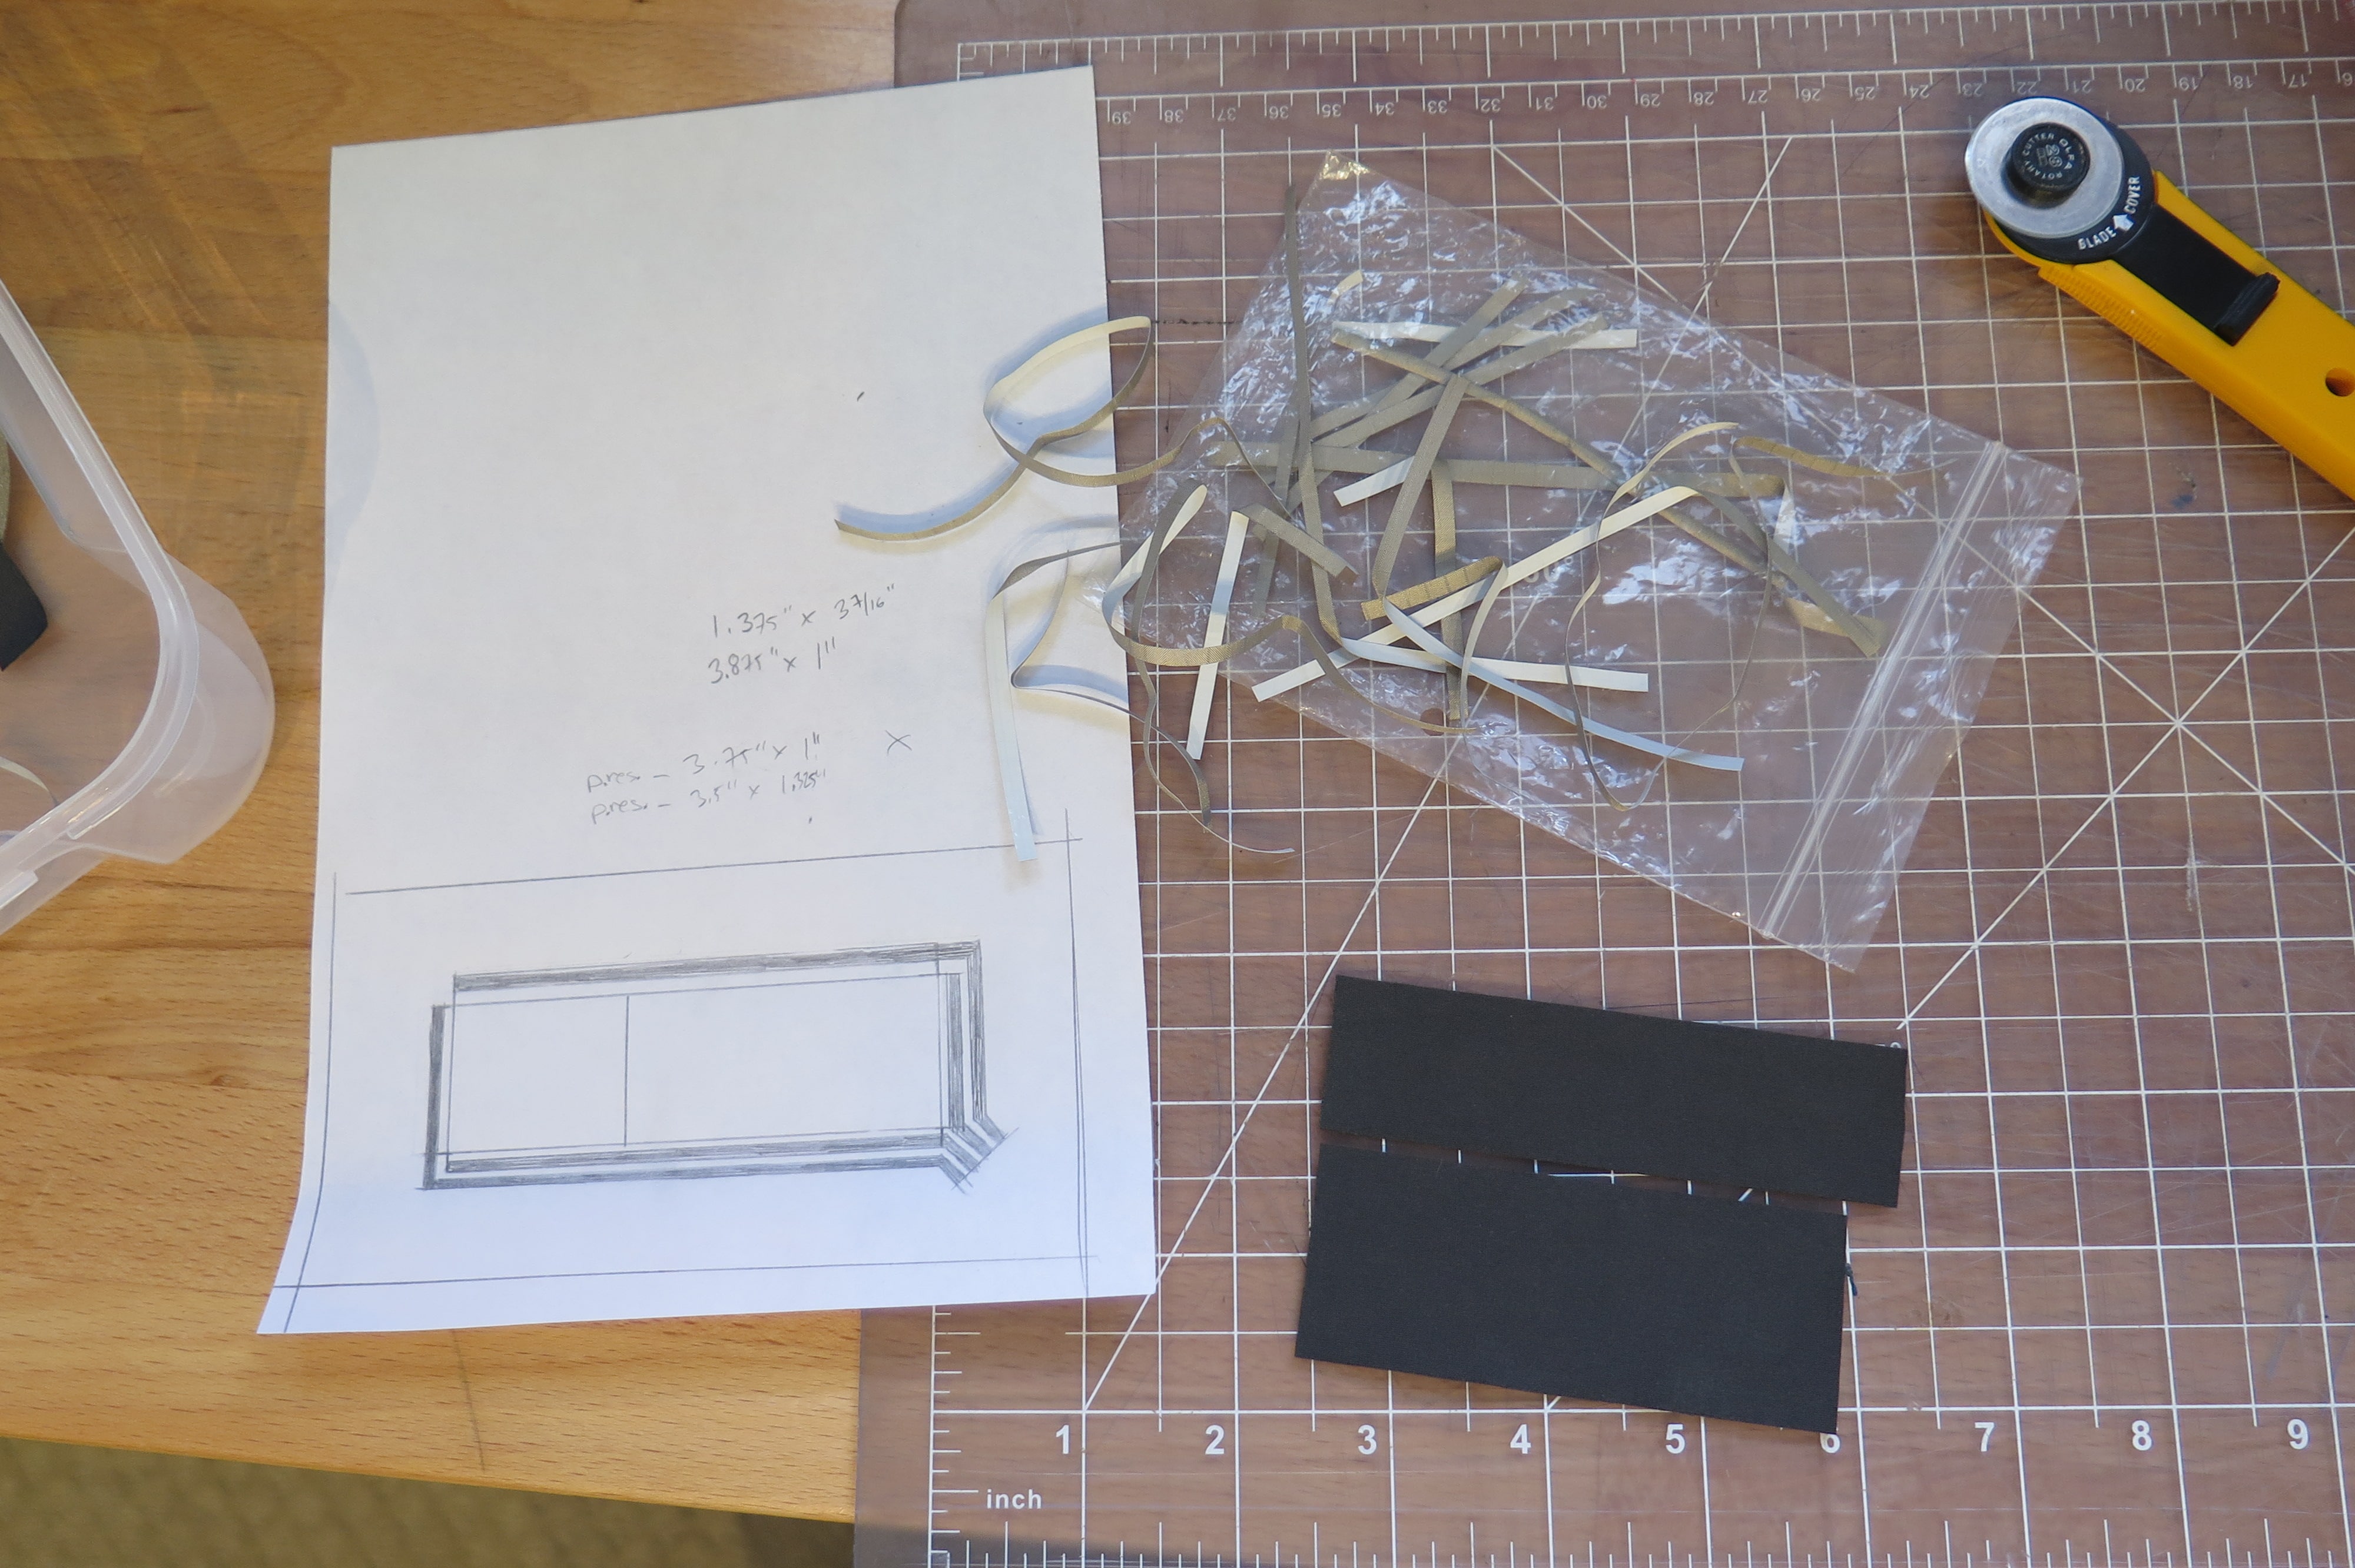
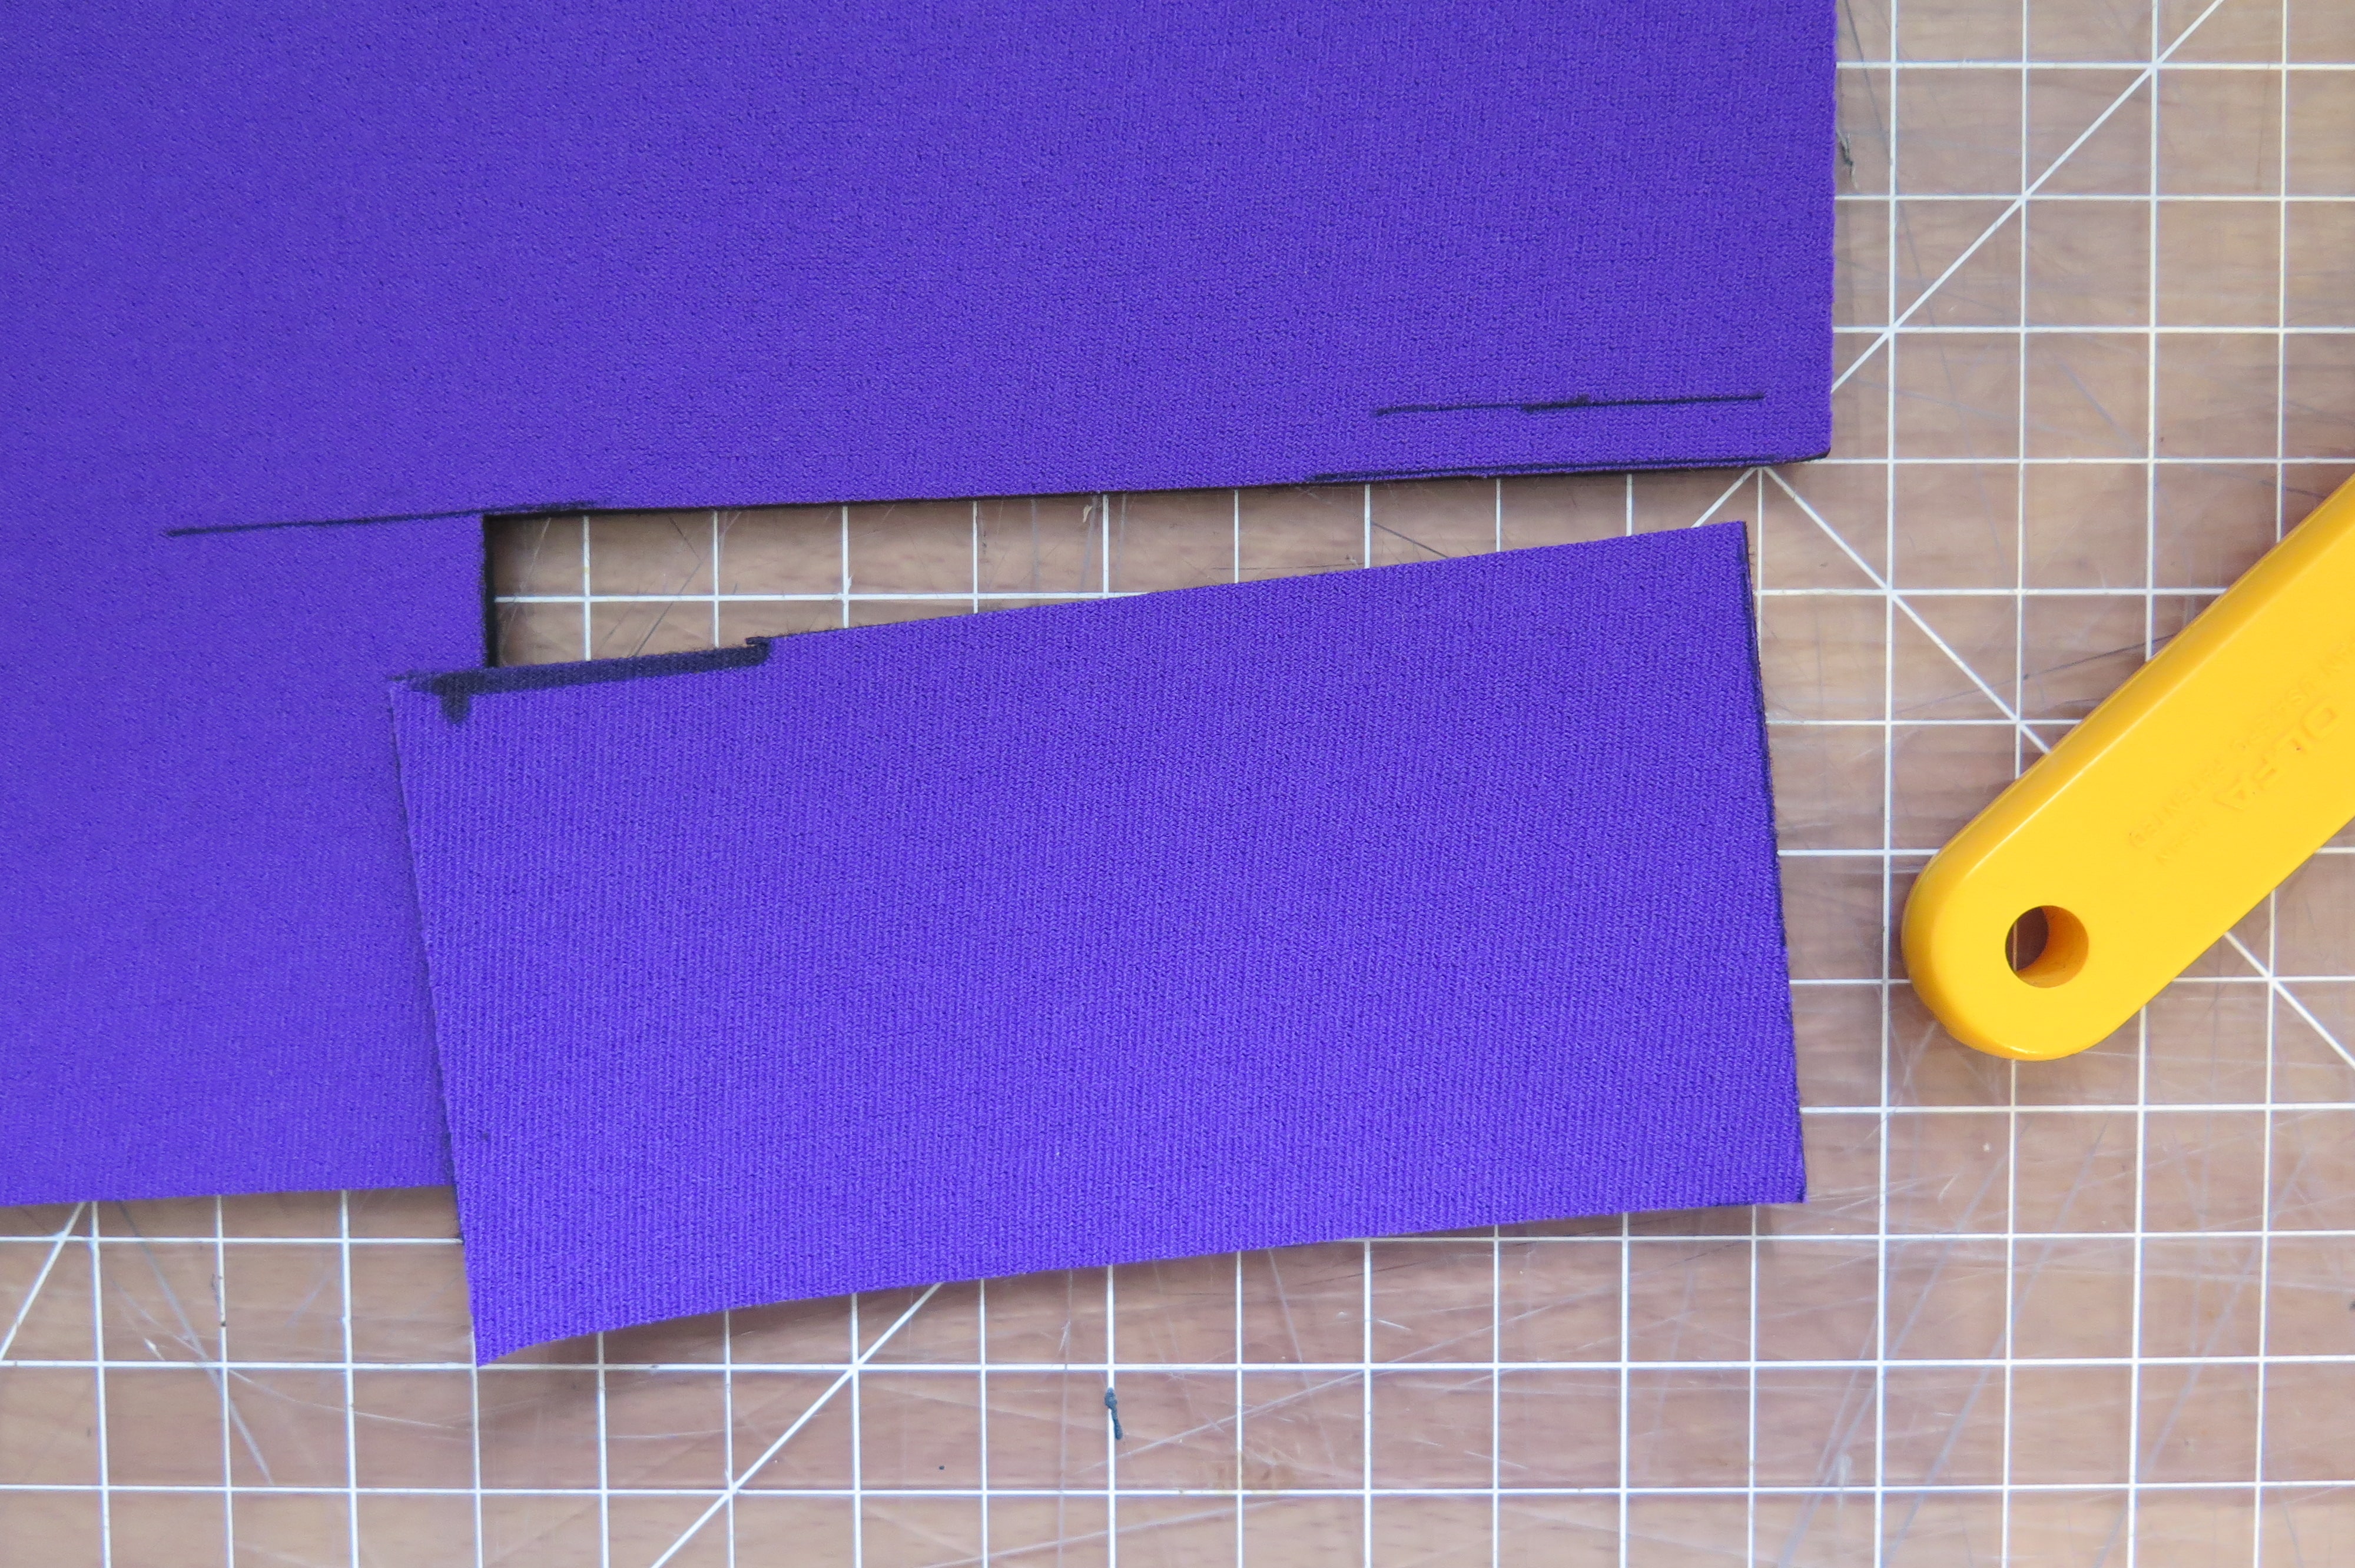
Use the attached patterns to cut out all the fabrics:
- 2 x piezoresistive
- Multiple strips of conductive fabric at 2mm thickness
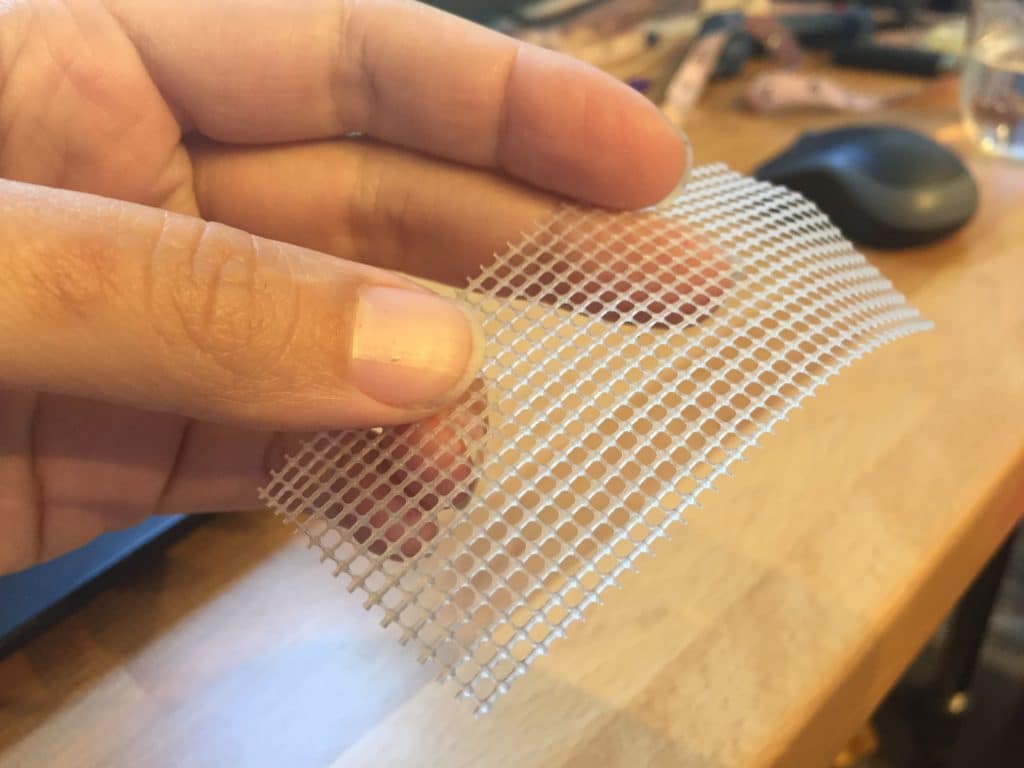
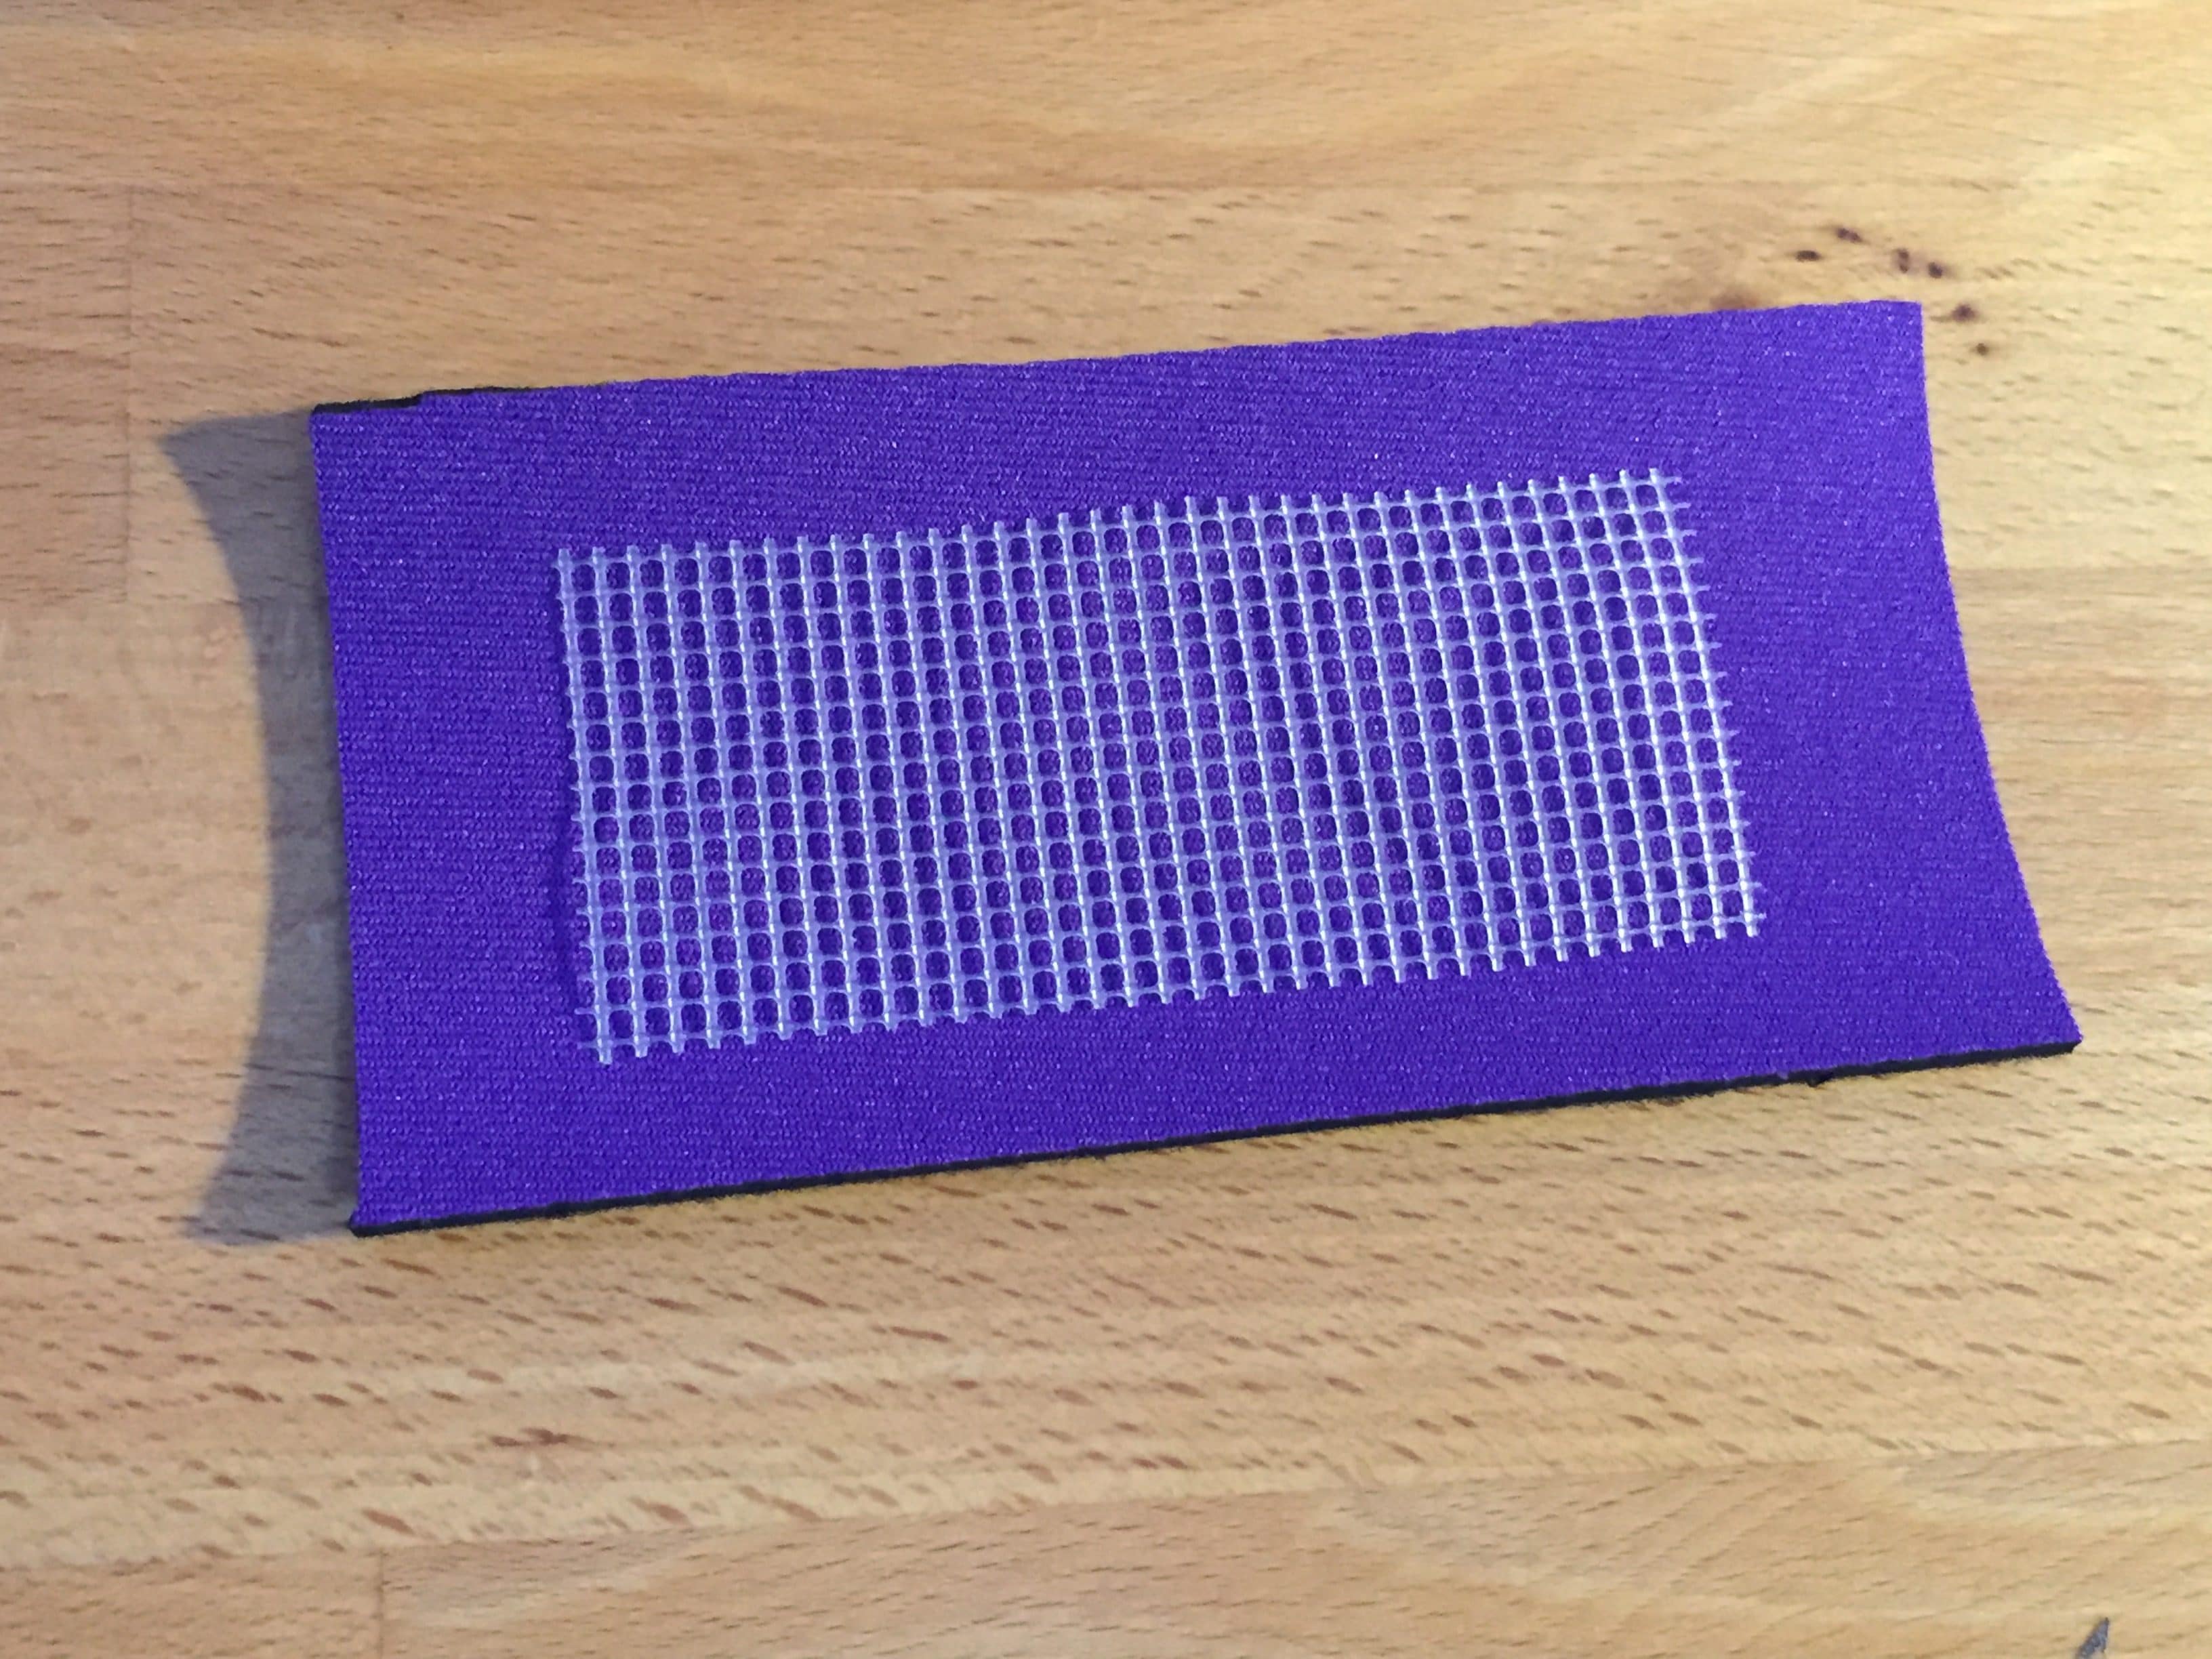
- 1 x net
- 1 x neoprene
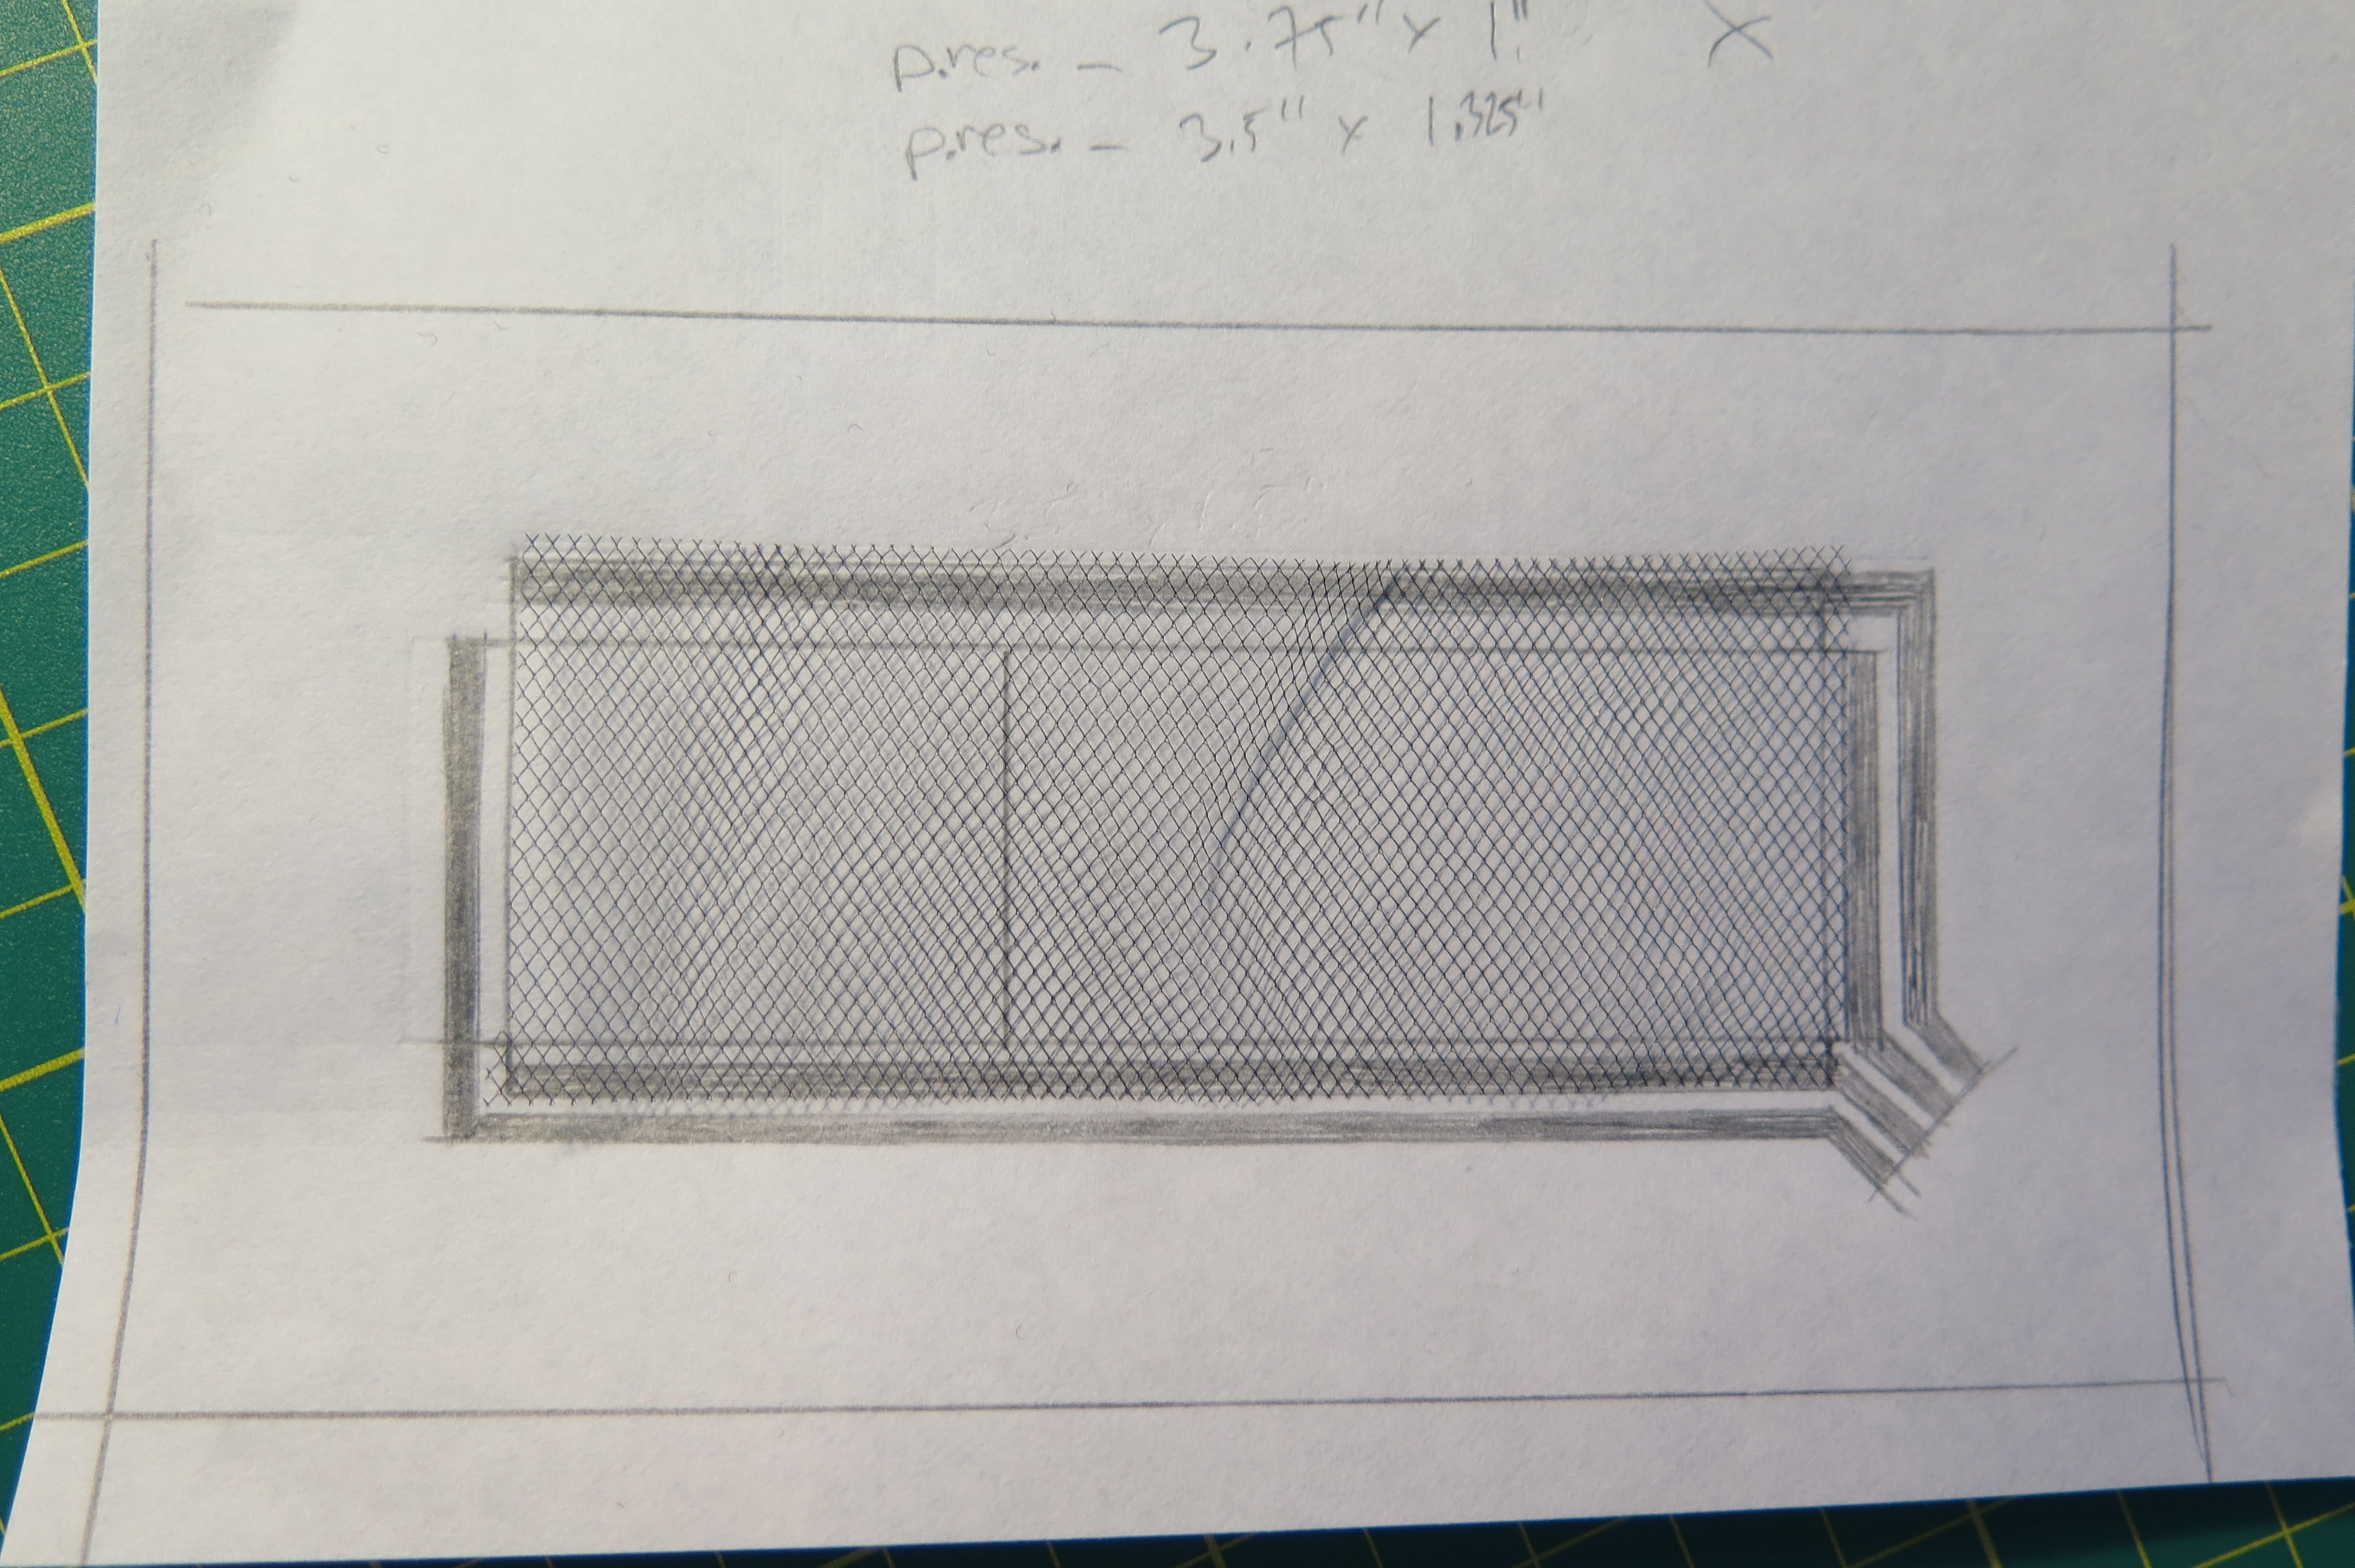
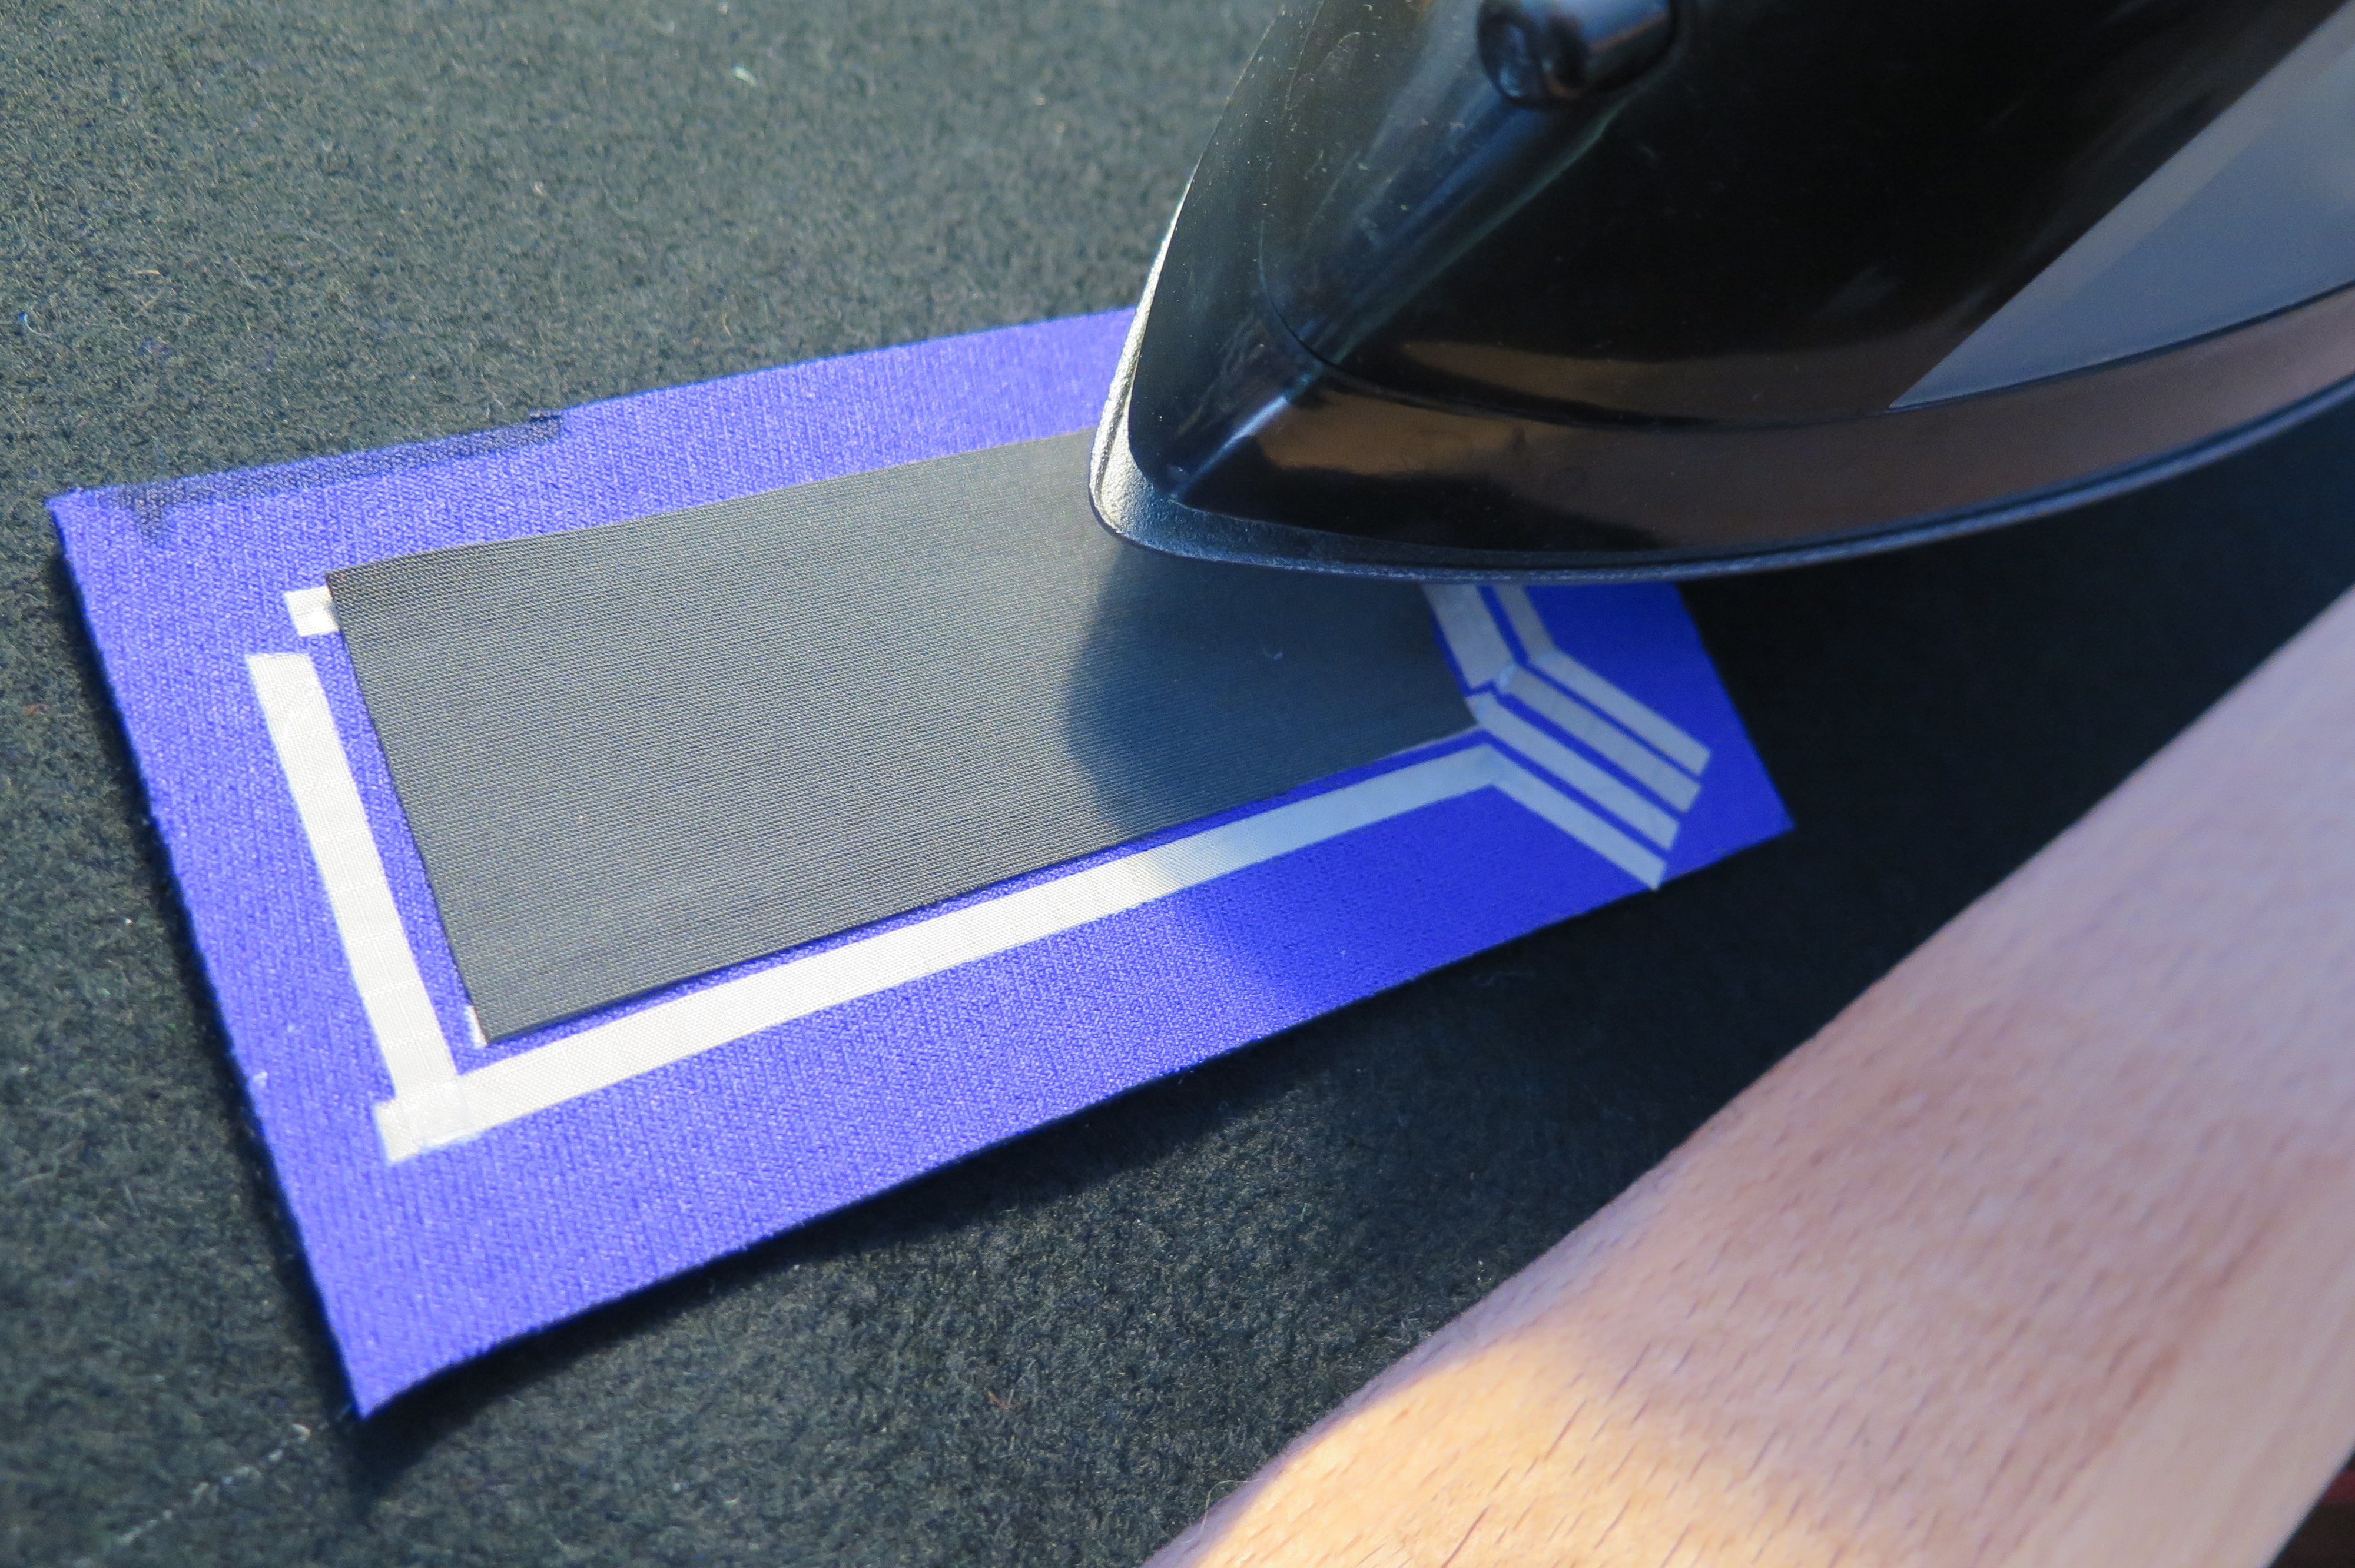
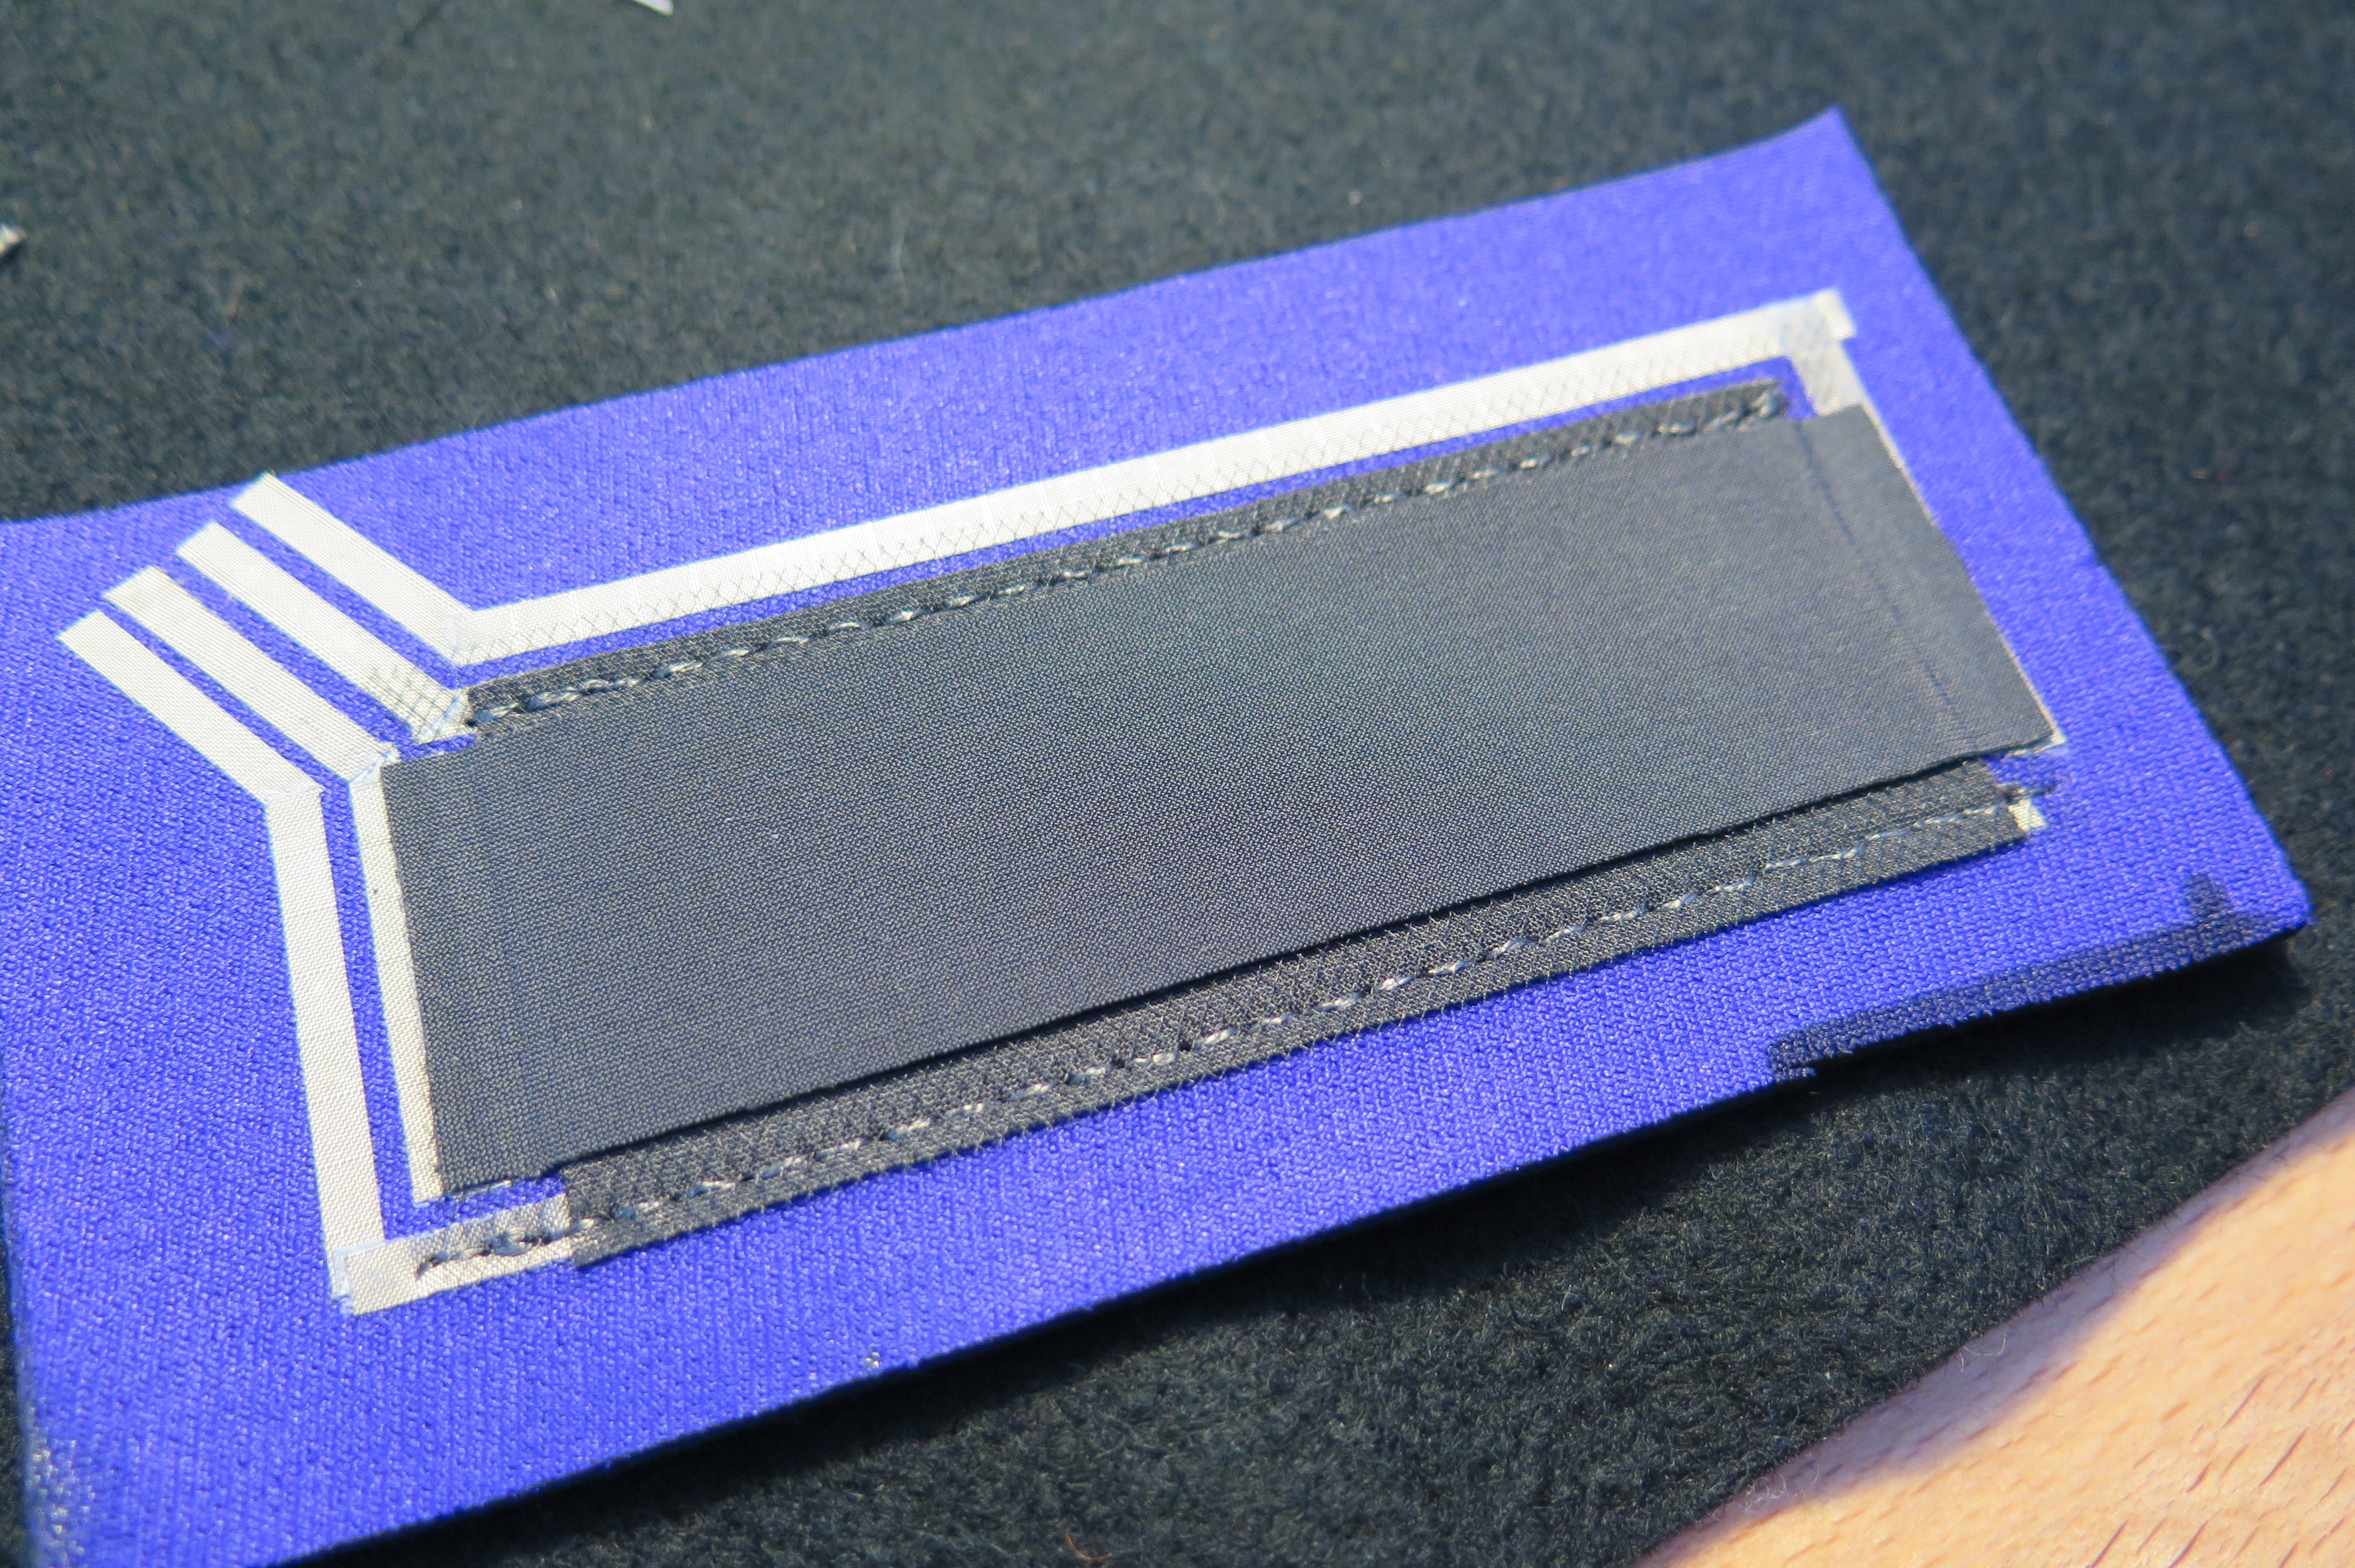
Step 2. Draw and Iron on Traces
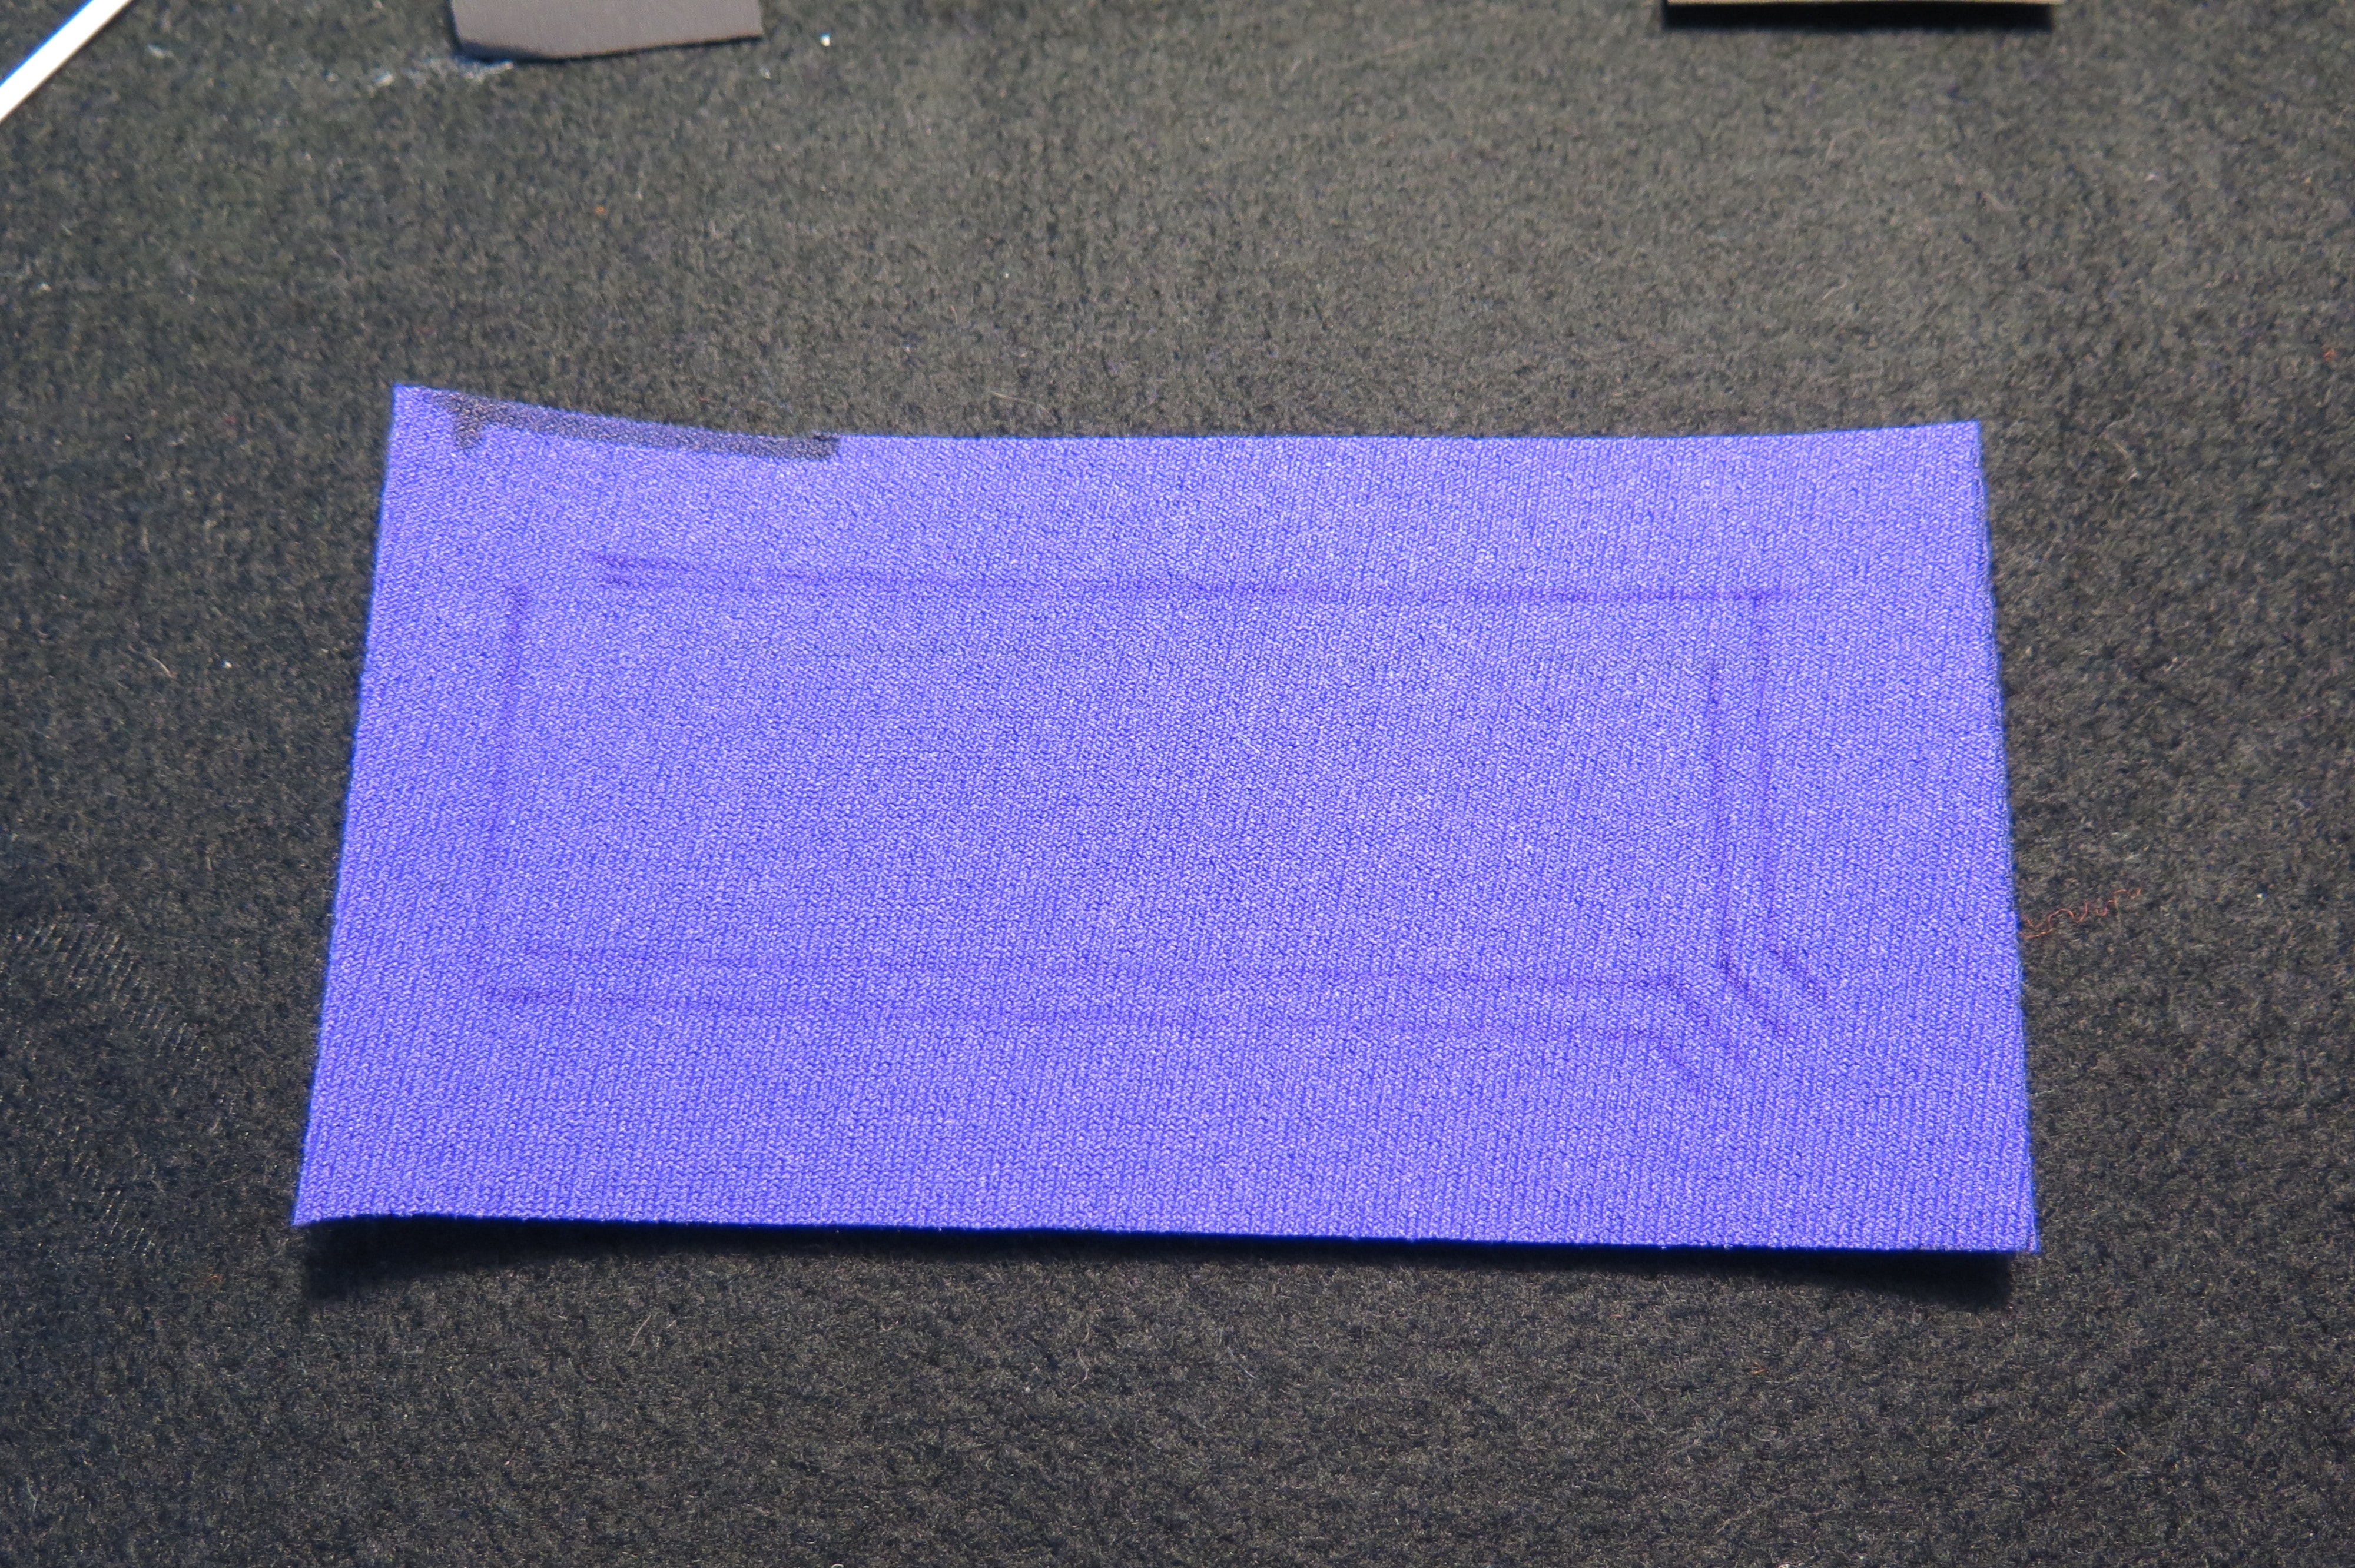
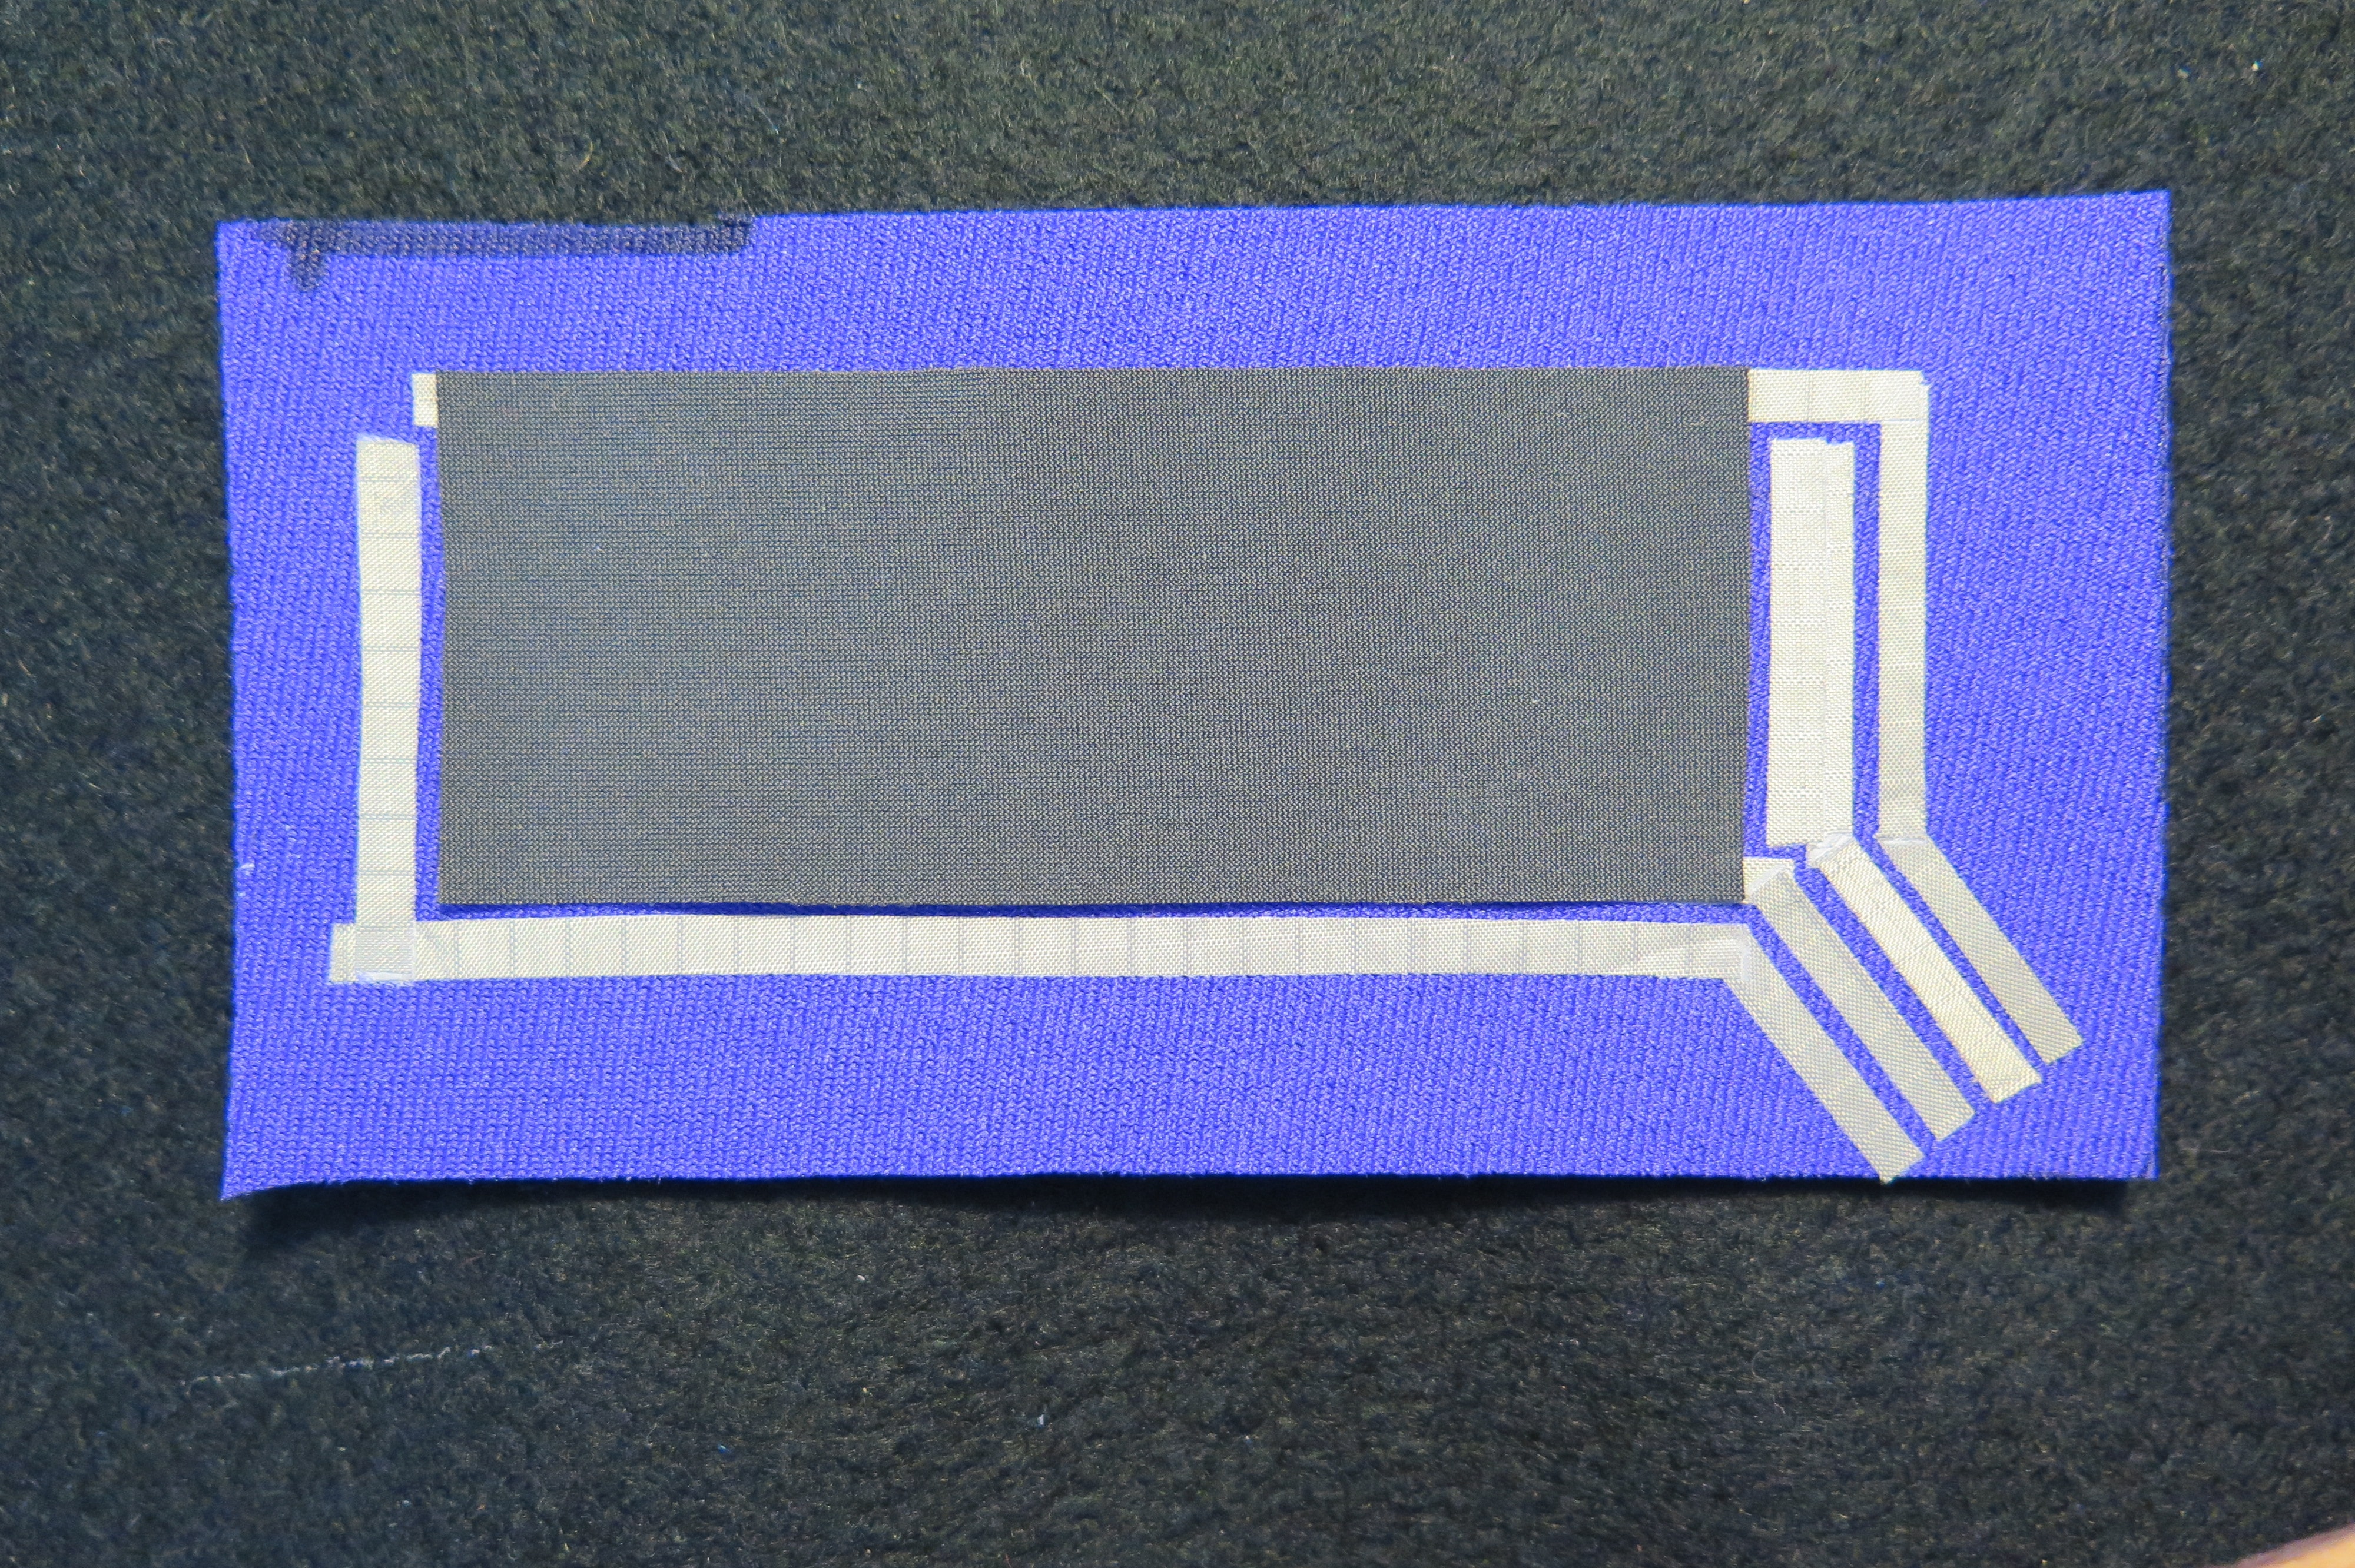
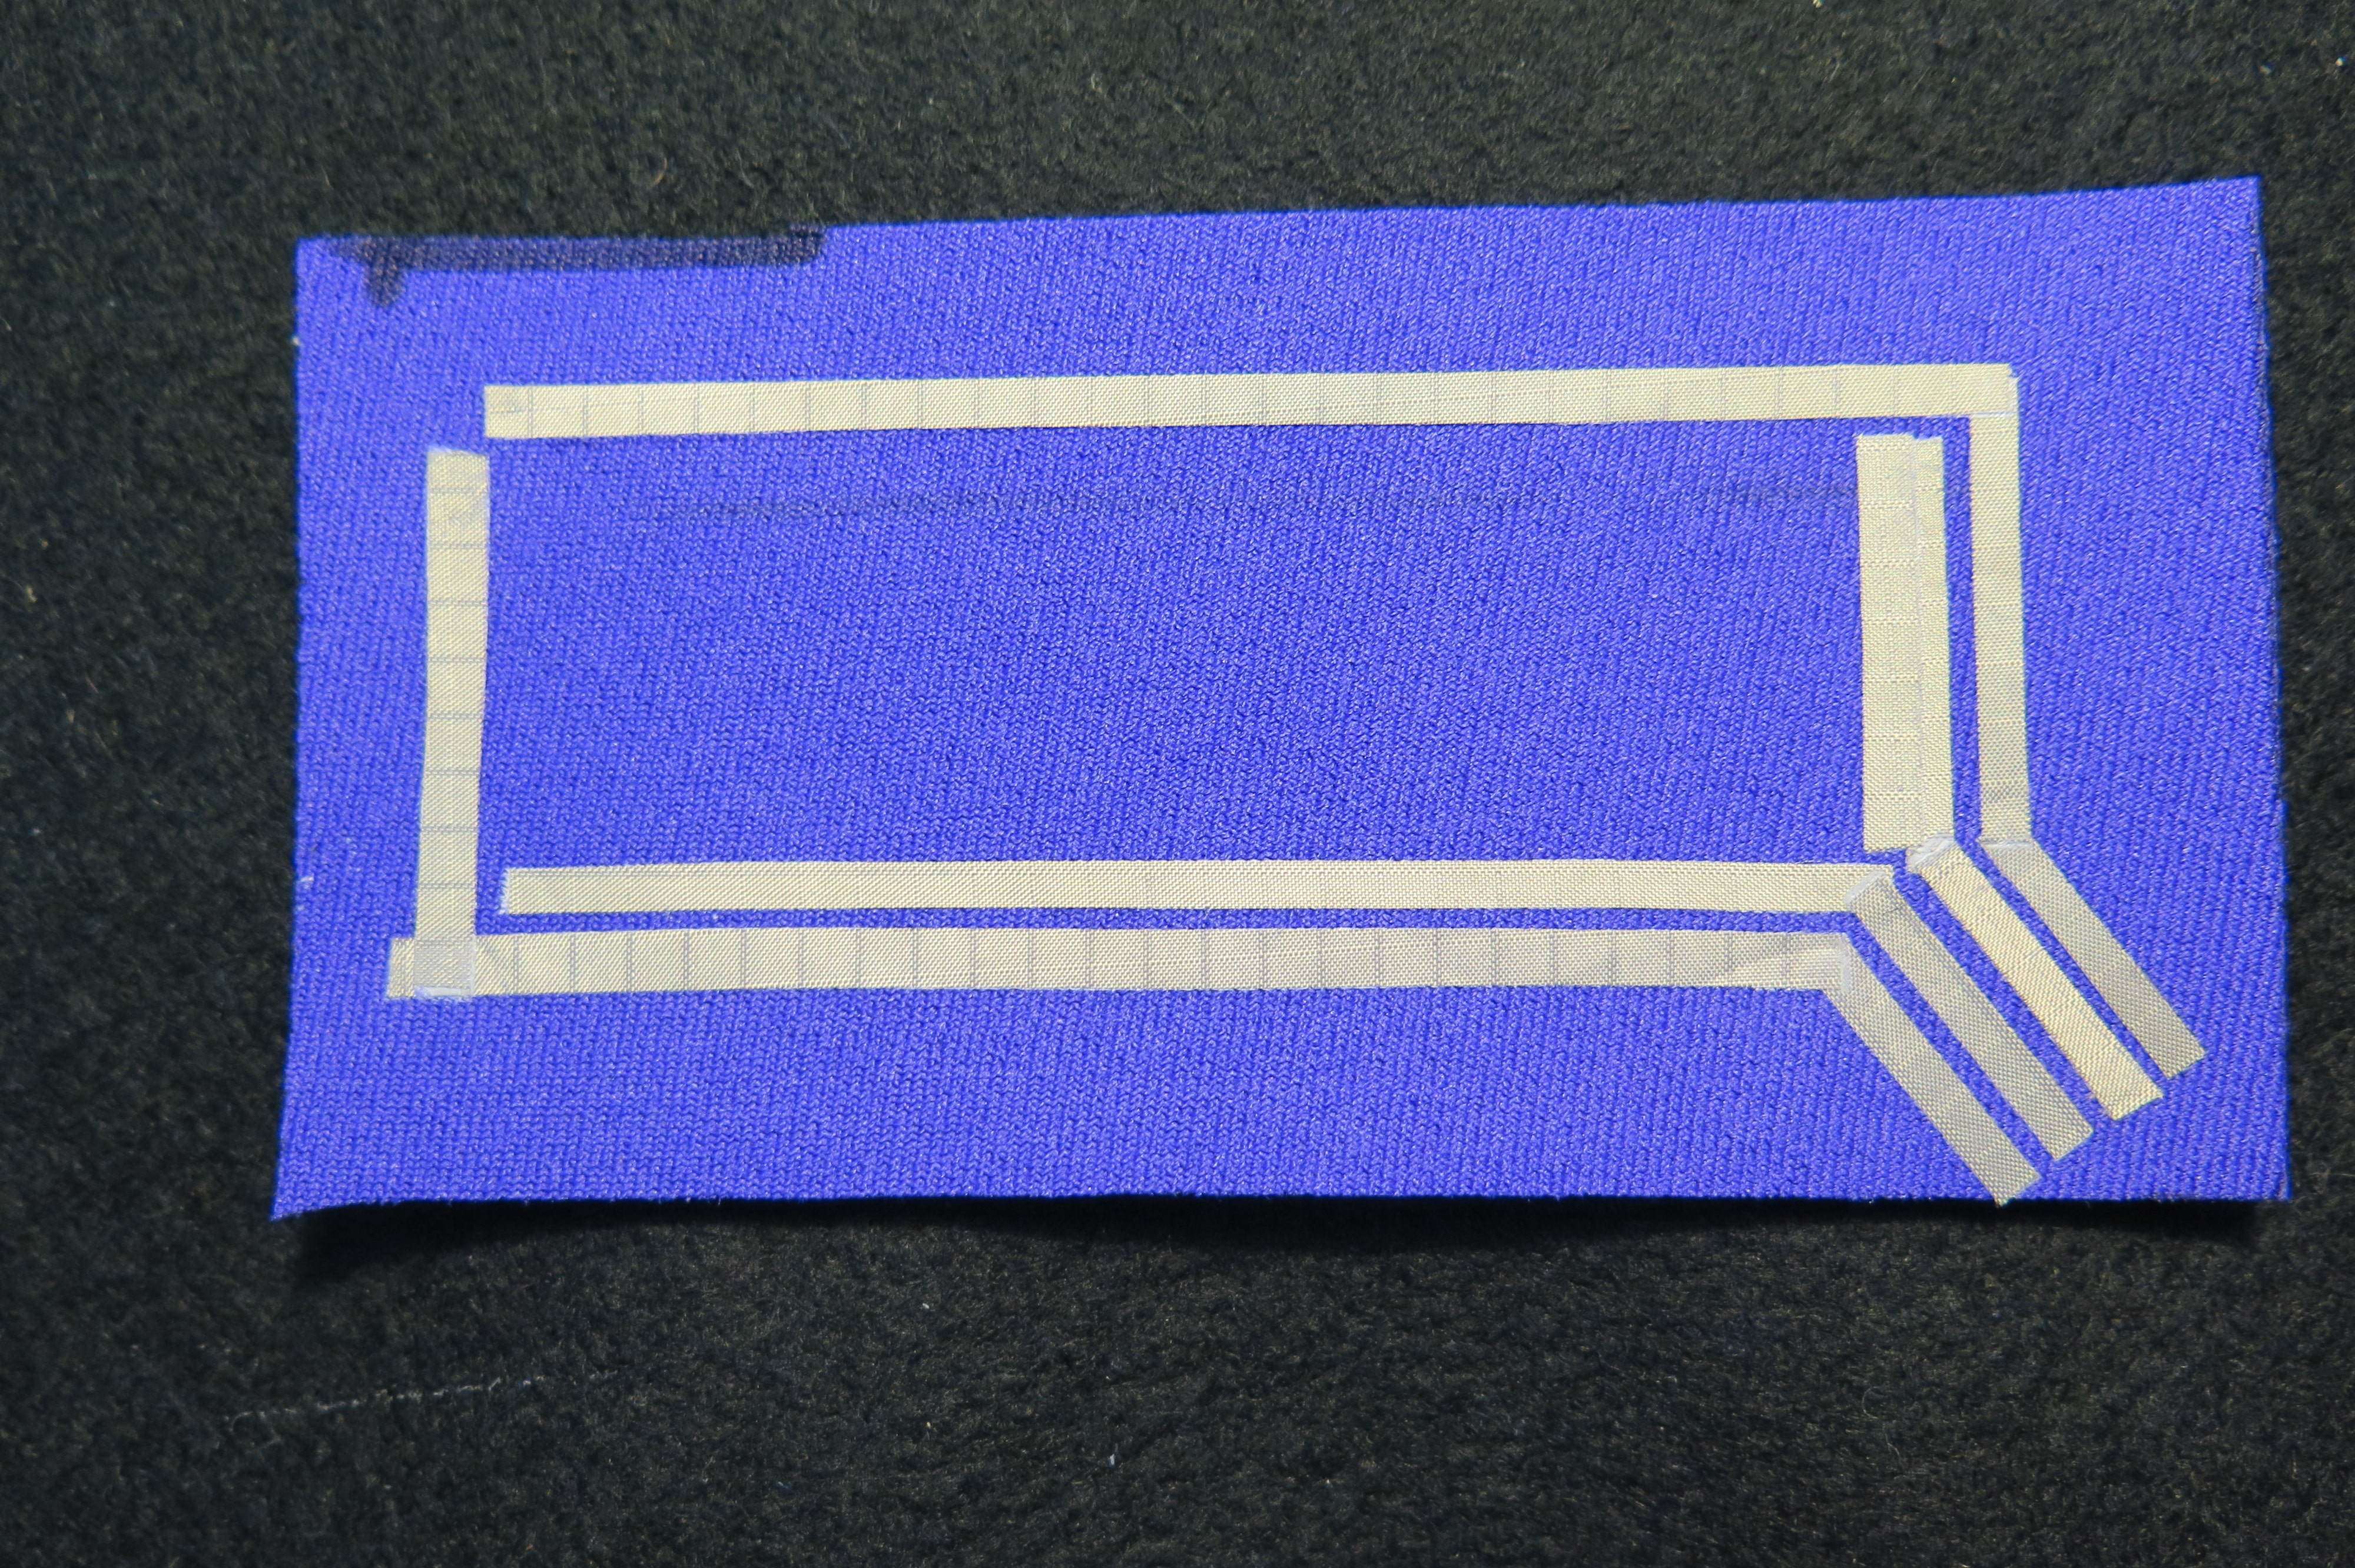

Using the pattern to draw the traces onto the Neoprene base fabric. Start ironing down traces. Things are designed fairly close and you need to avoid shorts between each of the four traces and between the two piezoresistive layers. So, make sure to check along the way that the traces are lining up properly with their respective piezoresist layers and that nothing is touching as you lay each trace down.
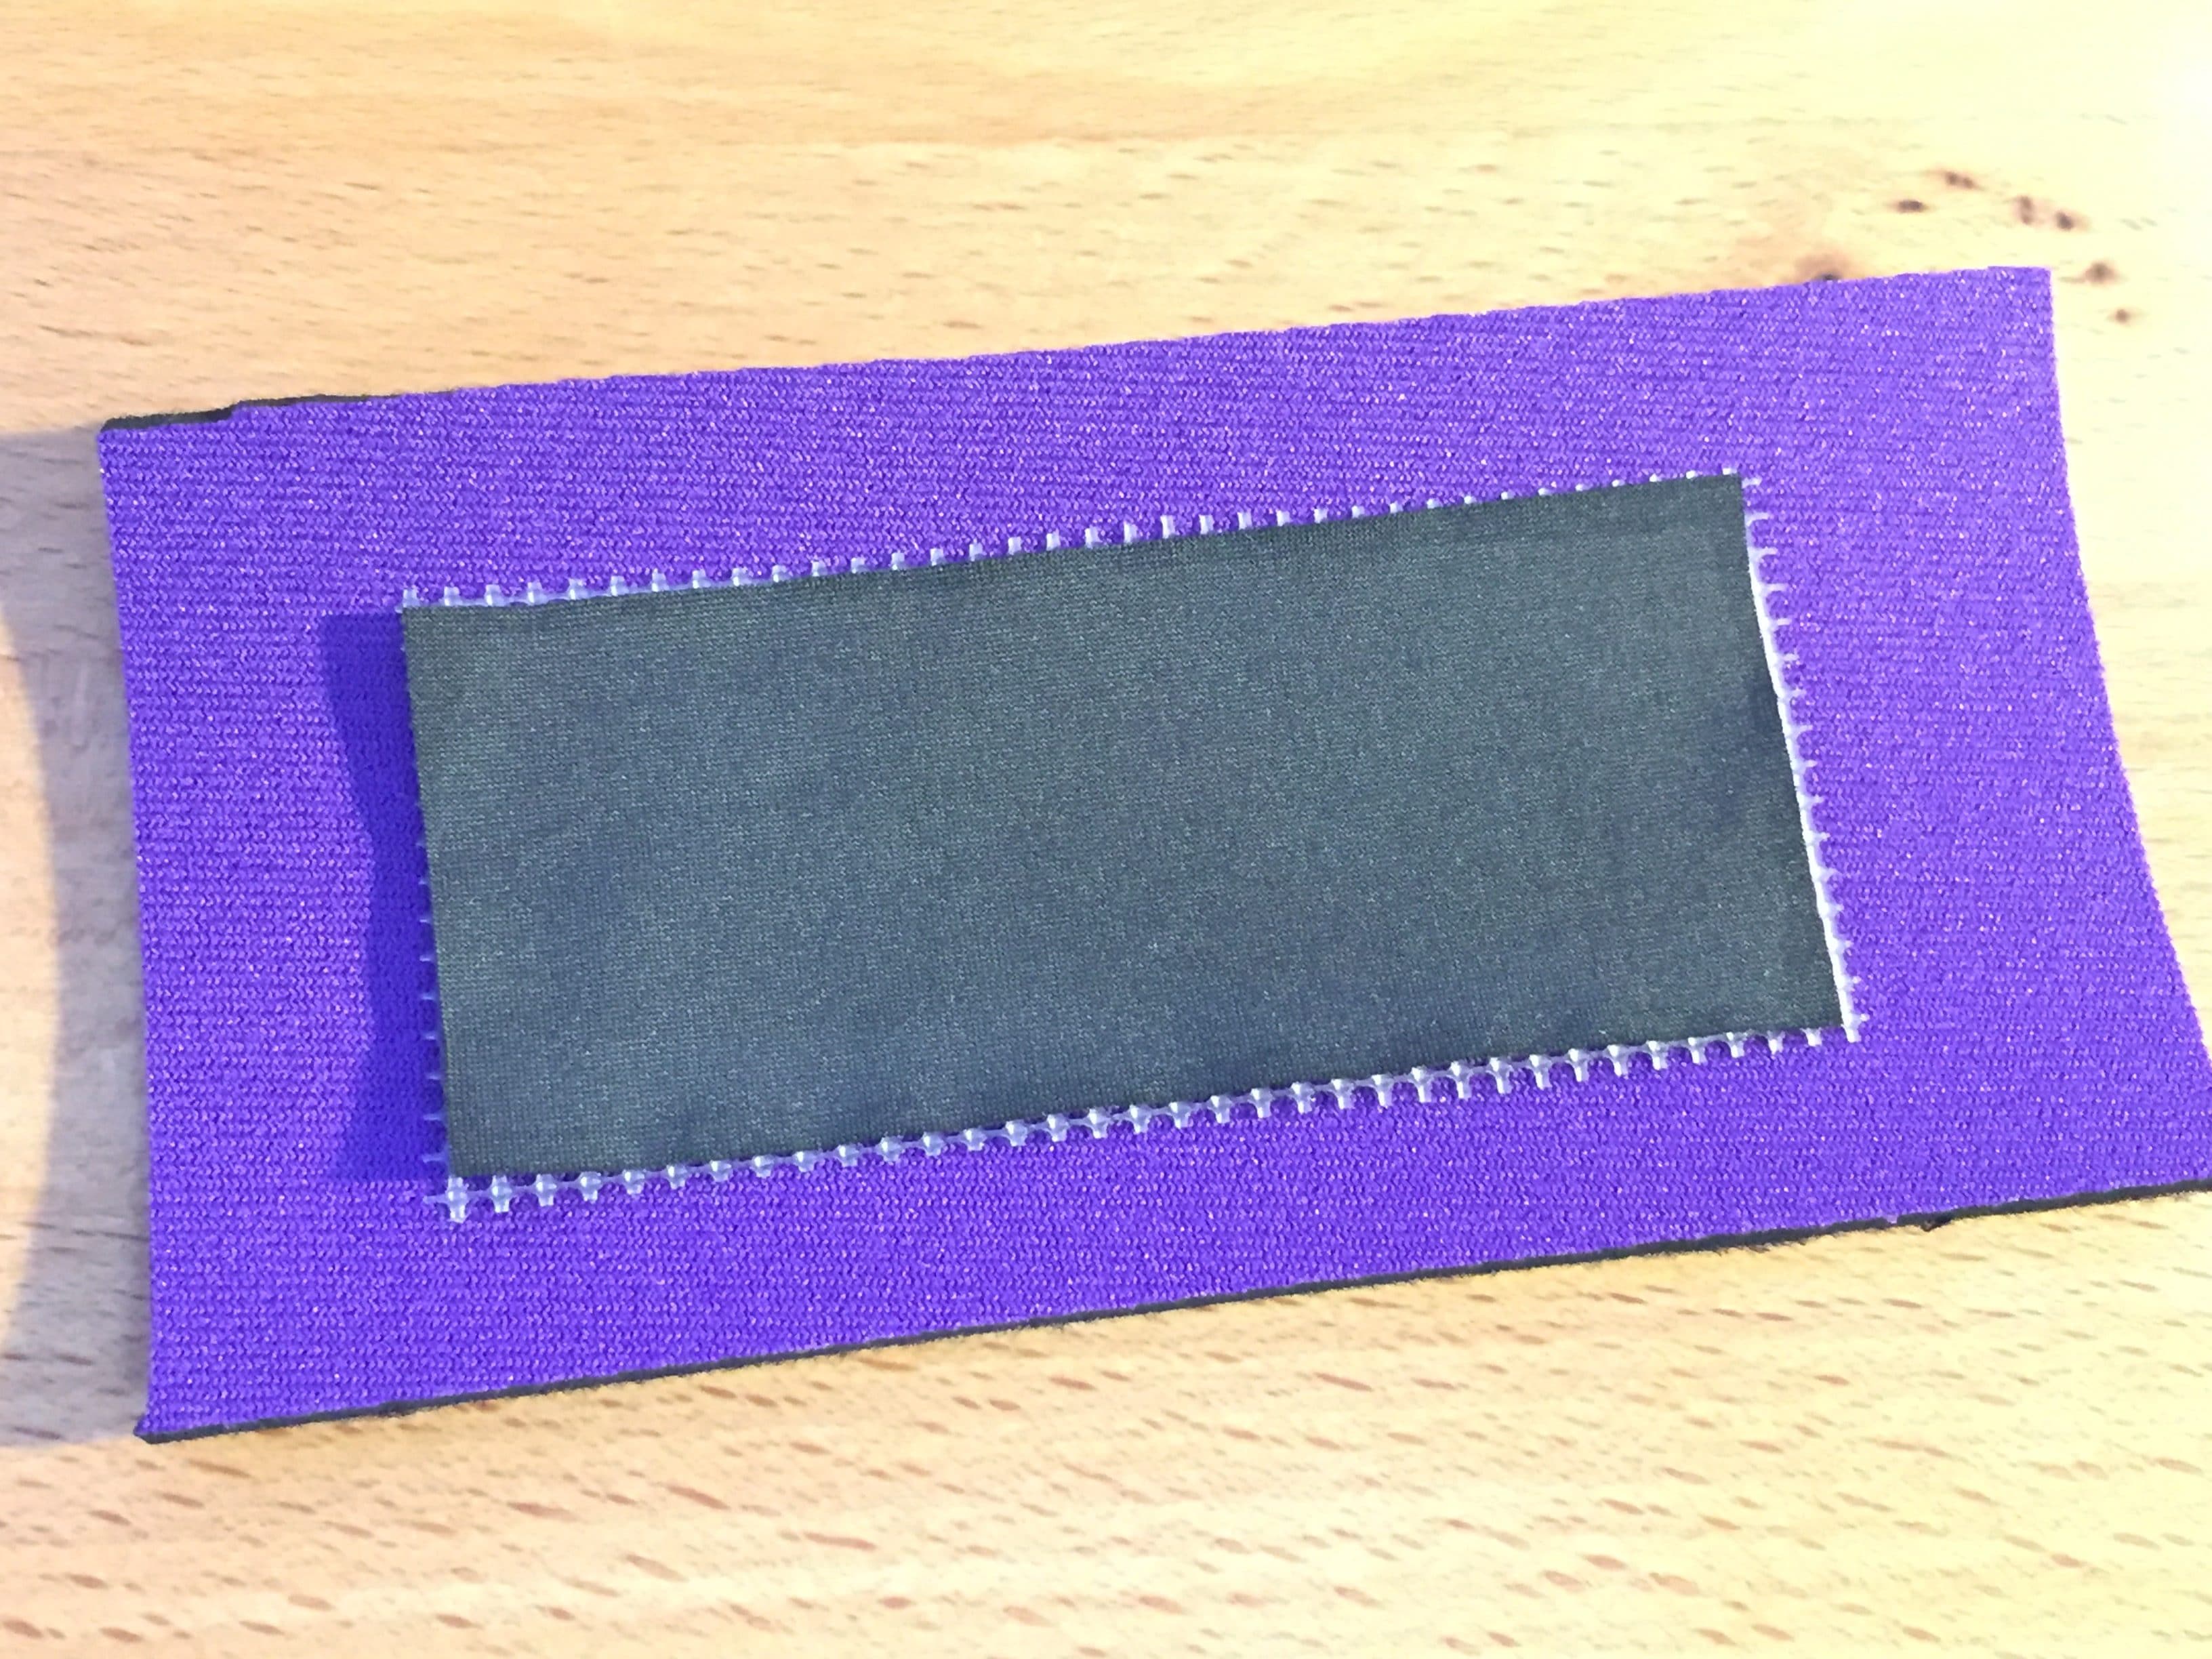
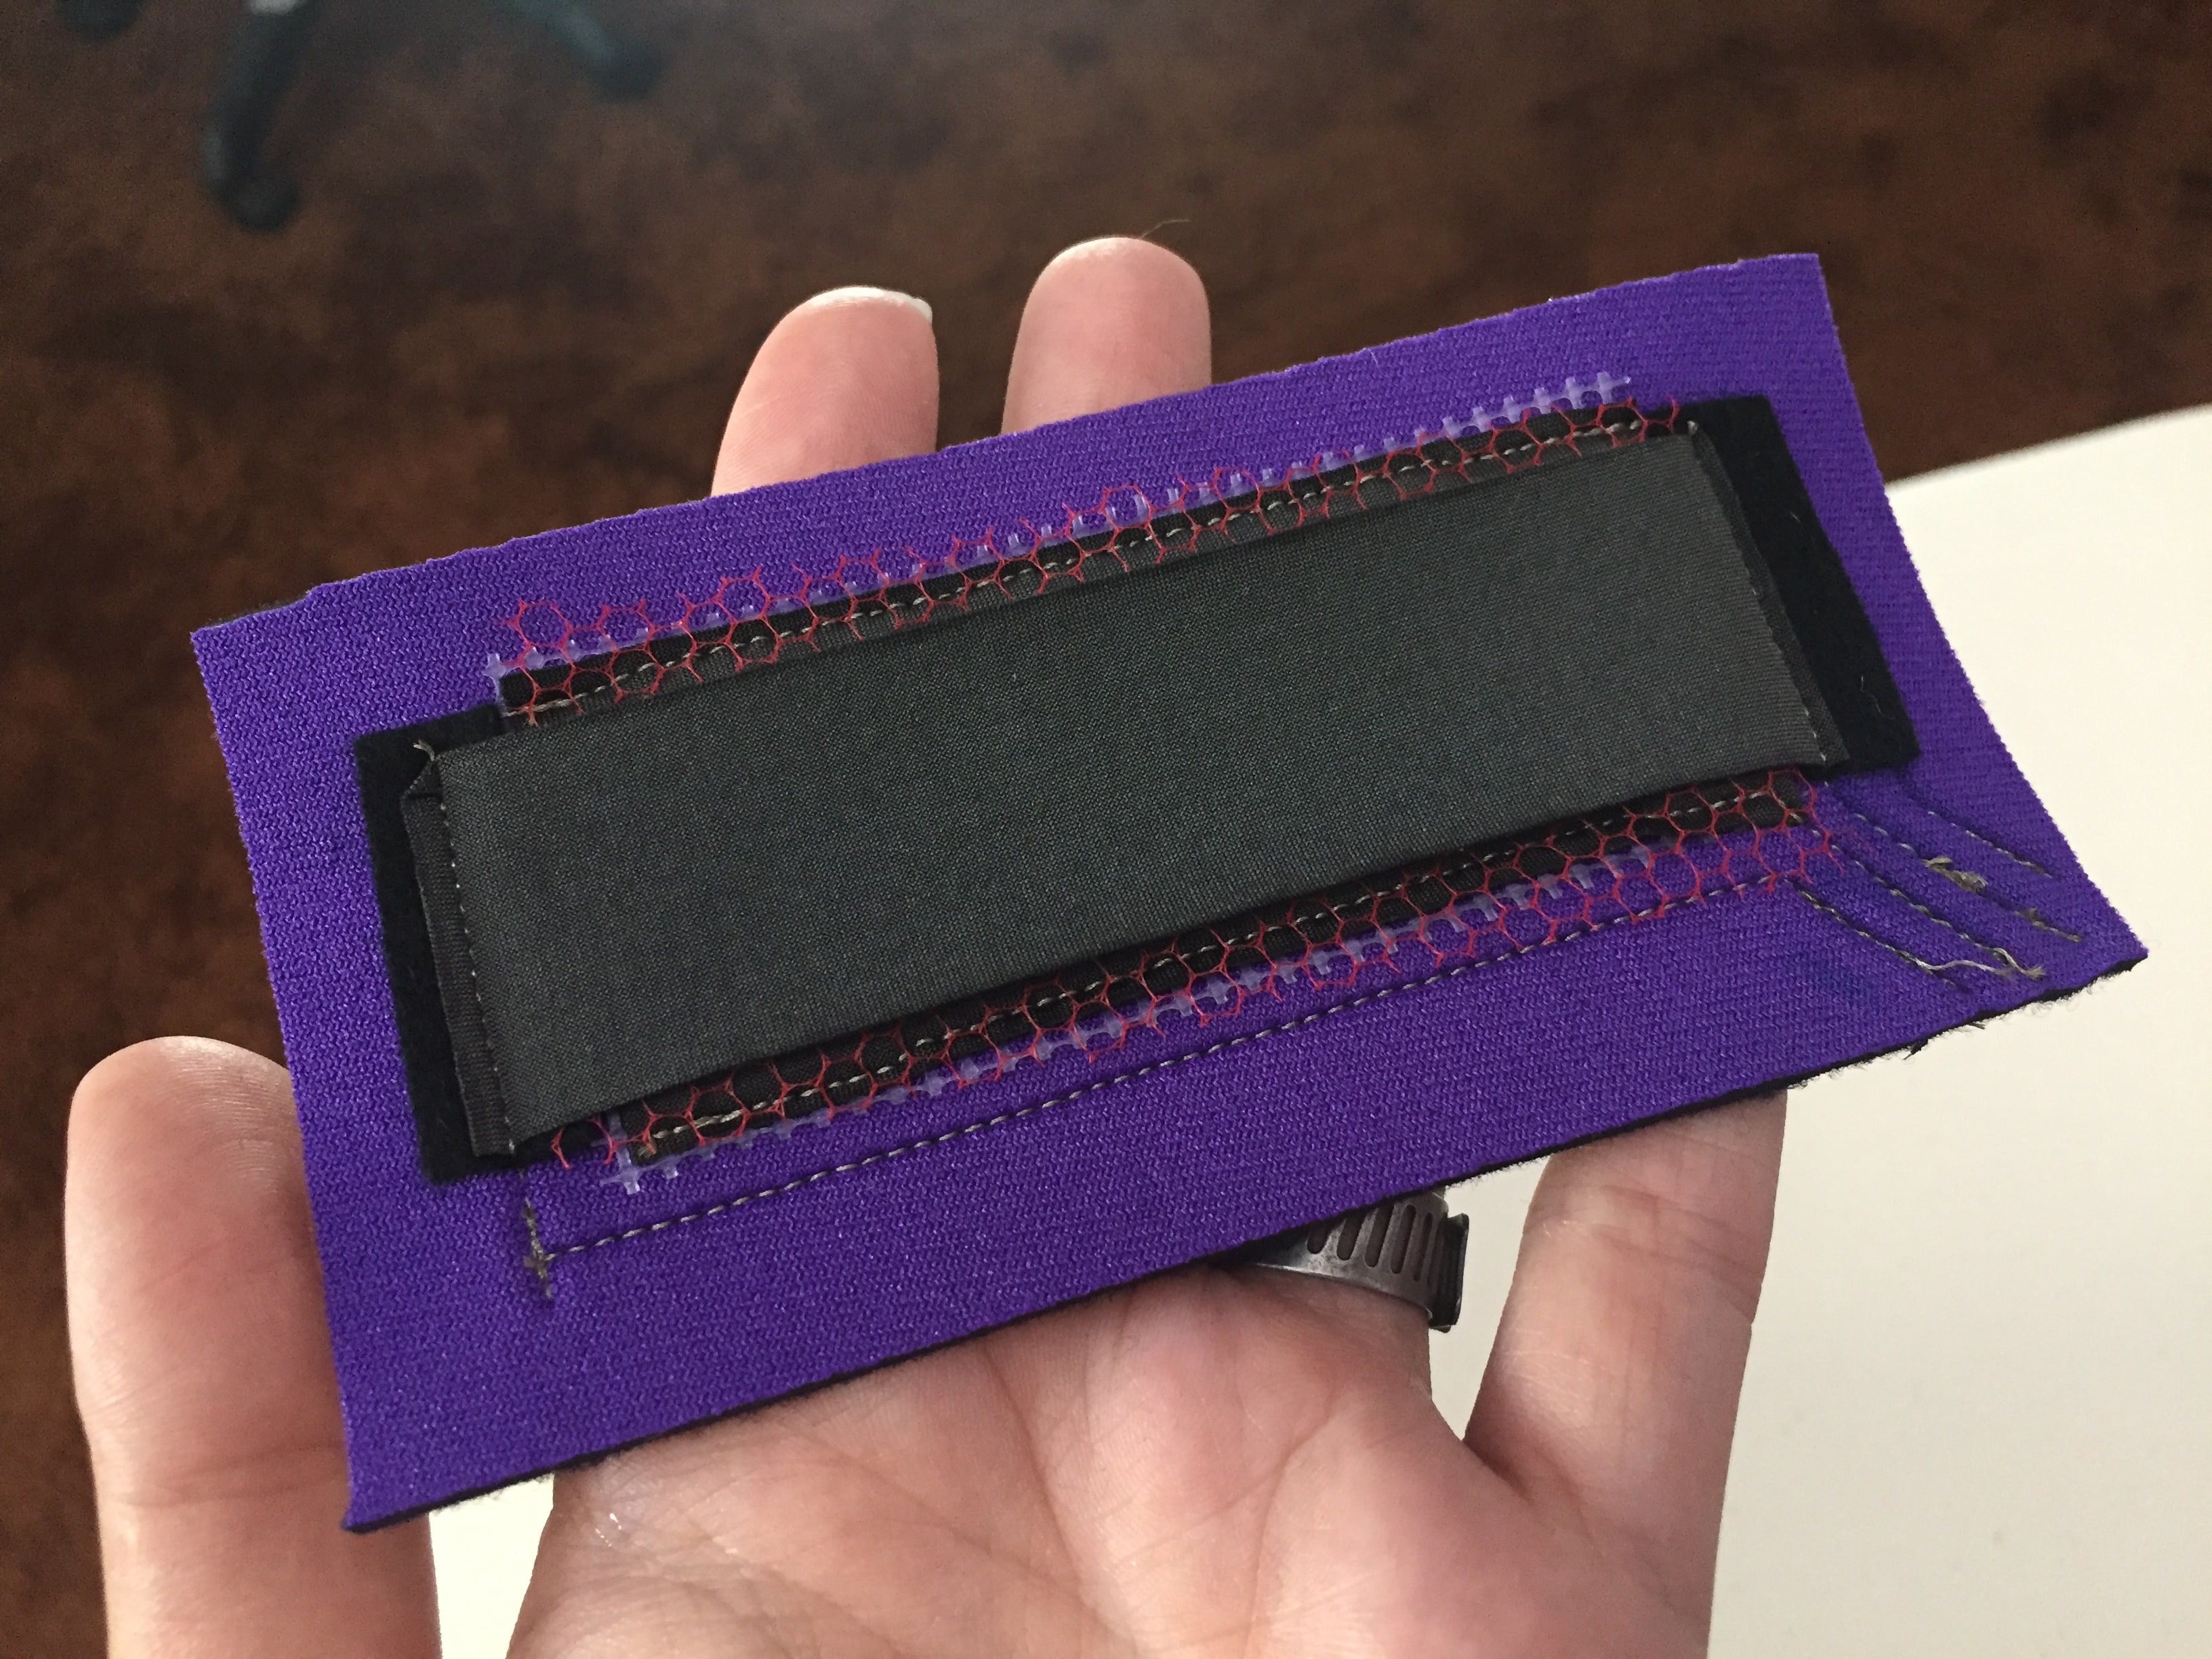
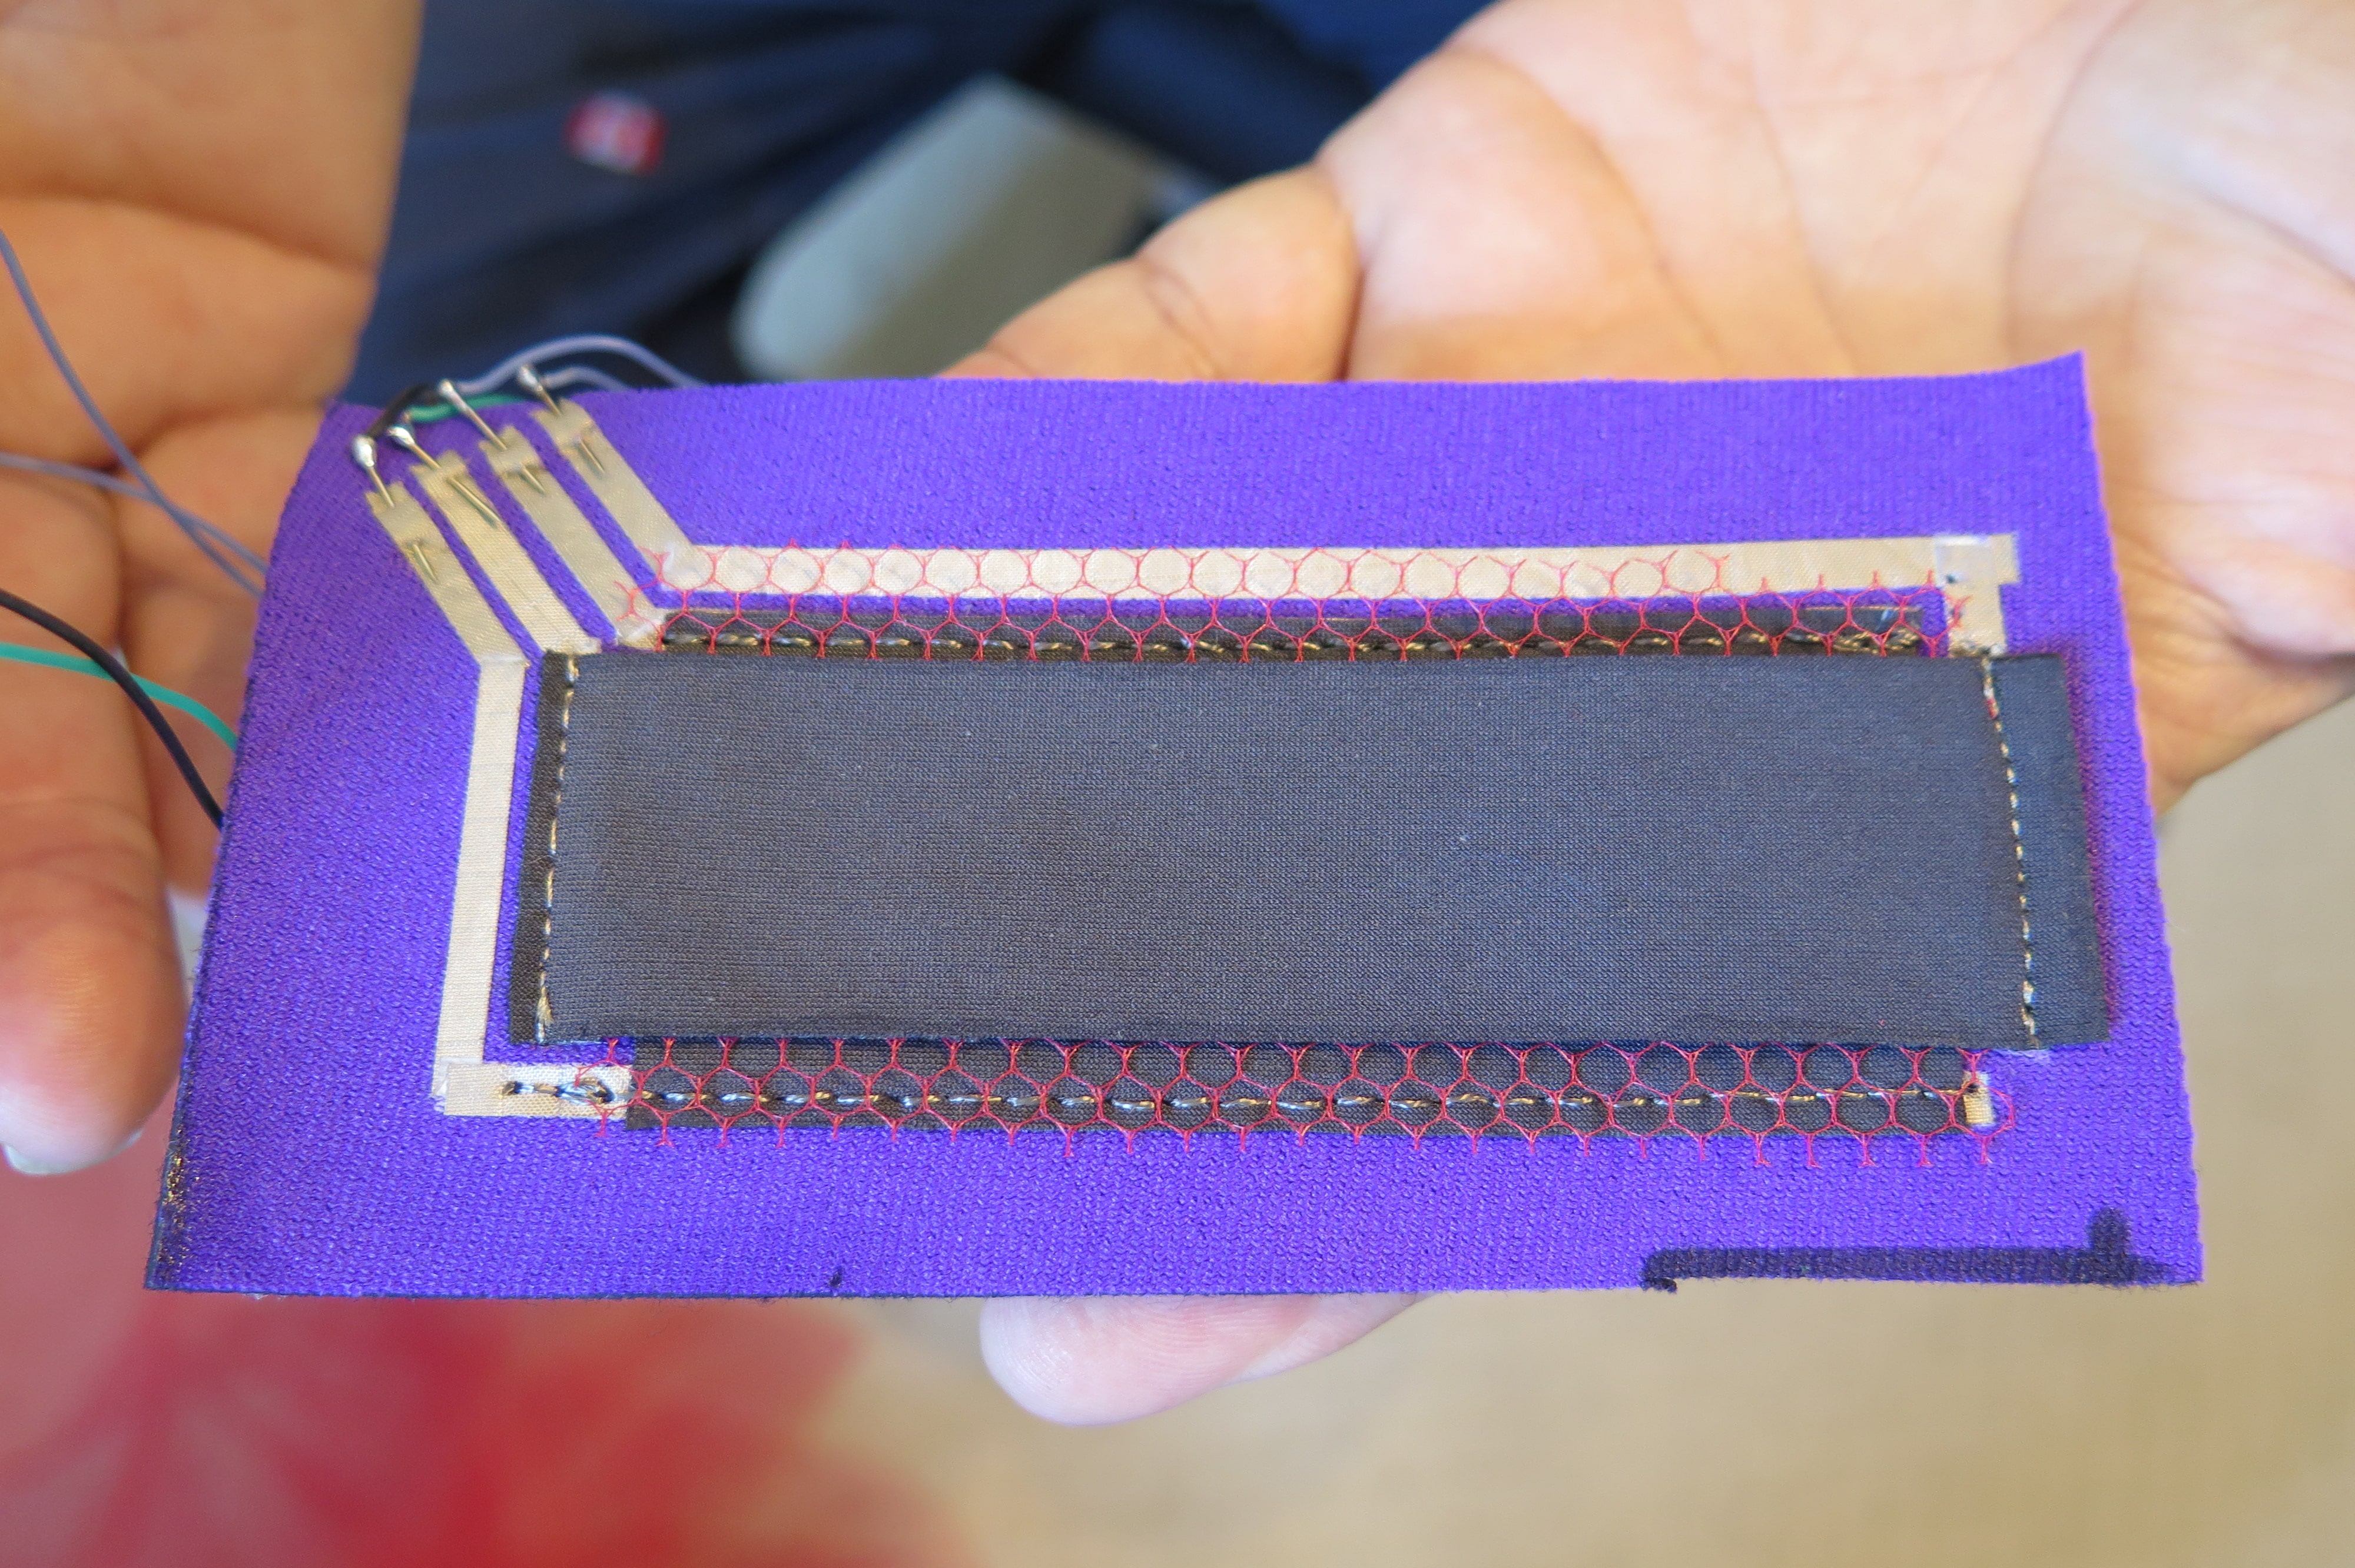
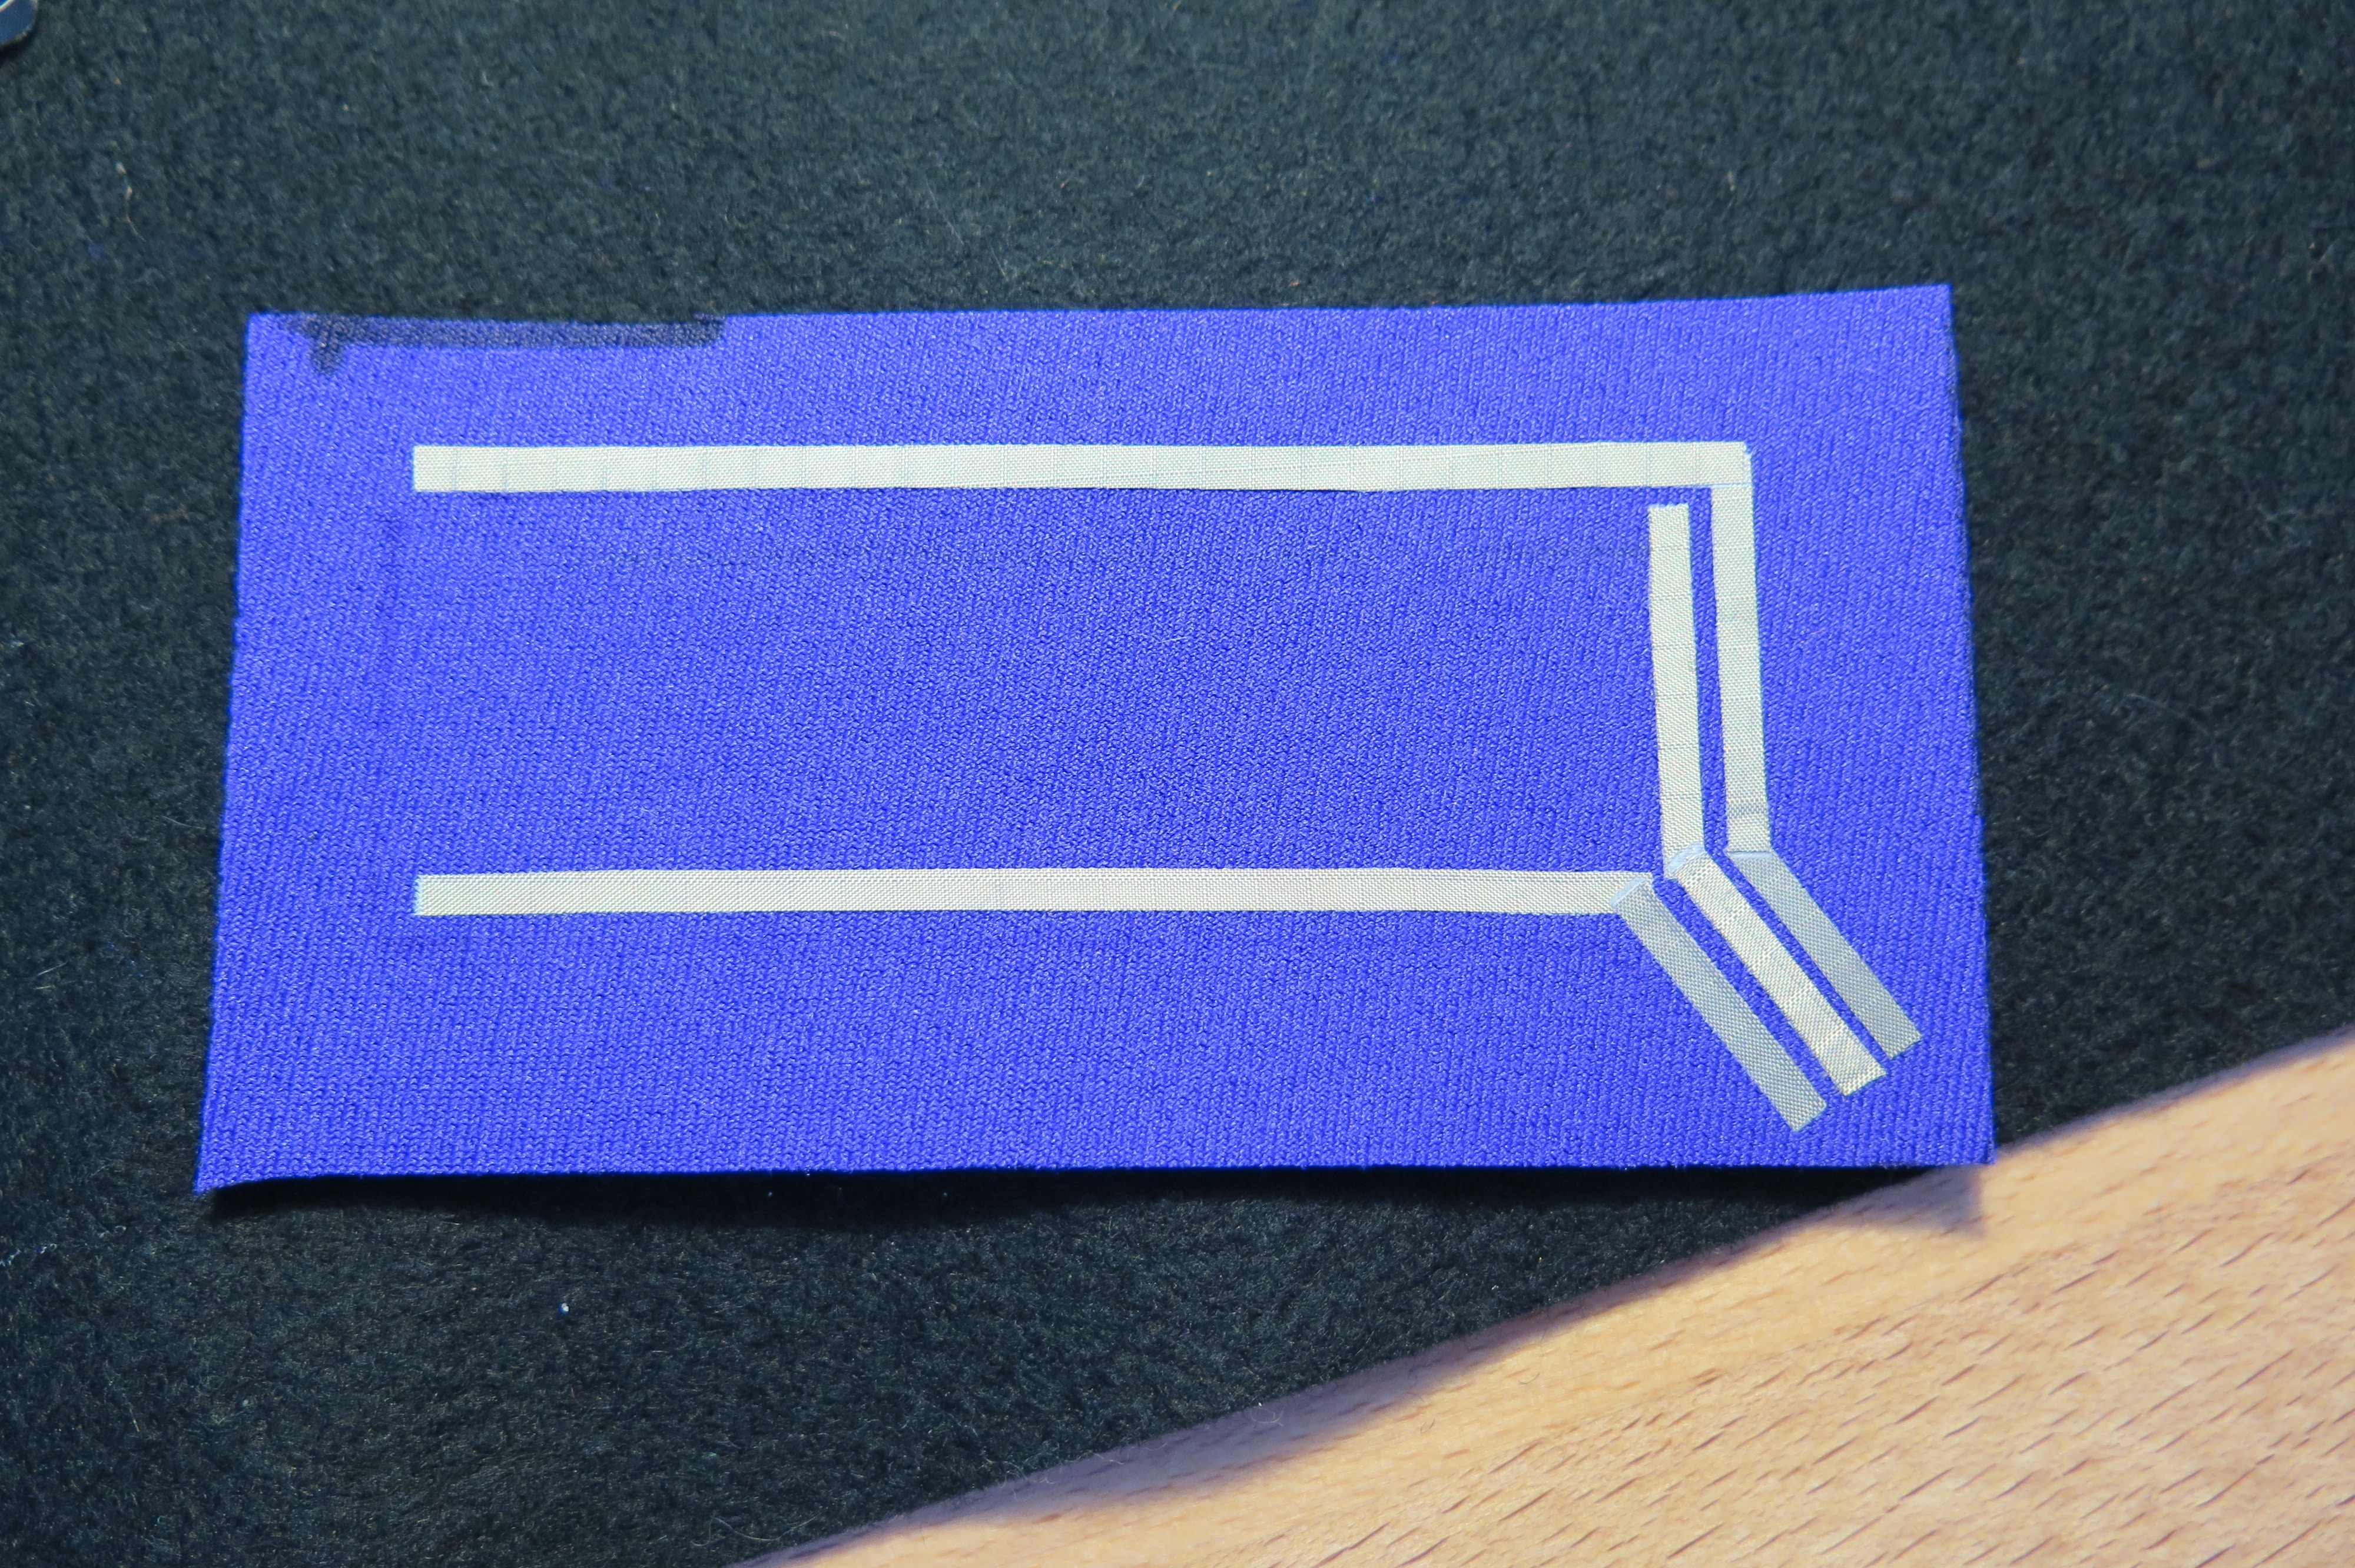
Step 4. Sew Bottom Layer
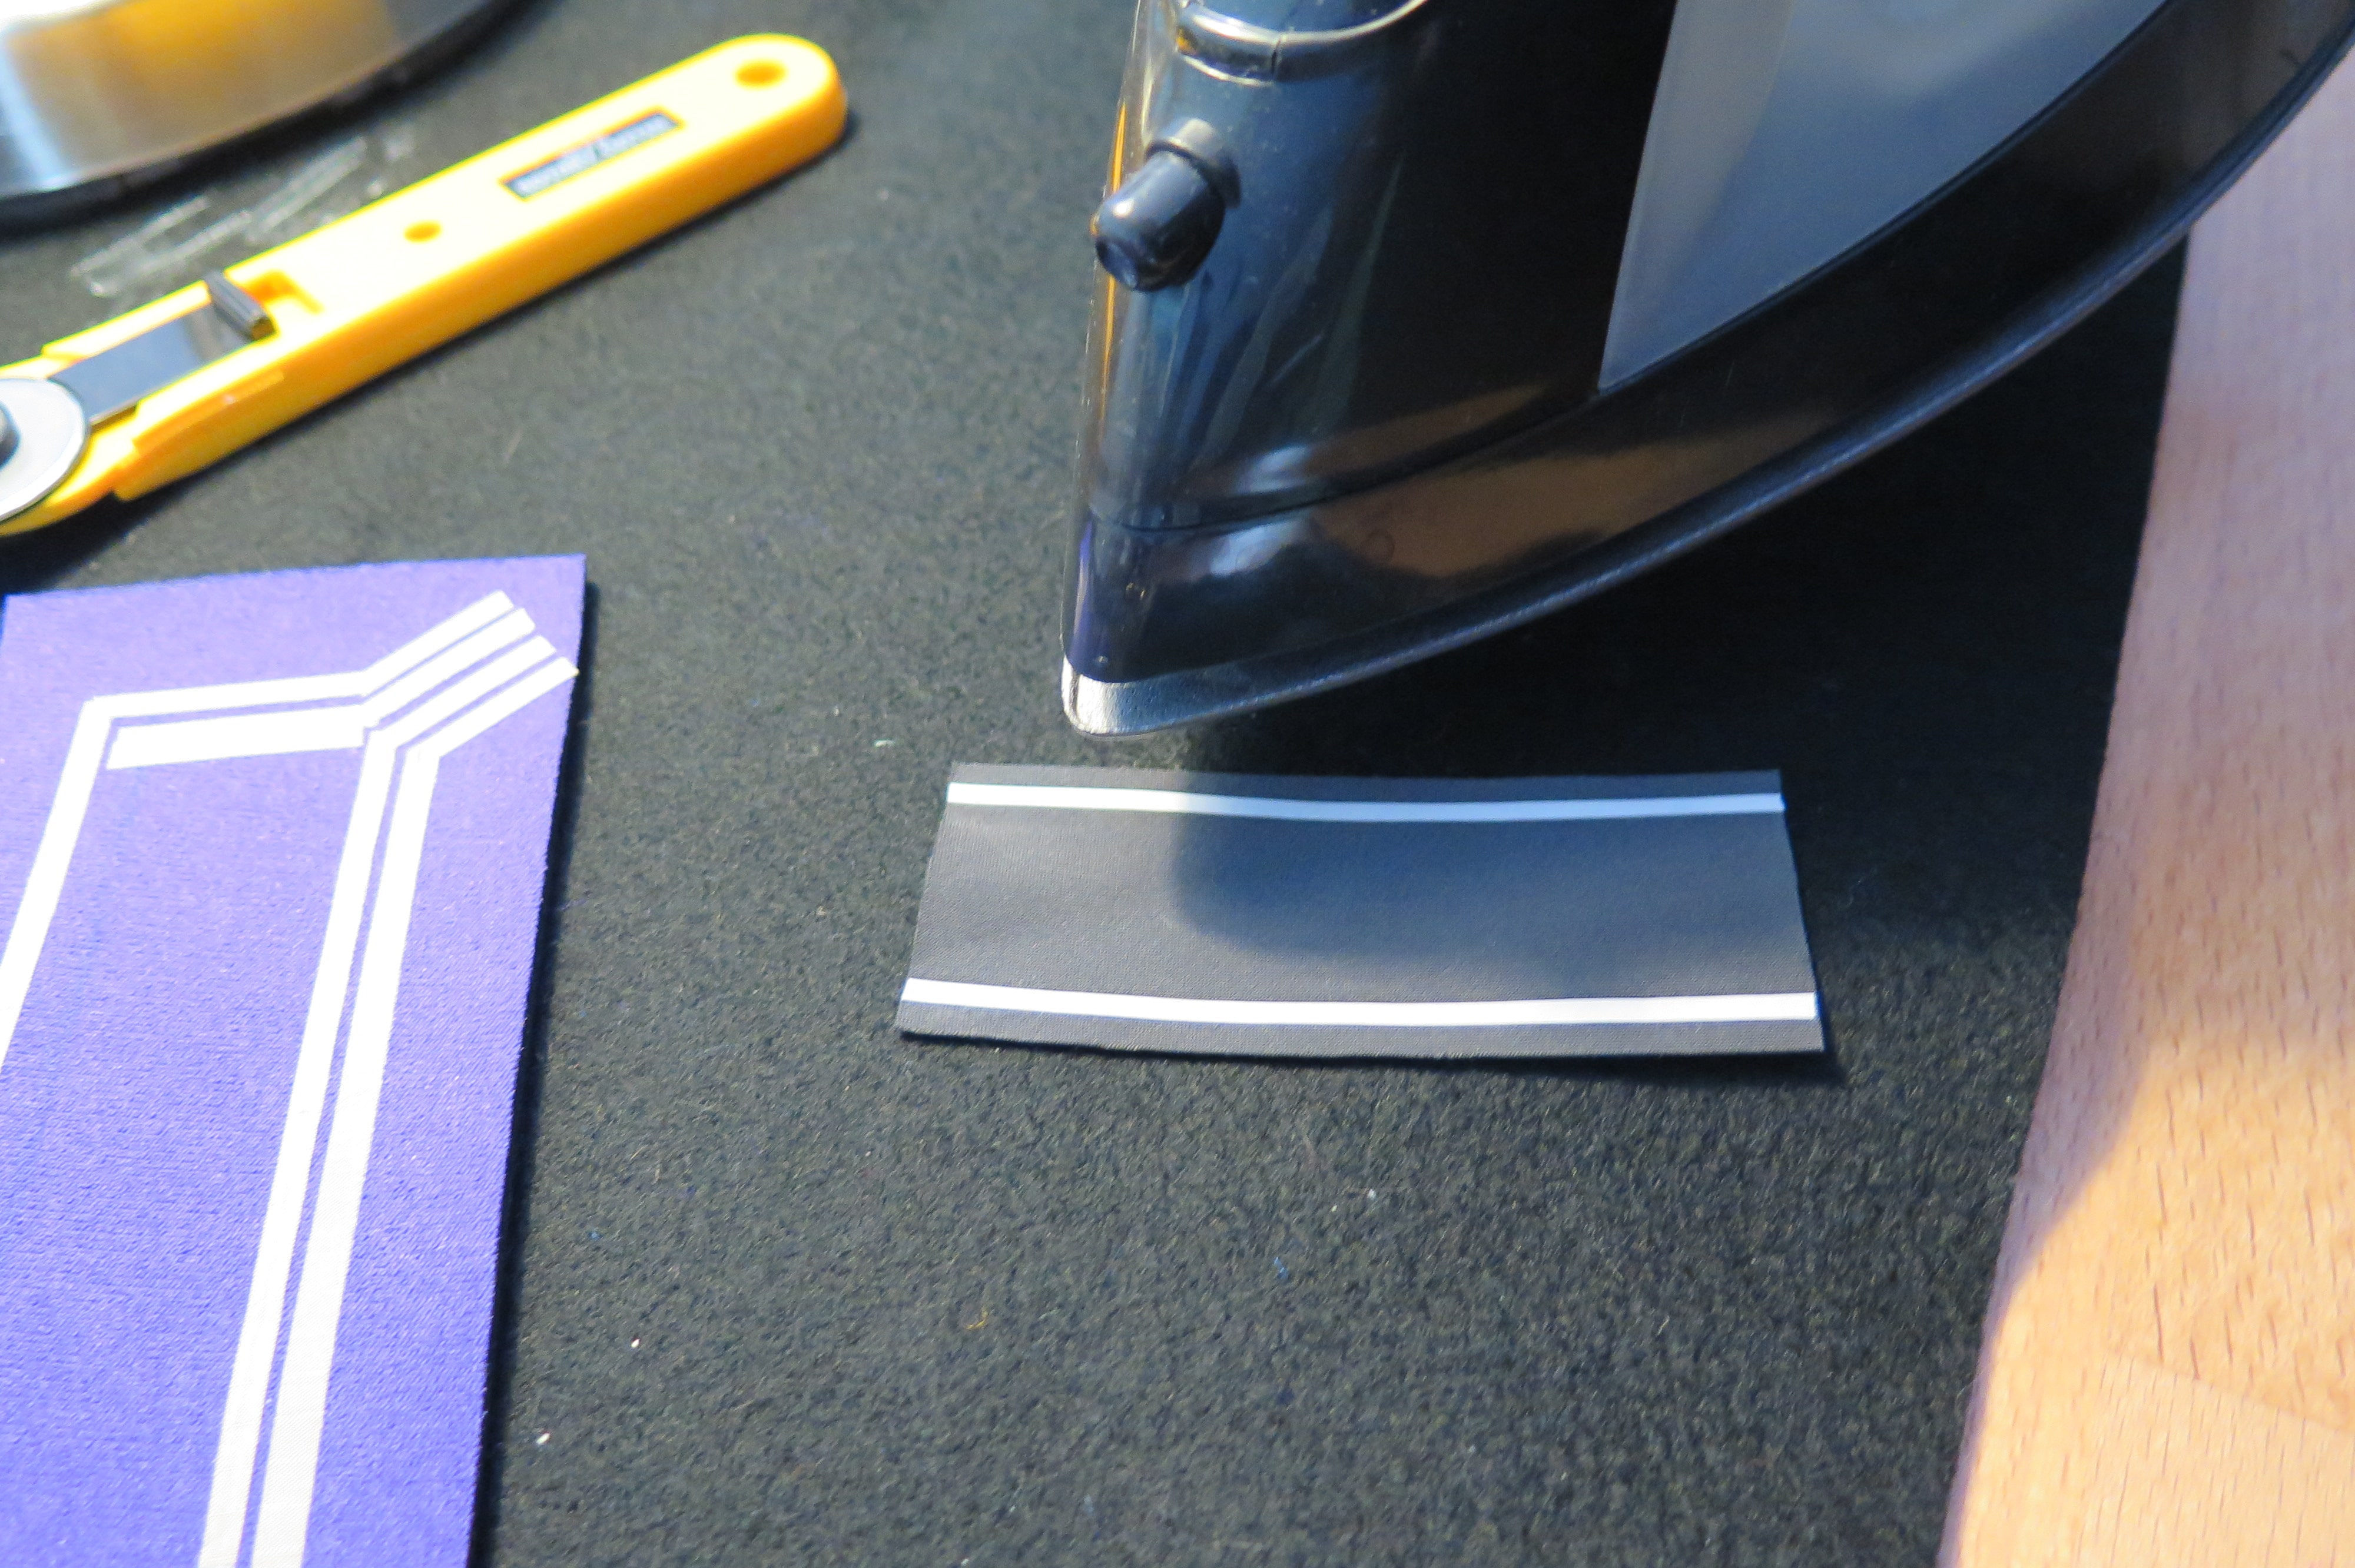
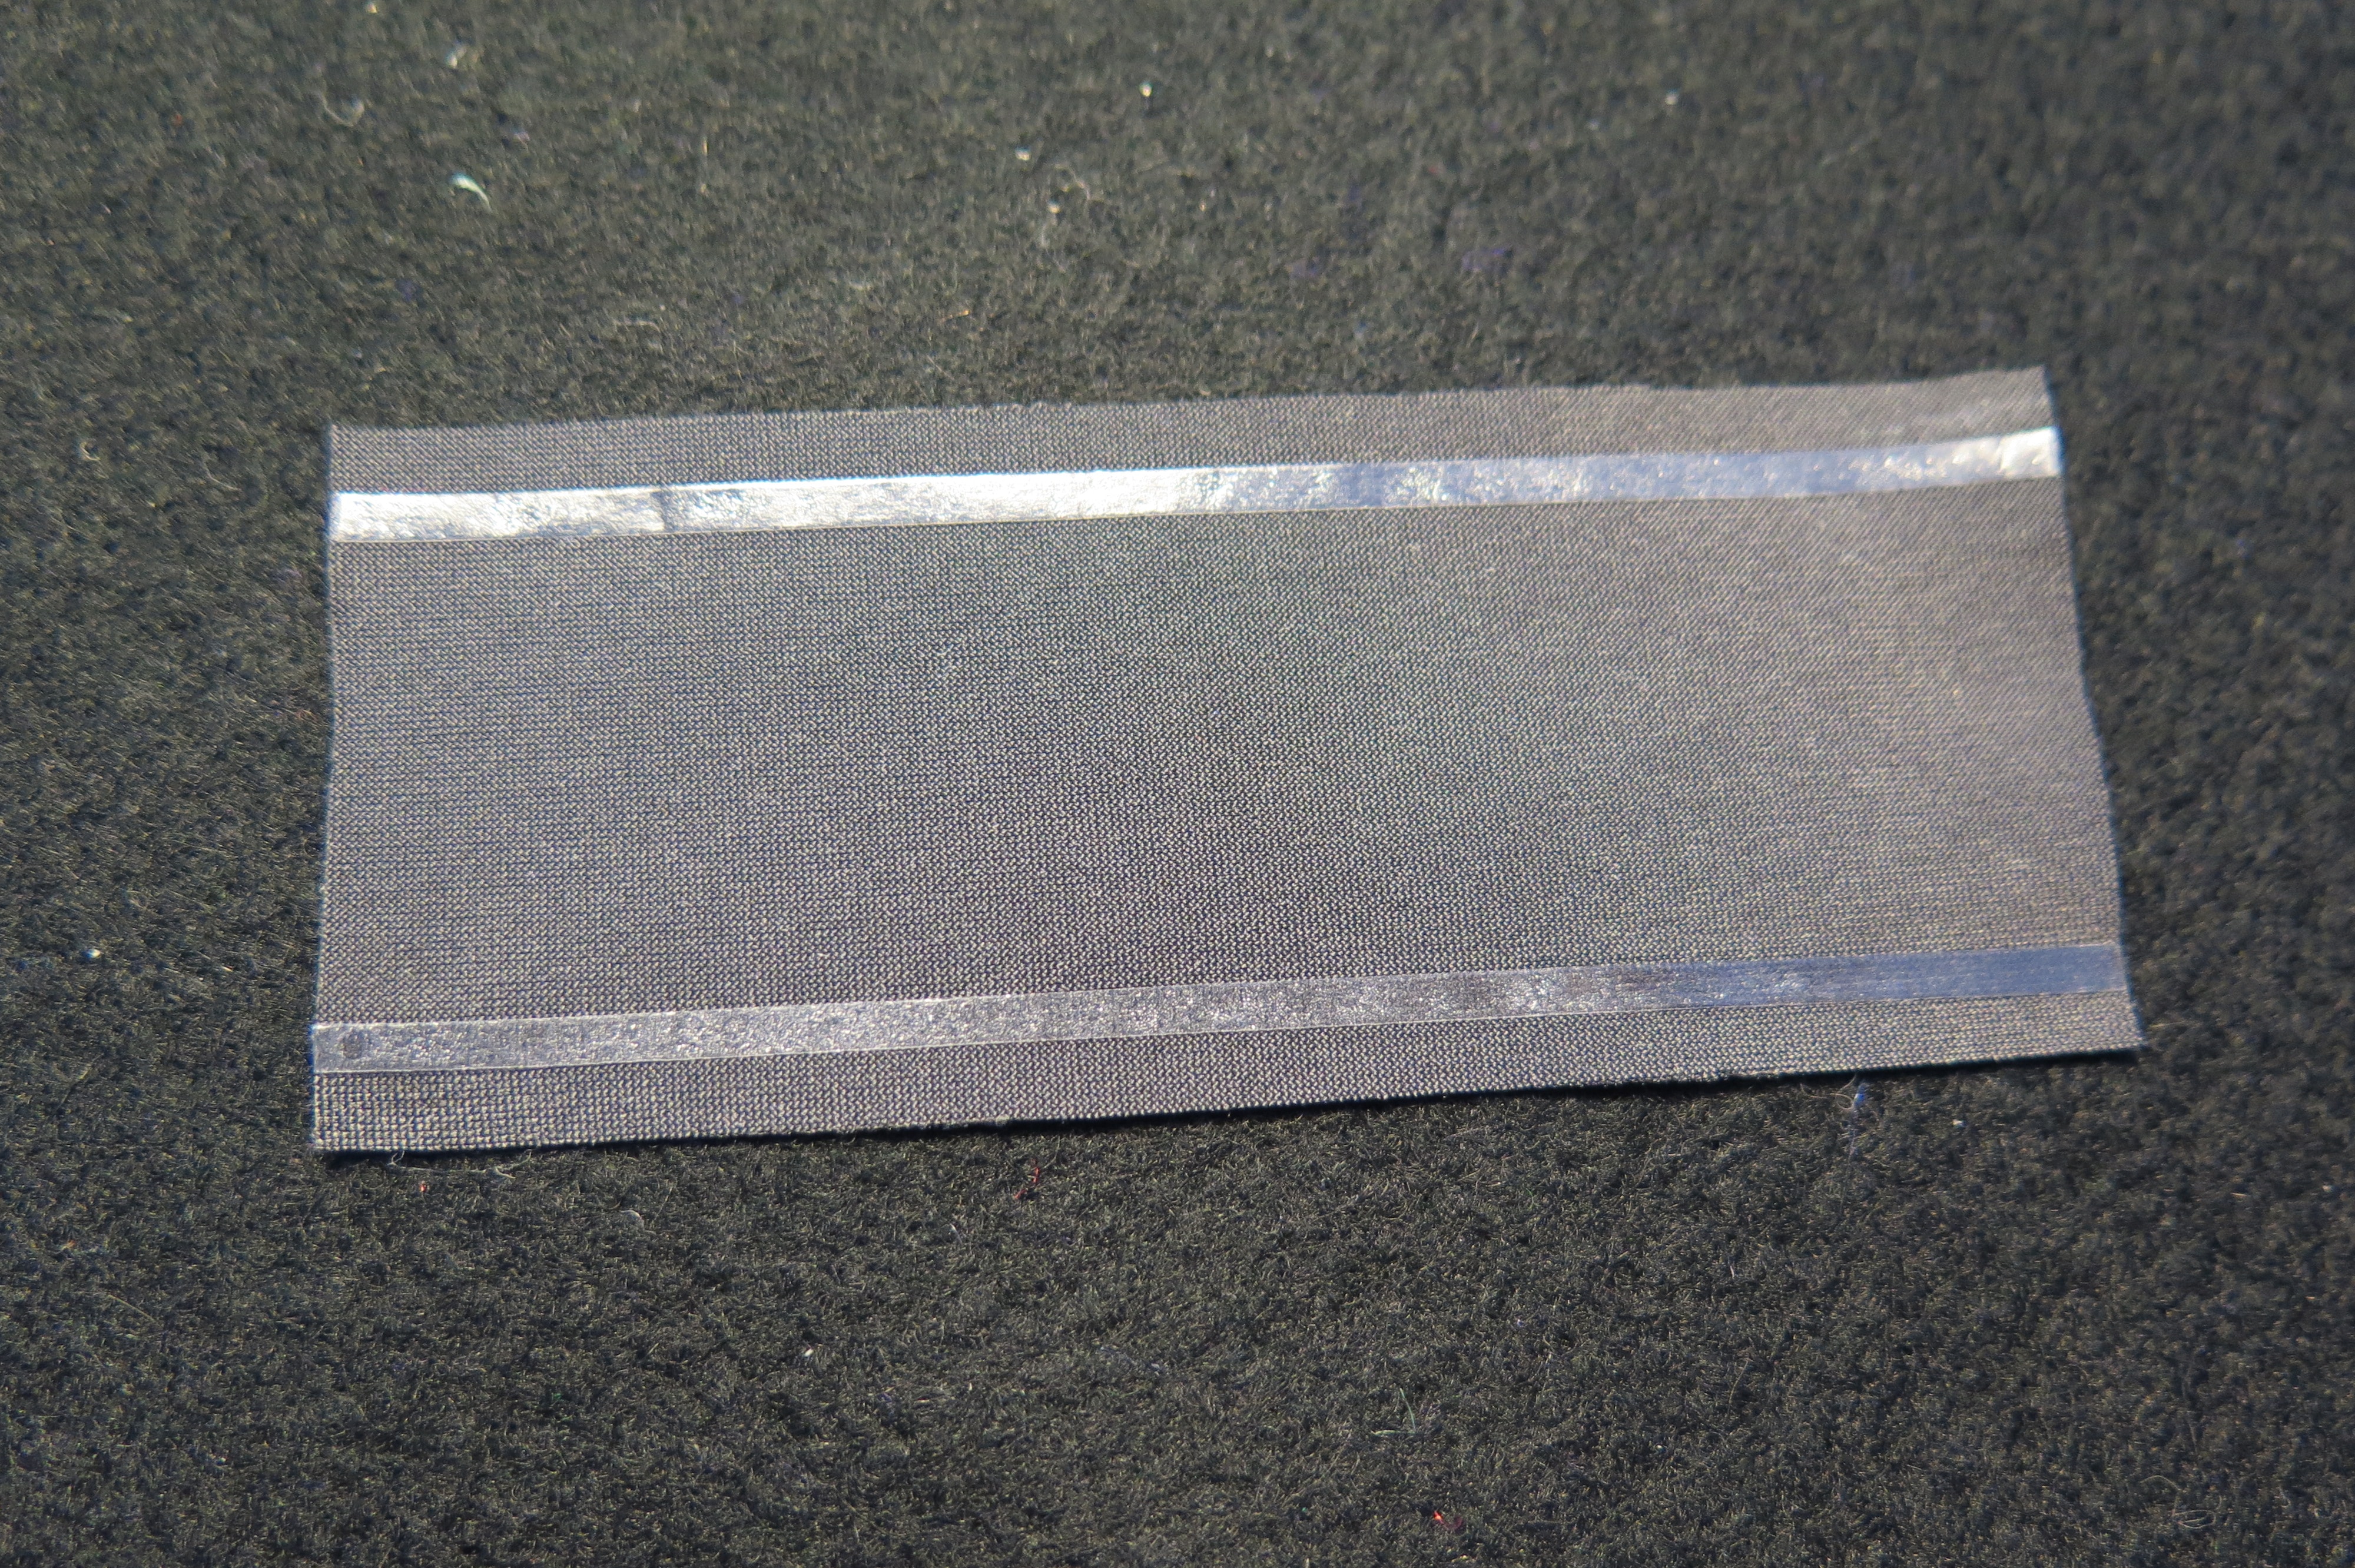
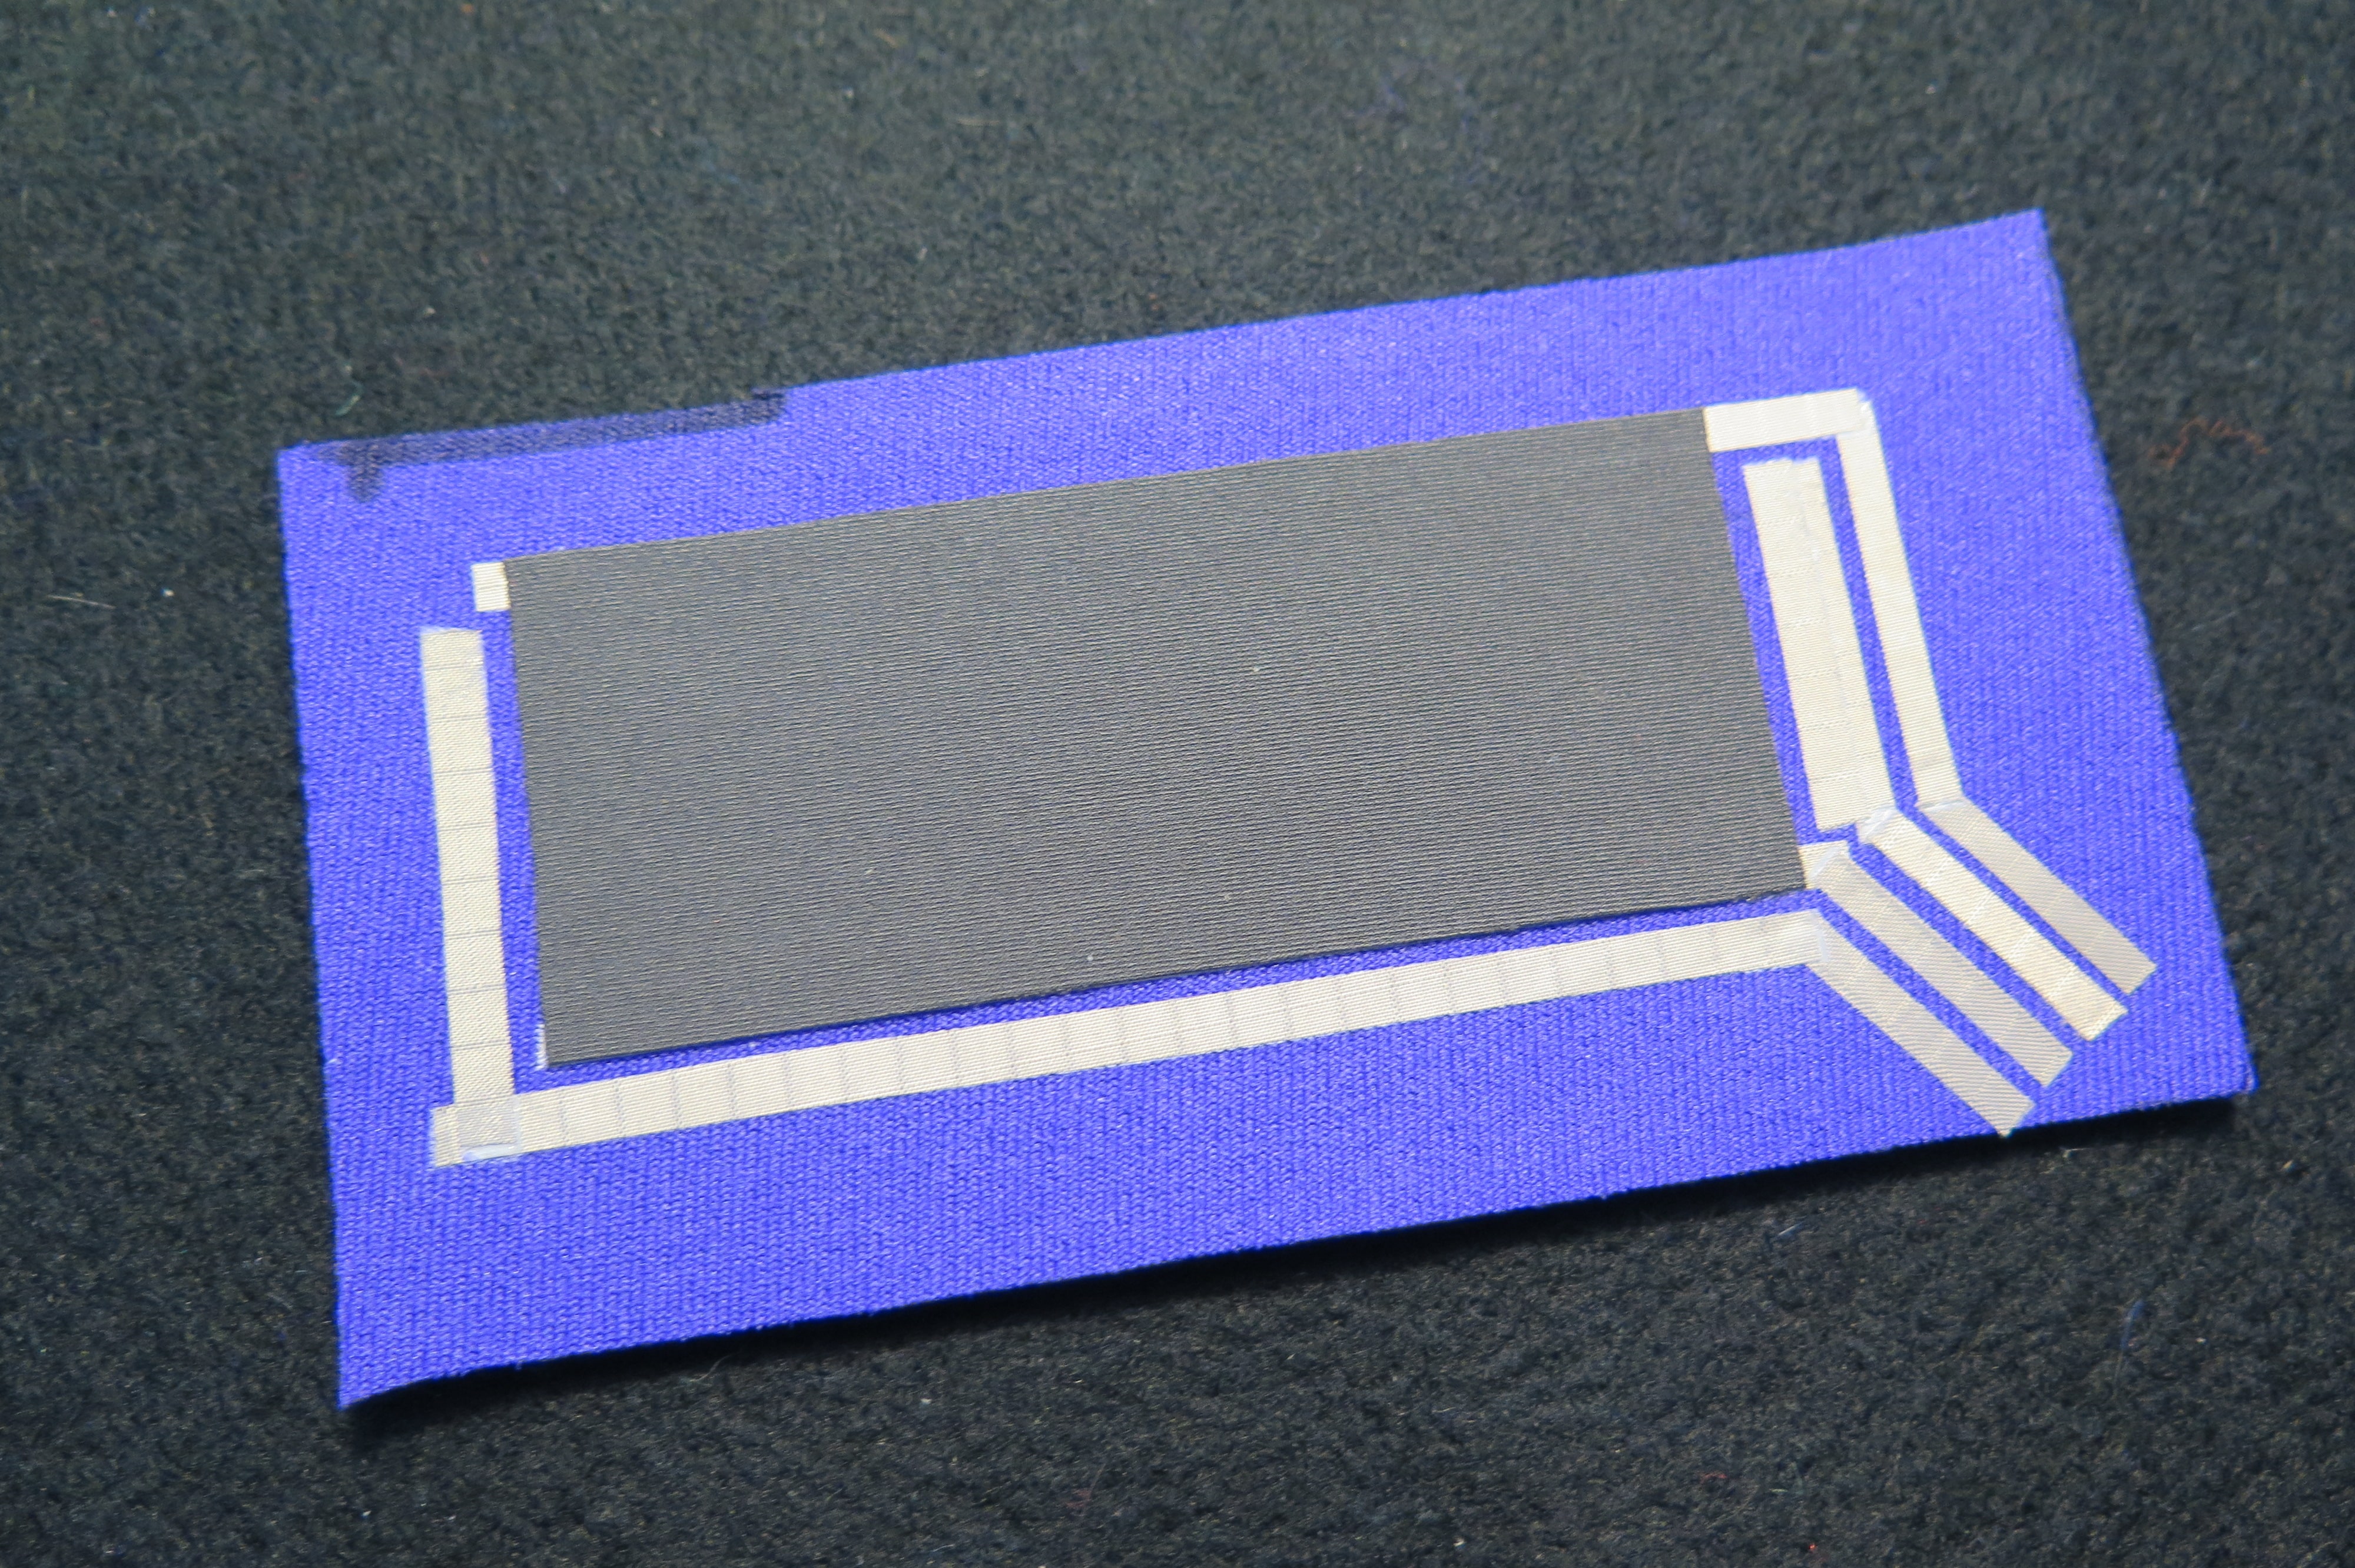
Lay the bottom layer down that touches the top and bottom traces. Use conductive thread to sew it down to the traces. To keep the knit from stretching while I sewed I used thin strips of iron-on adhesive on the side of where the contacts touched the piezoresist fabric. This greatly reduced any headache of the material shifting under the pressure of the presser foot and moving of the feed dog of the domestic Brother sewing machine I was using. There has been concern of the bonding adhesive changing the electrical properties of the piezoresist material, but as far as I can tell that has not been the case while tacking the Sewfree Elastic in place with low heat.
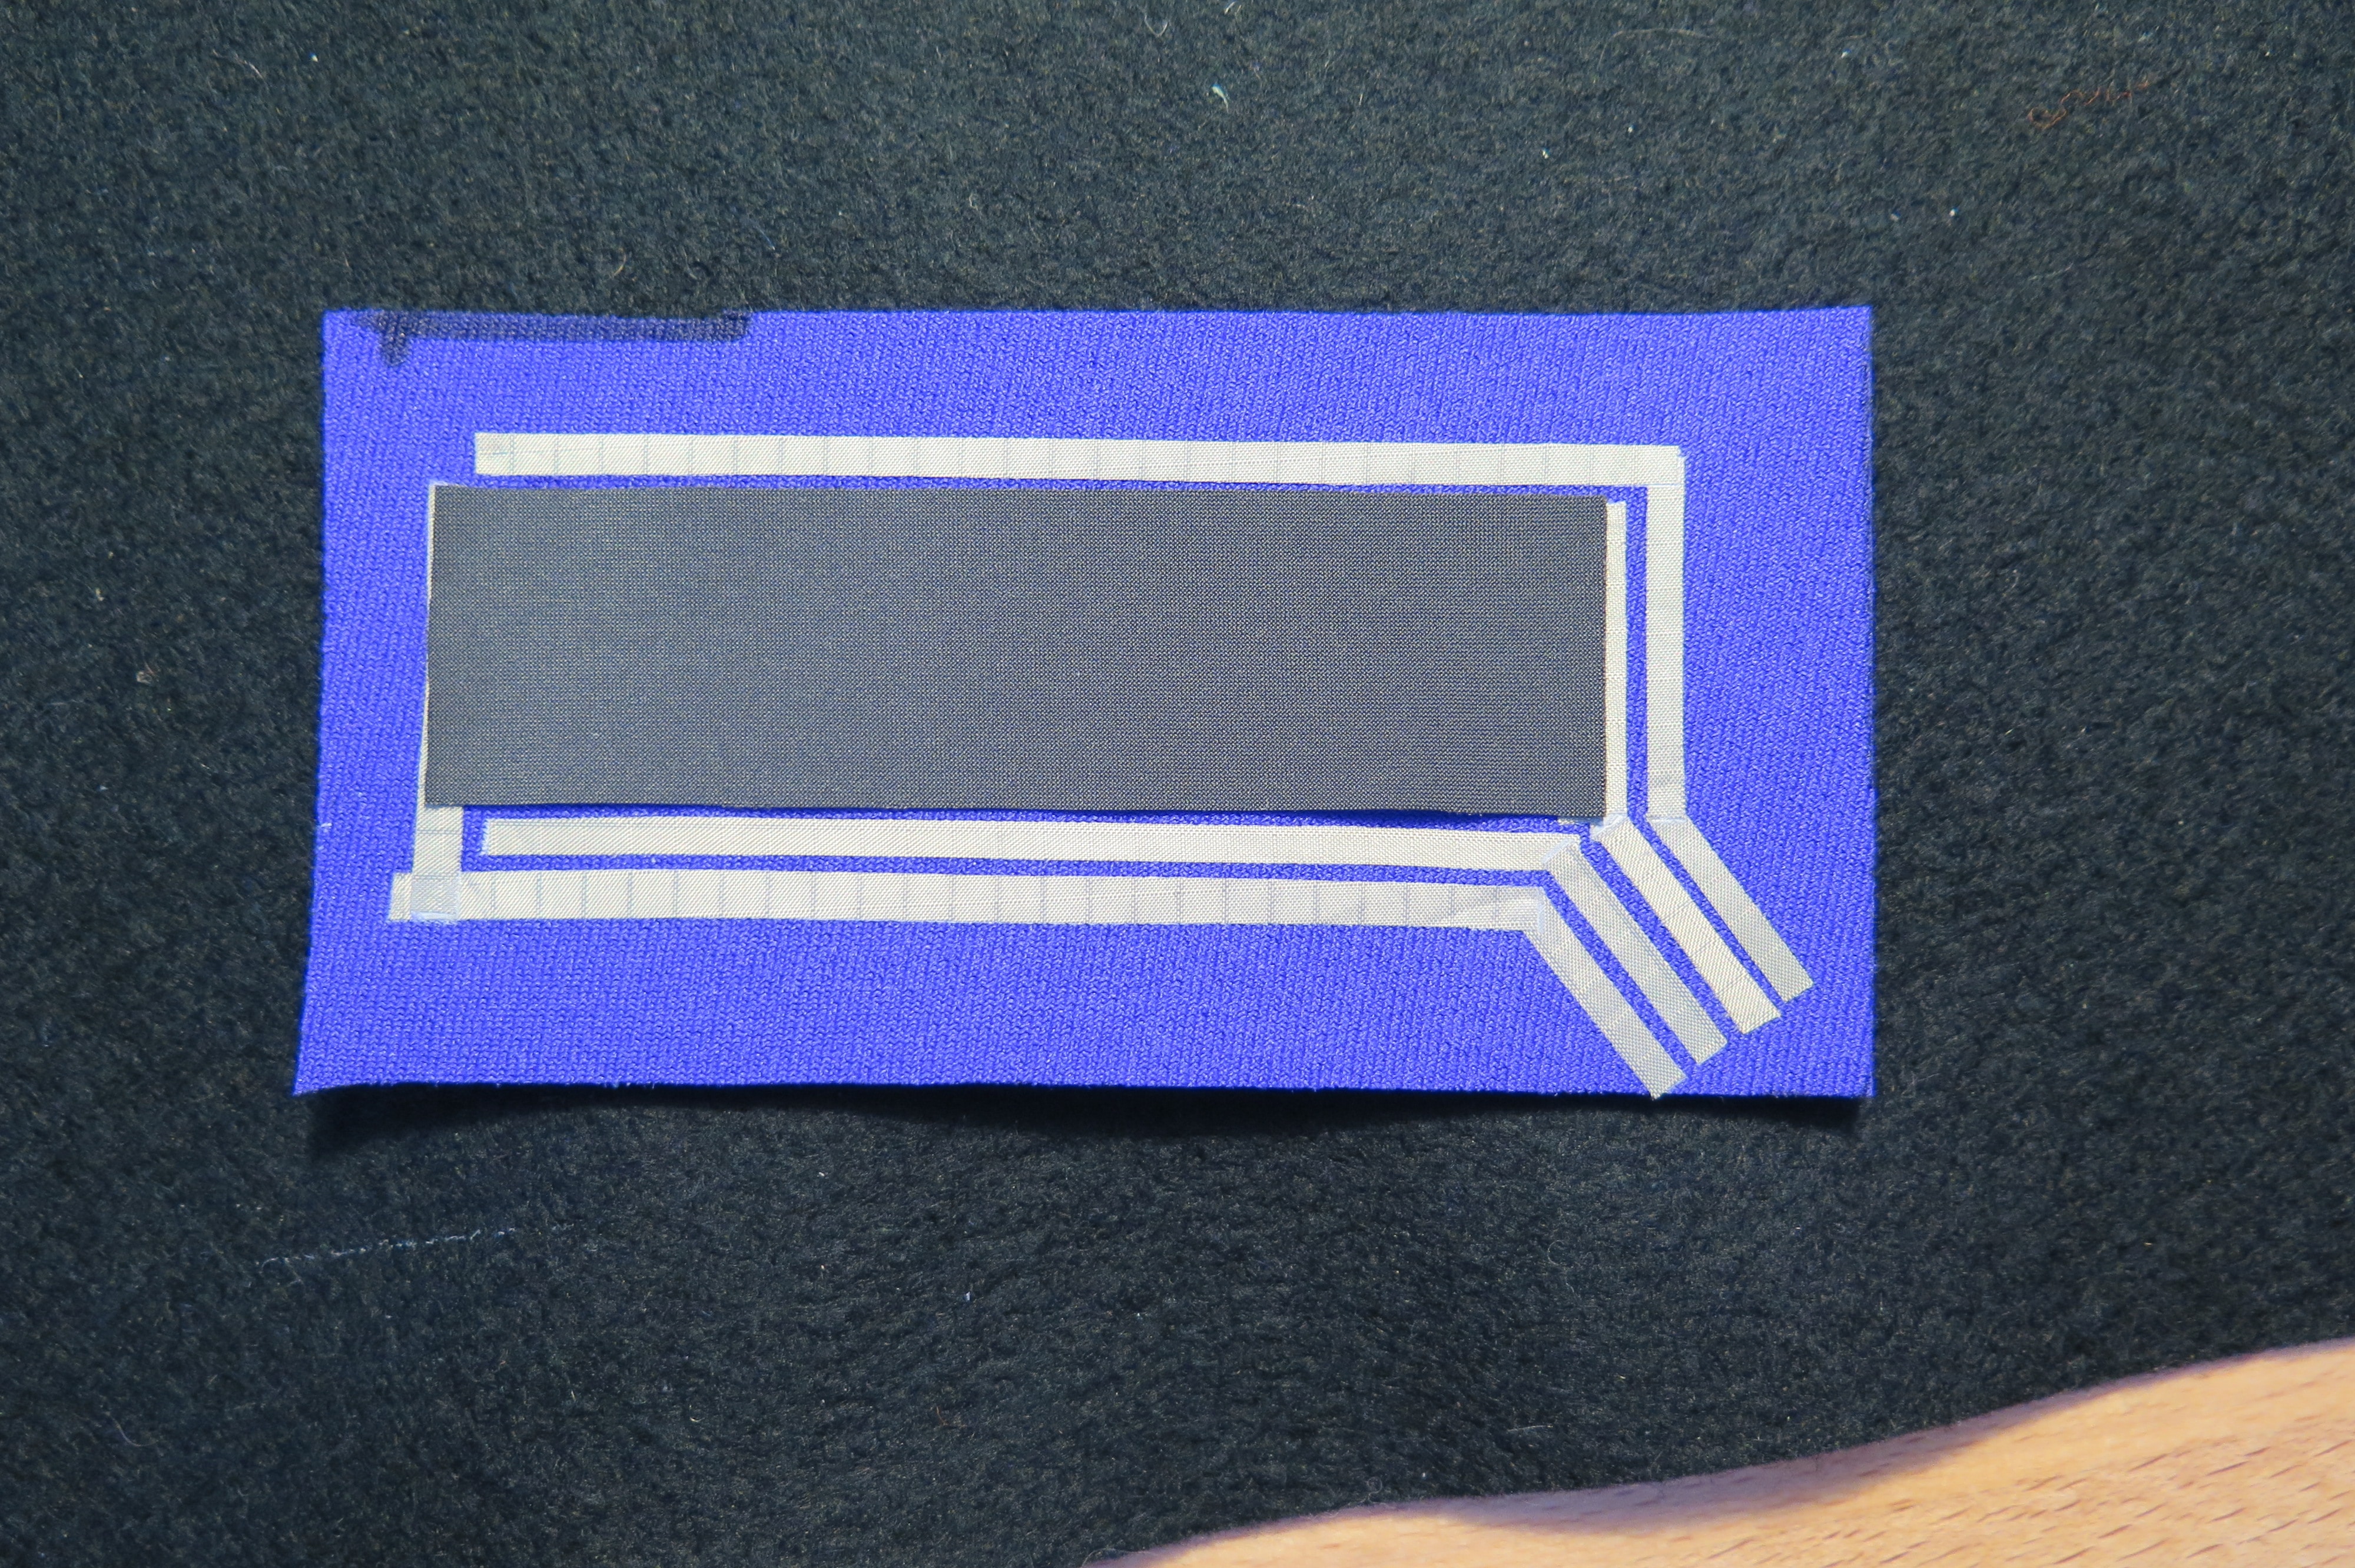
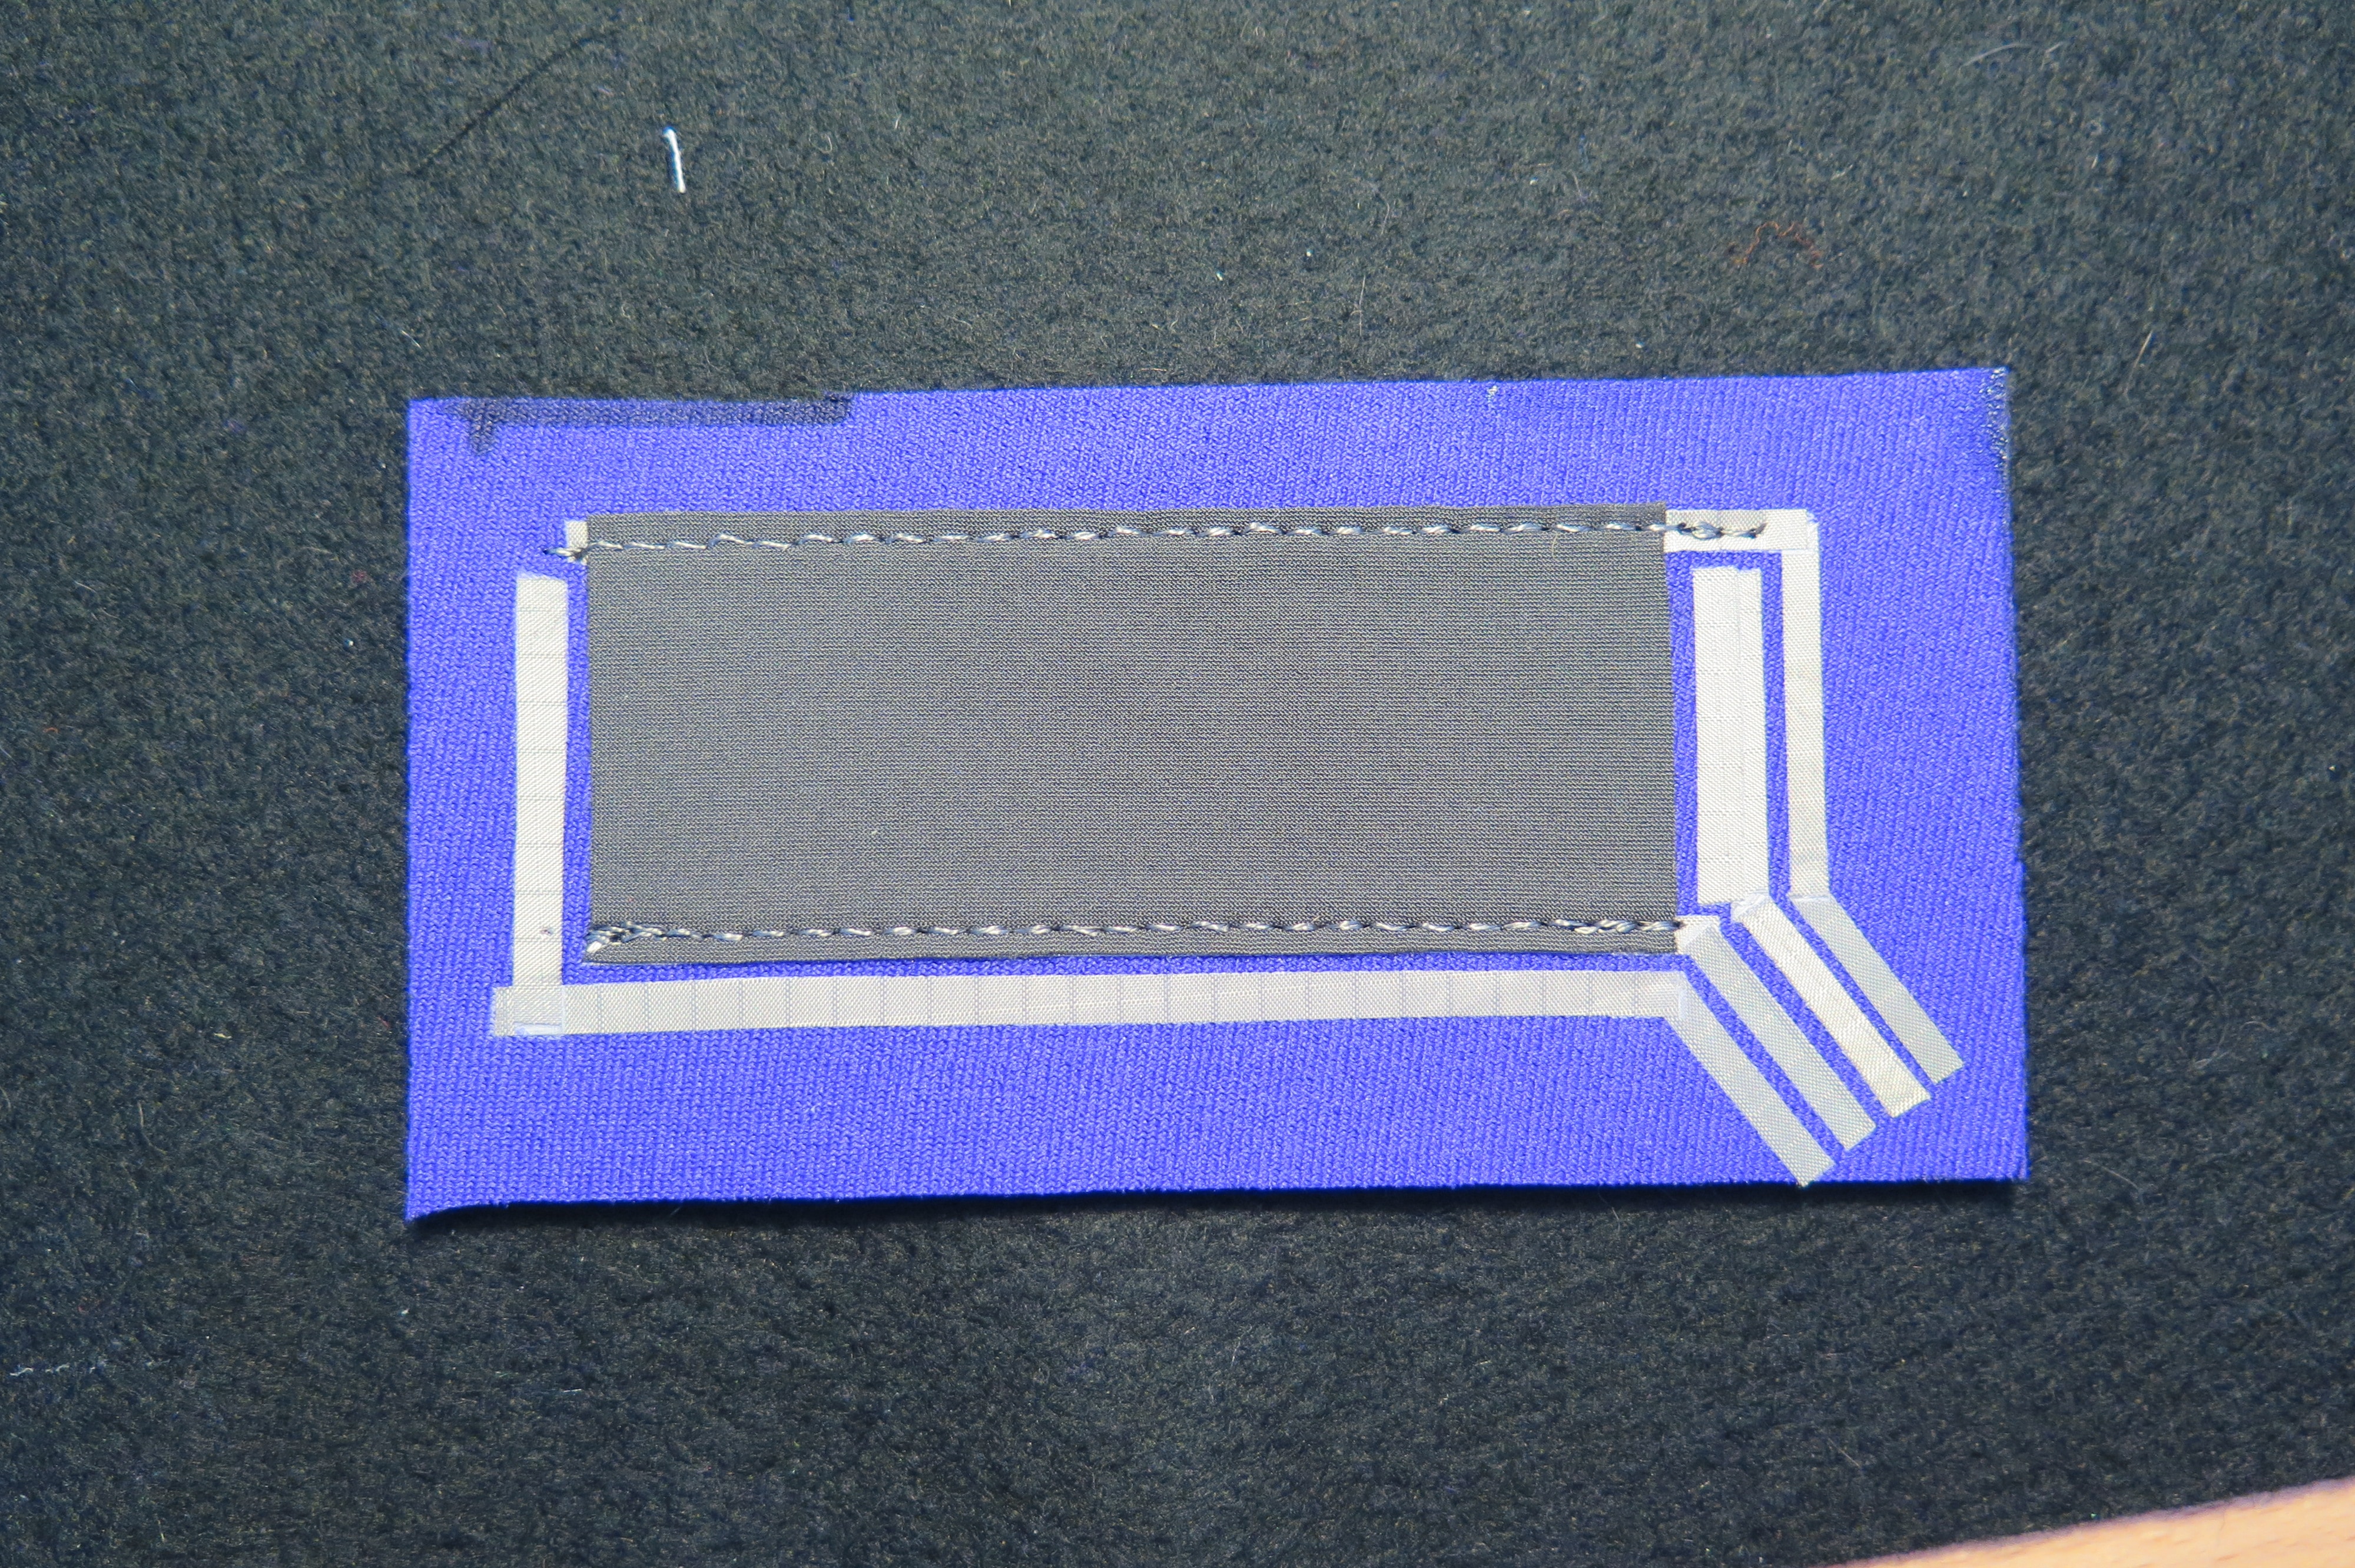
Step 5. Lay Netting and Sew Top Layer
Lay the netting down. Tulle was used at first, but then it was realized that a netting with a larger opening was best so the tulle was swapped out.
Make sure the netting properly covers any conductive fabric the top layer of piezoresistive material my touch. You only want the two layers to touch by pressing the top through the netting. What is also important is to not use the bonding technique on this layer. At first, I did and it caused the top layer to turn too quickly and too close to the bottom piezoresist layer, causing it to short sometimes. Luckily, the edges are short so sewing them is not as nightmarish as it could be.
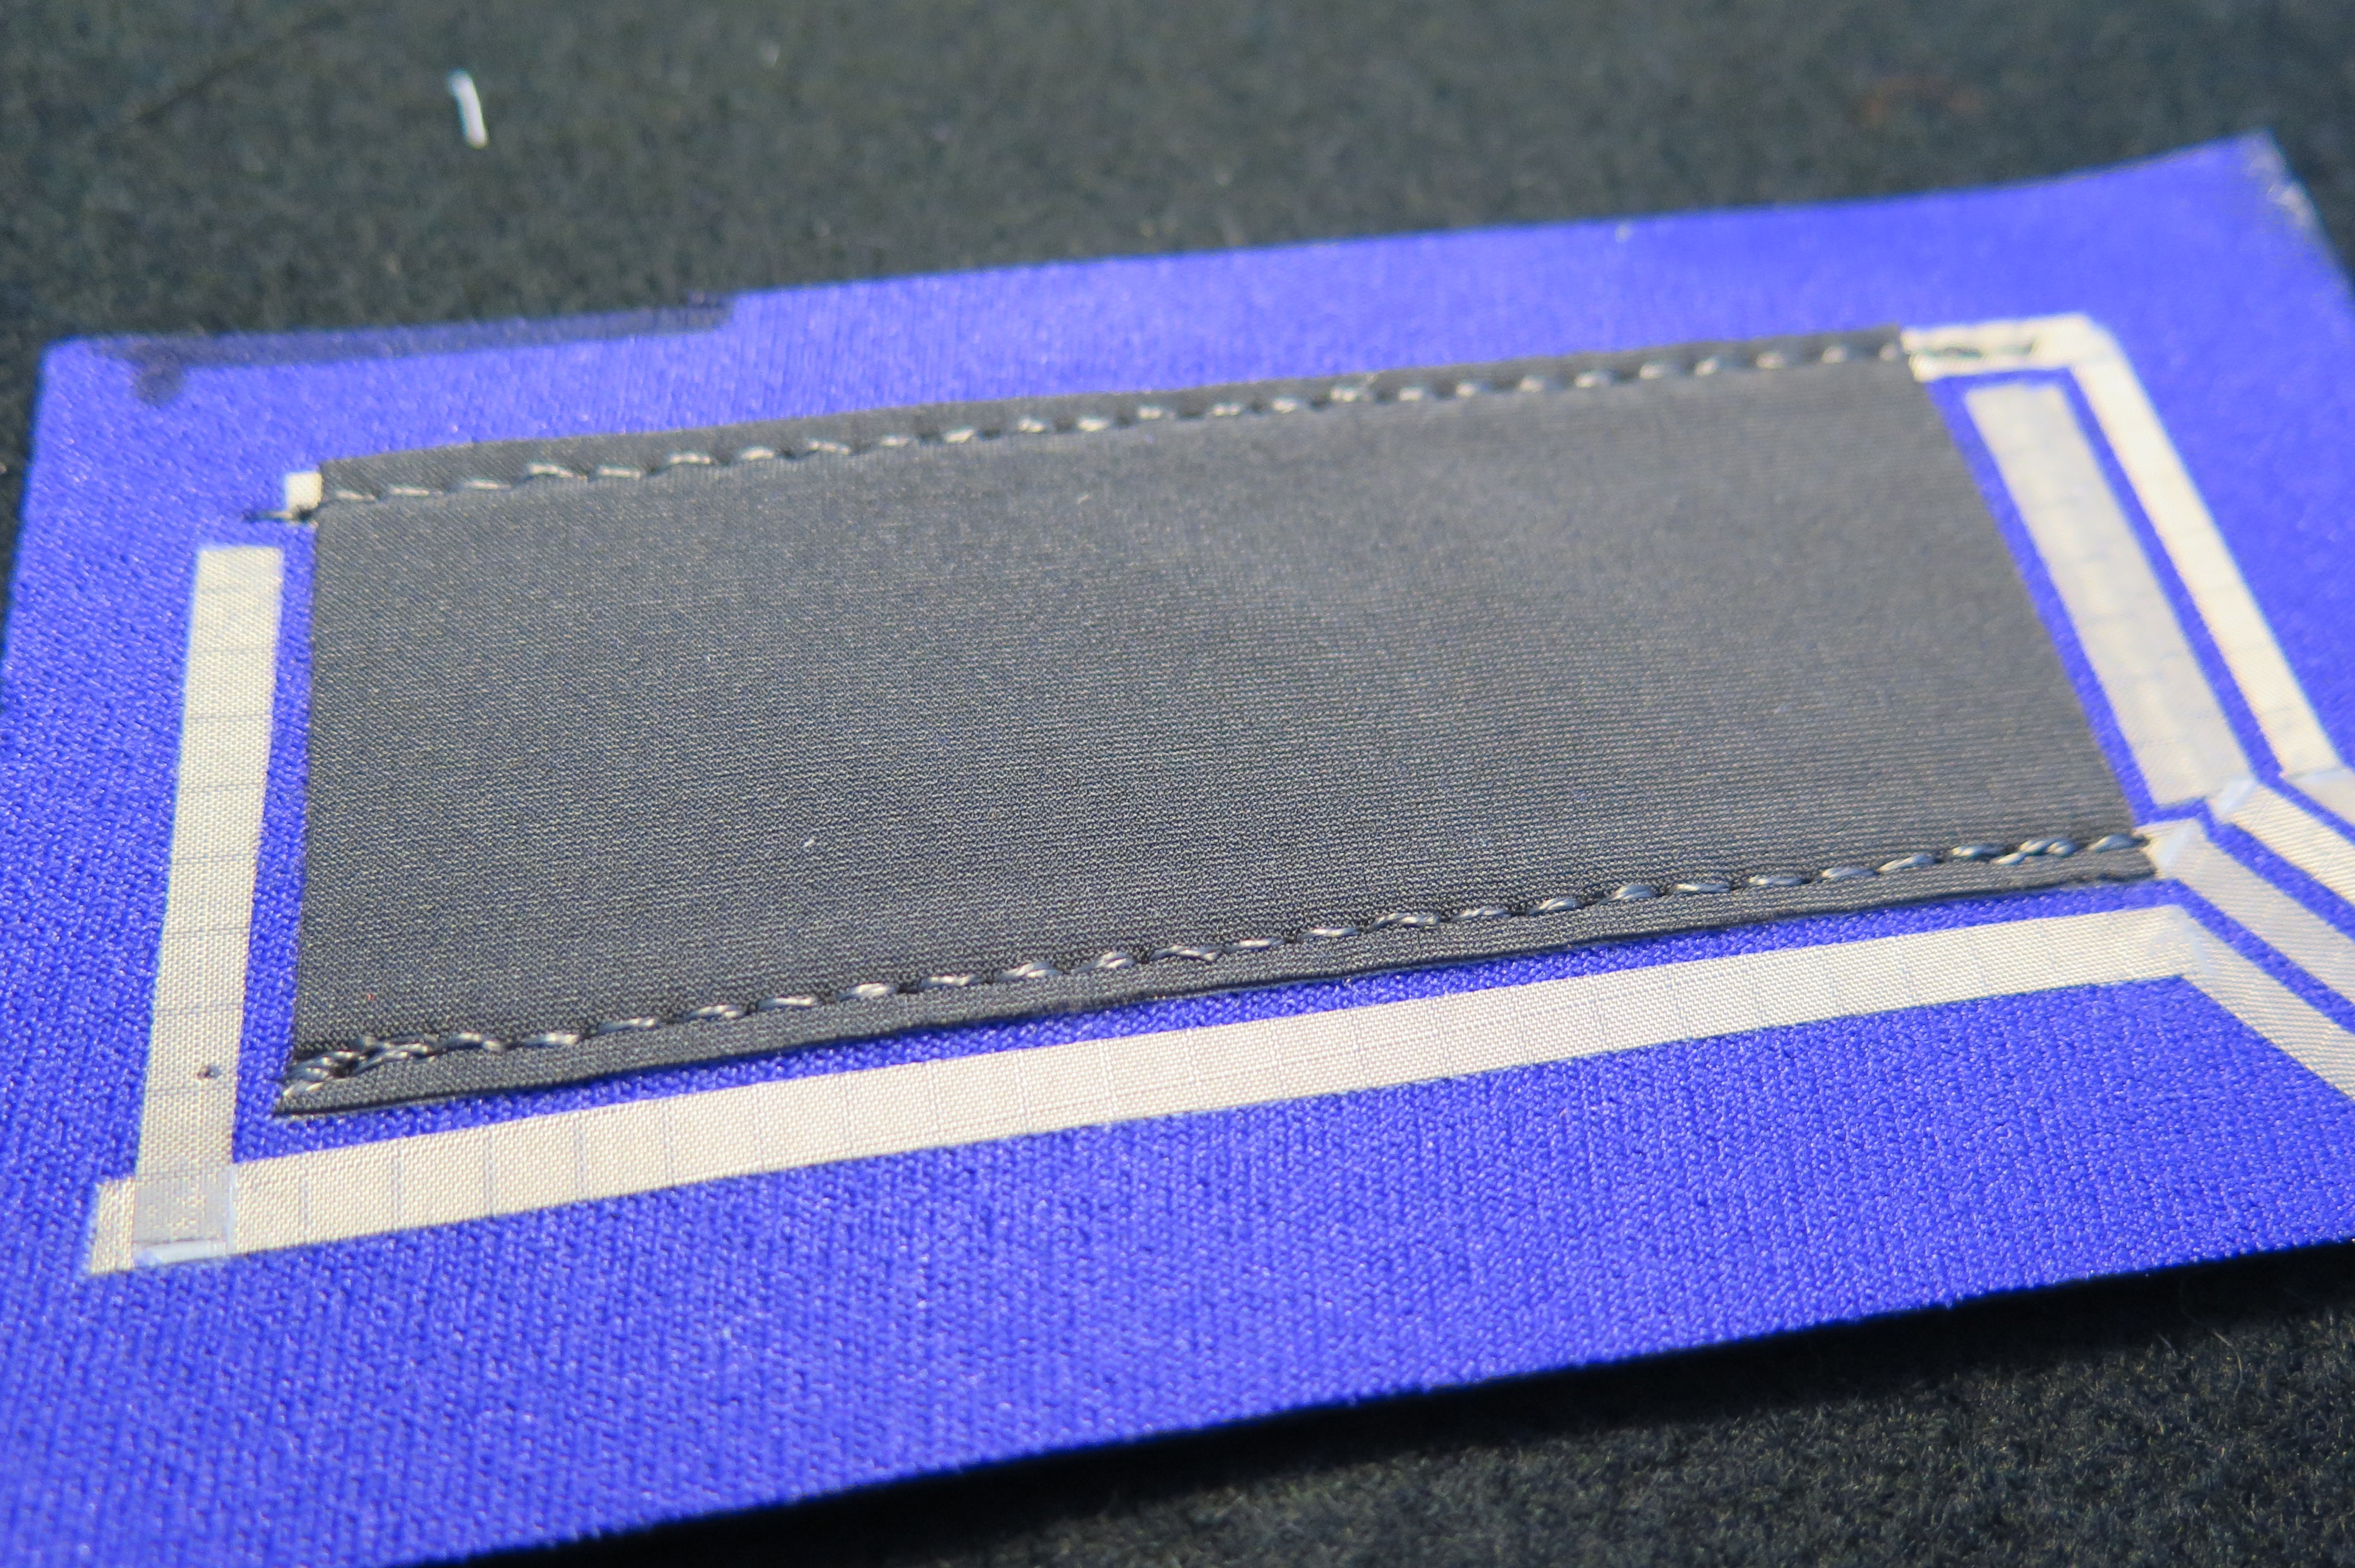
After the netting layer comes two pieces of material that has some thickness to it under the sewn edges. These act as shims to raises the sewn edges of the top layer up so it’s more level with the middle. This also reduces the chance of shorting at the sewn edges. I used a silver plated thread on the top and bottom with a smaller stitch this time and sewed as close to the outer edge of the conductive fabric contact.
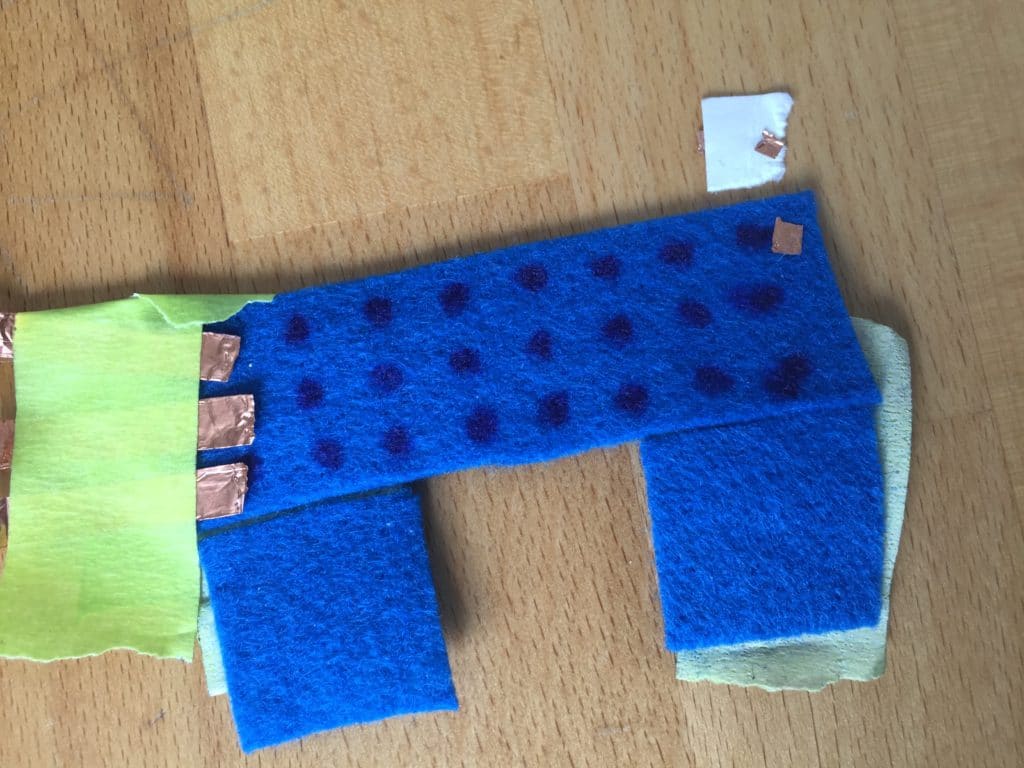
Below are photos of another version with an added layer of a bumpy plastic mesh. This mesh has small dots at each intersection.