 This work is licensed under a Creative Commons Attribution-NonCommercial 4.0 International License.
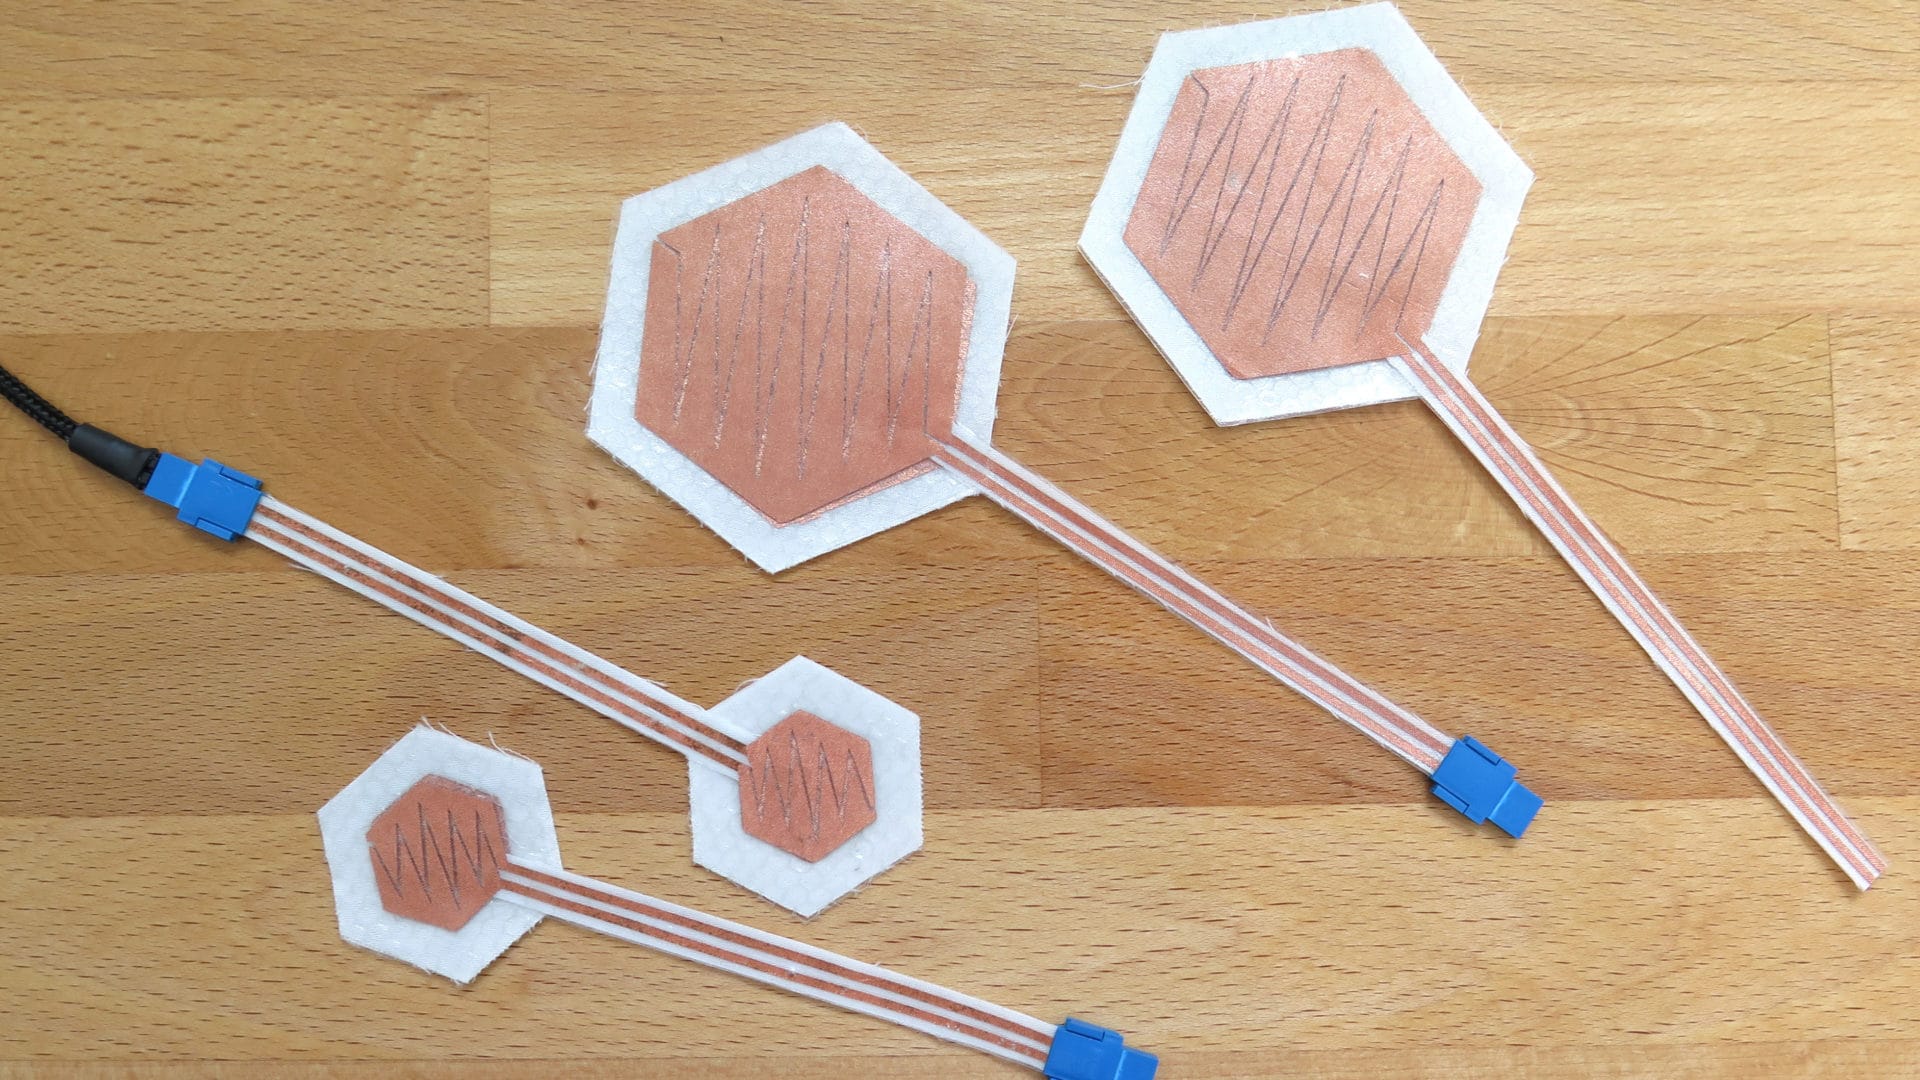
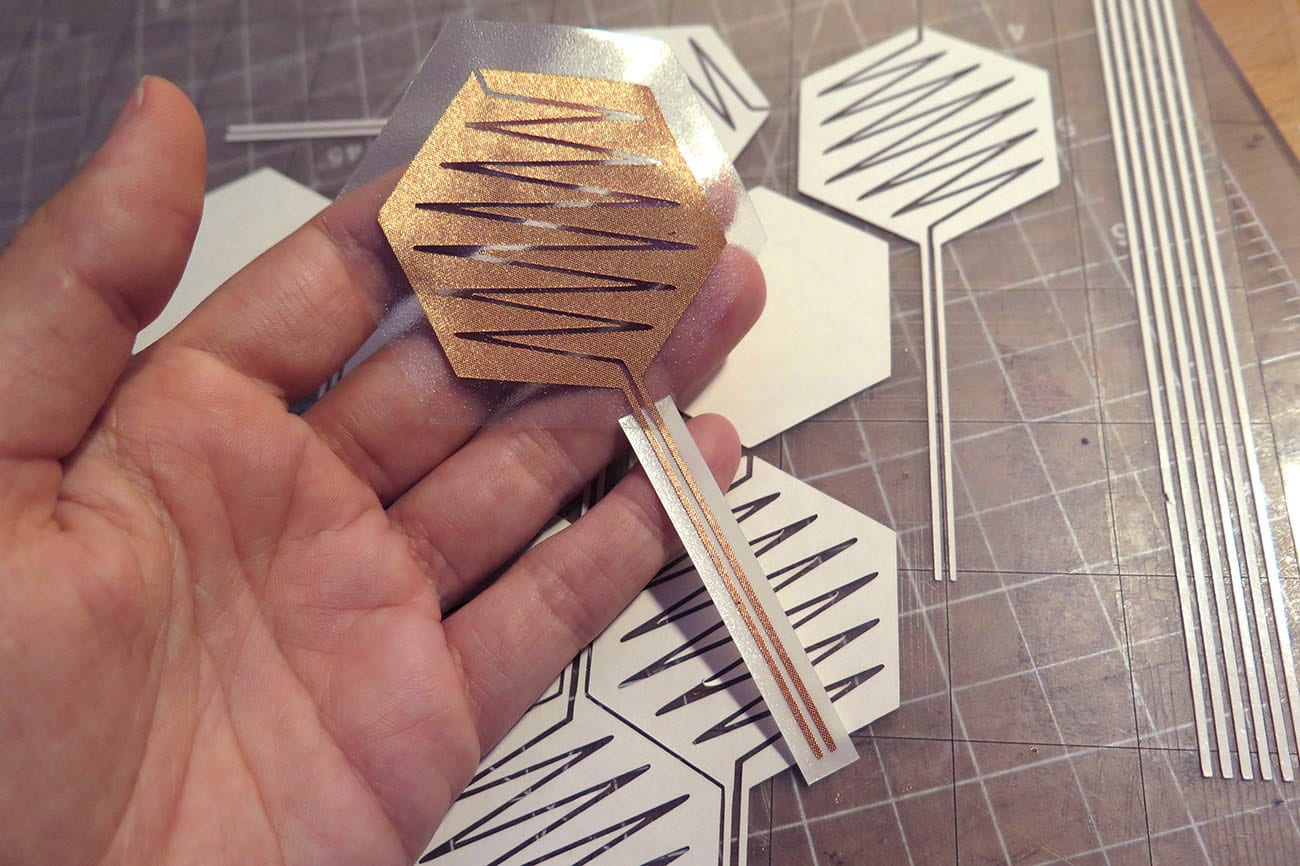
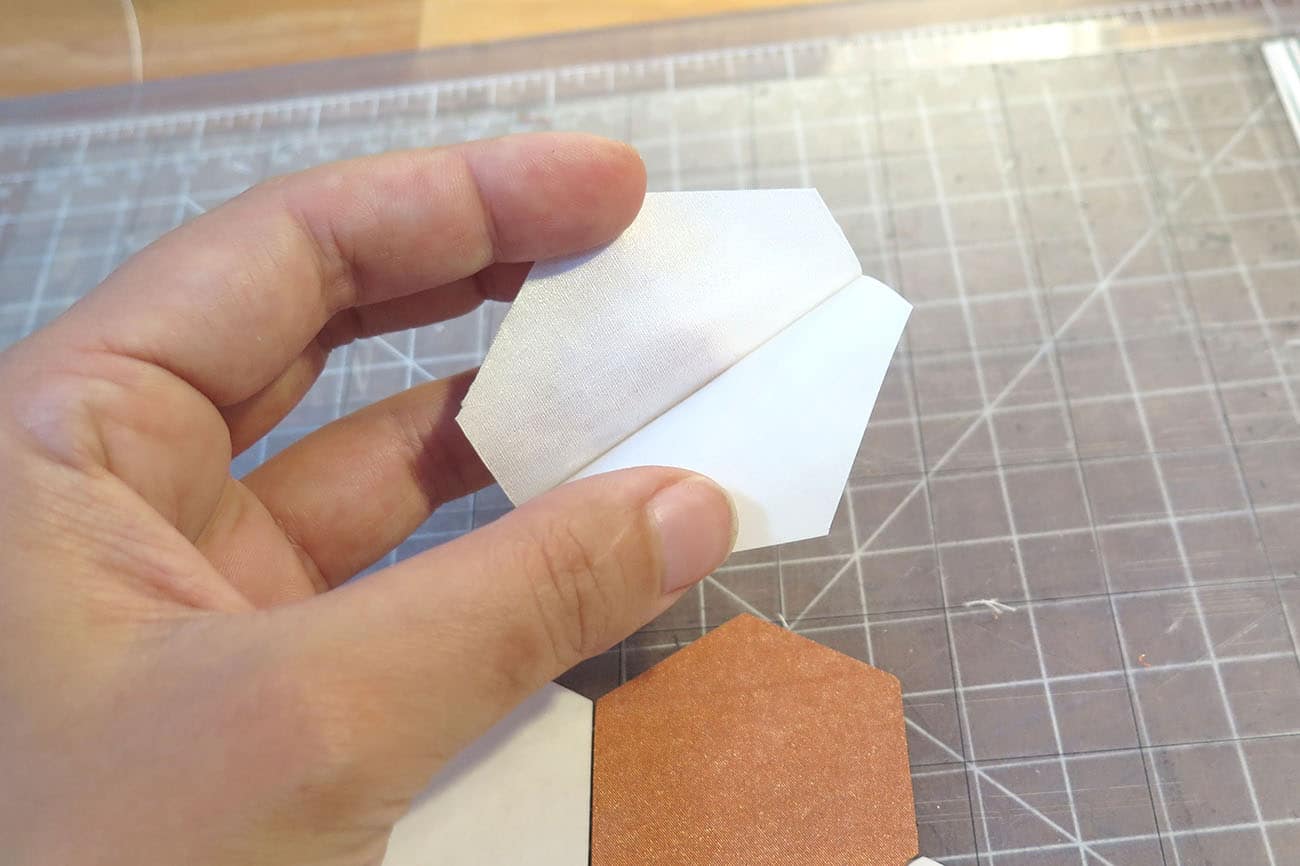
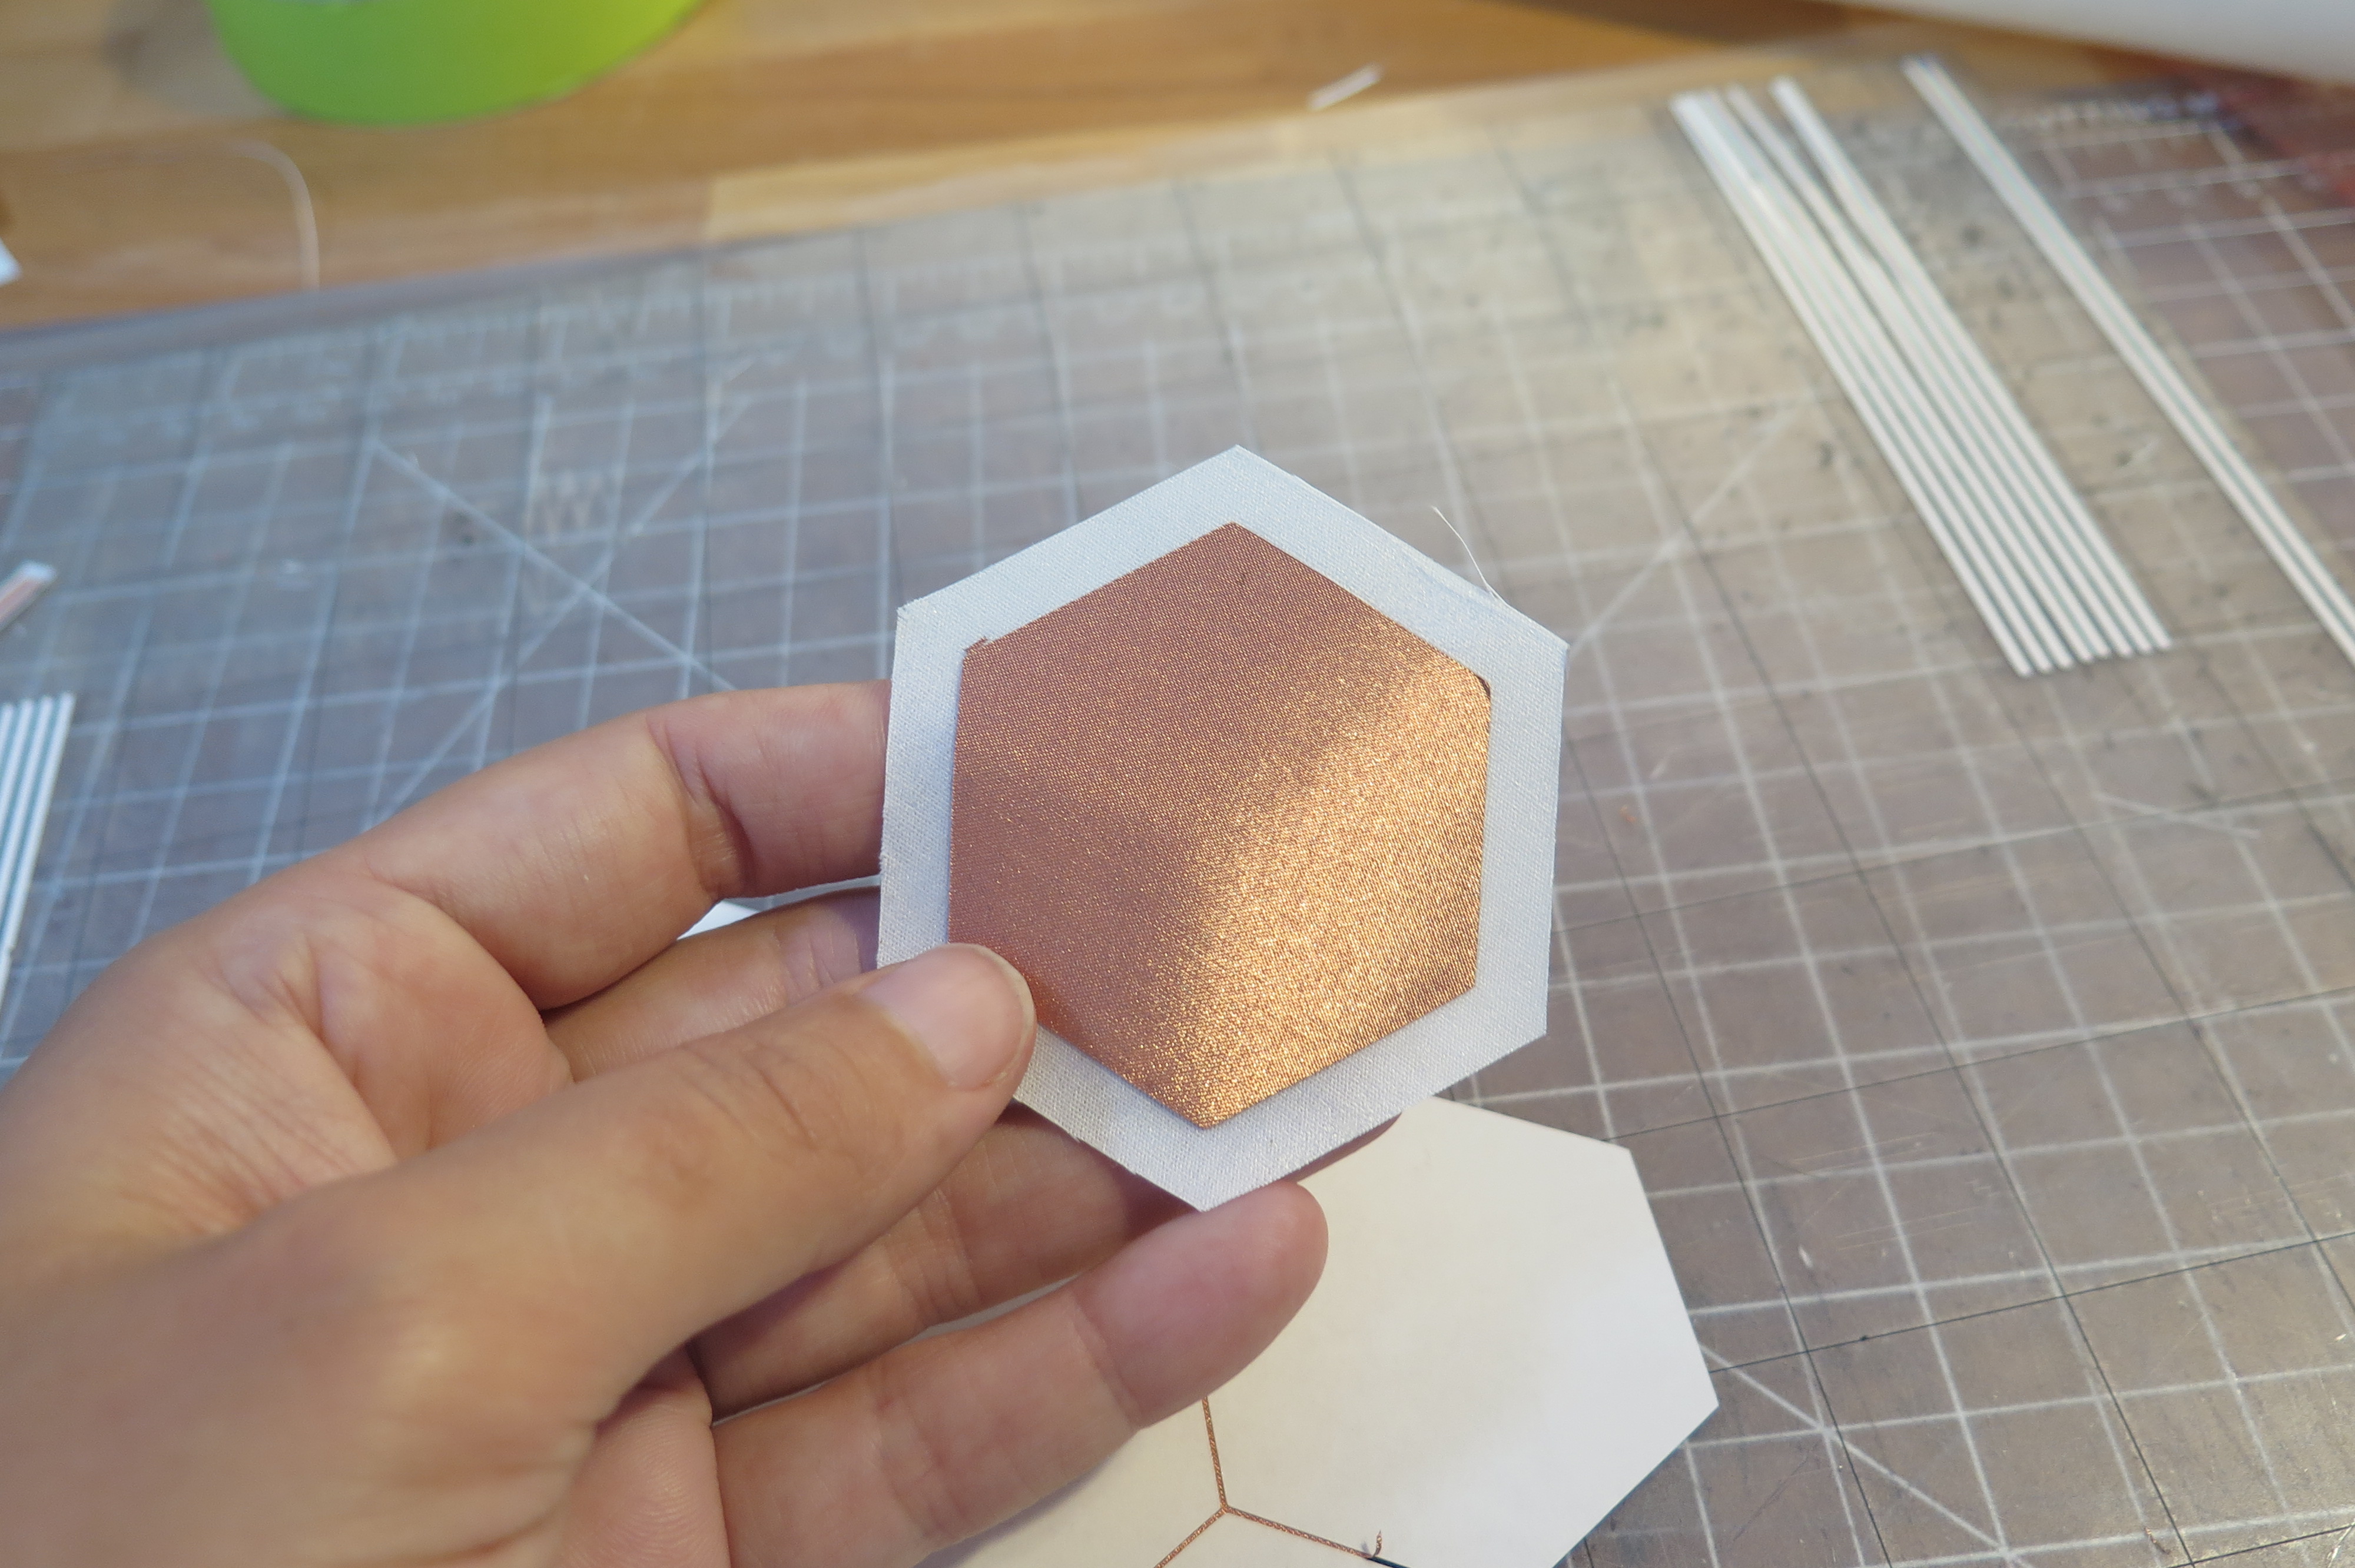
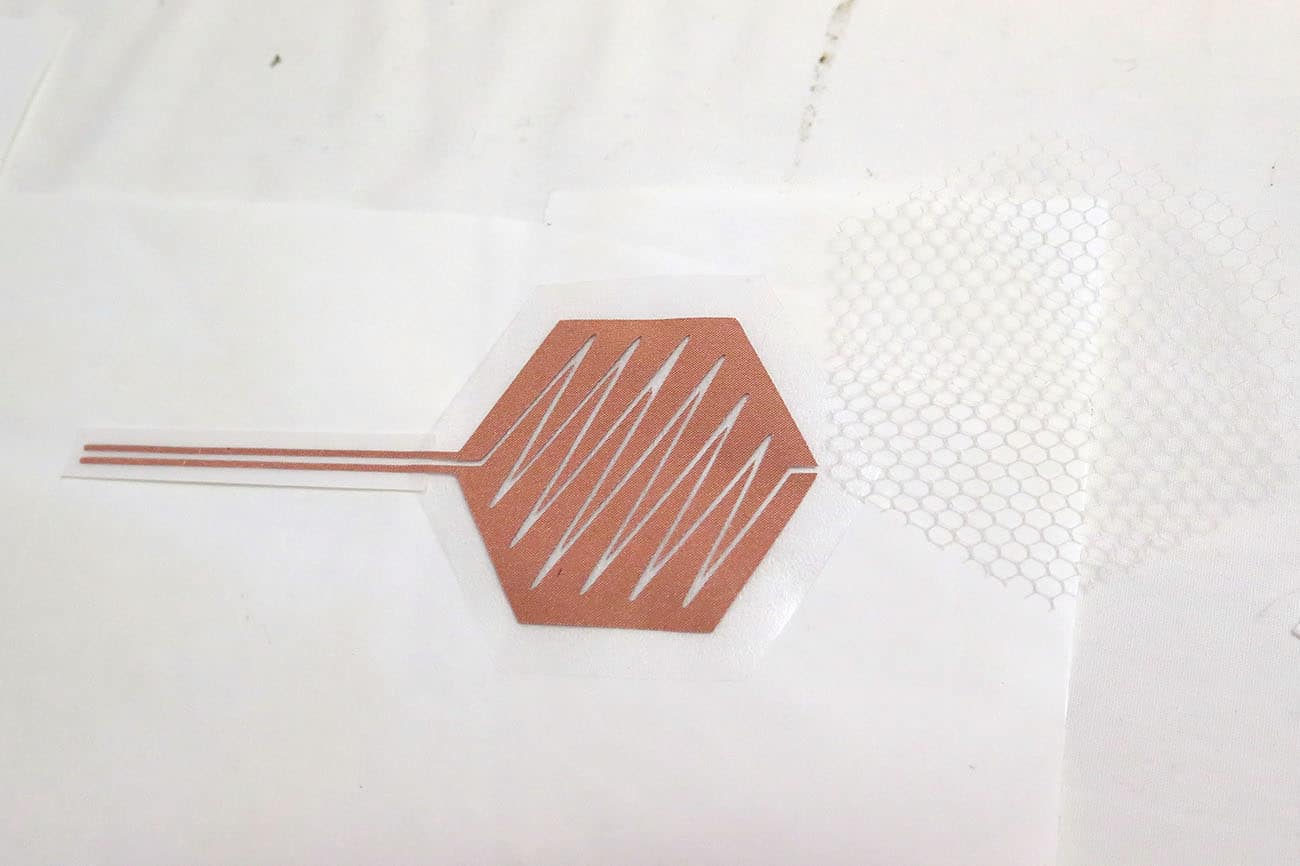
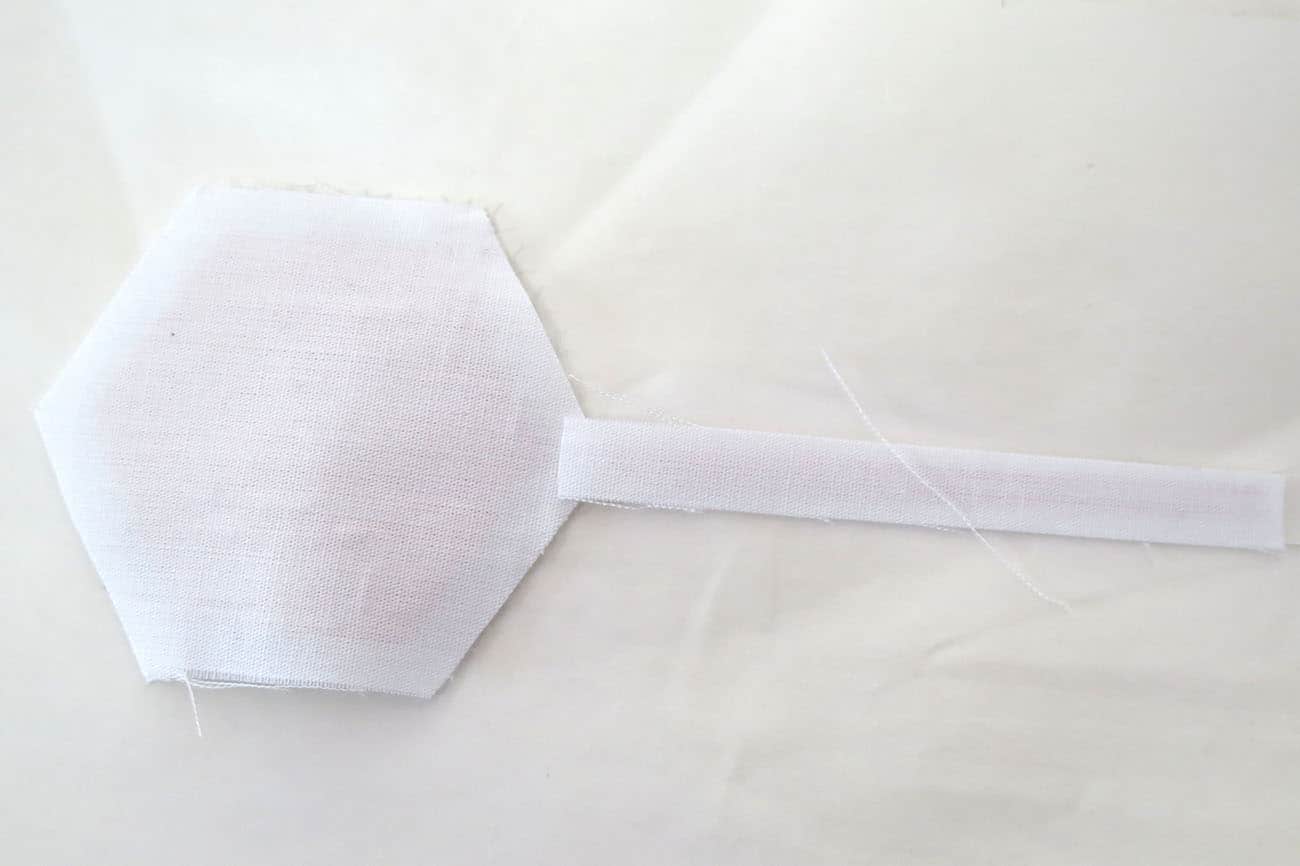
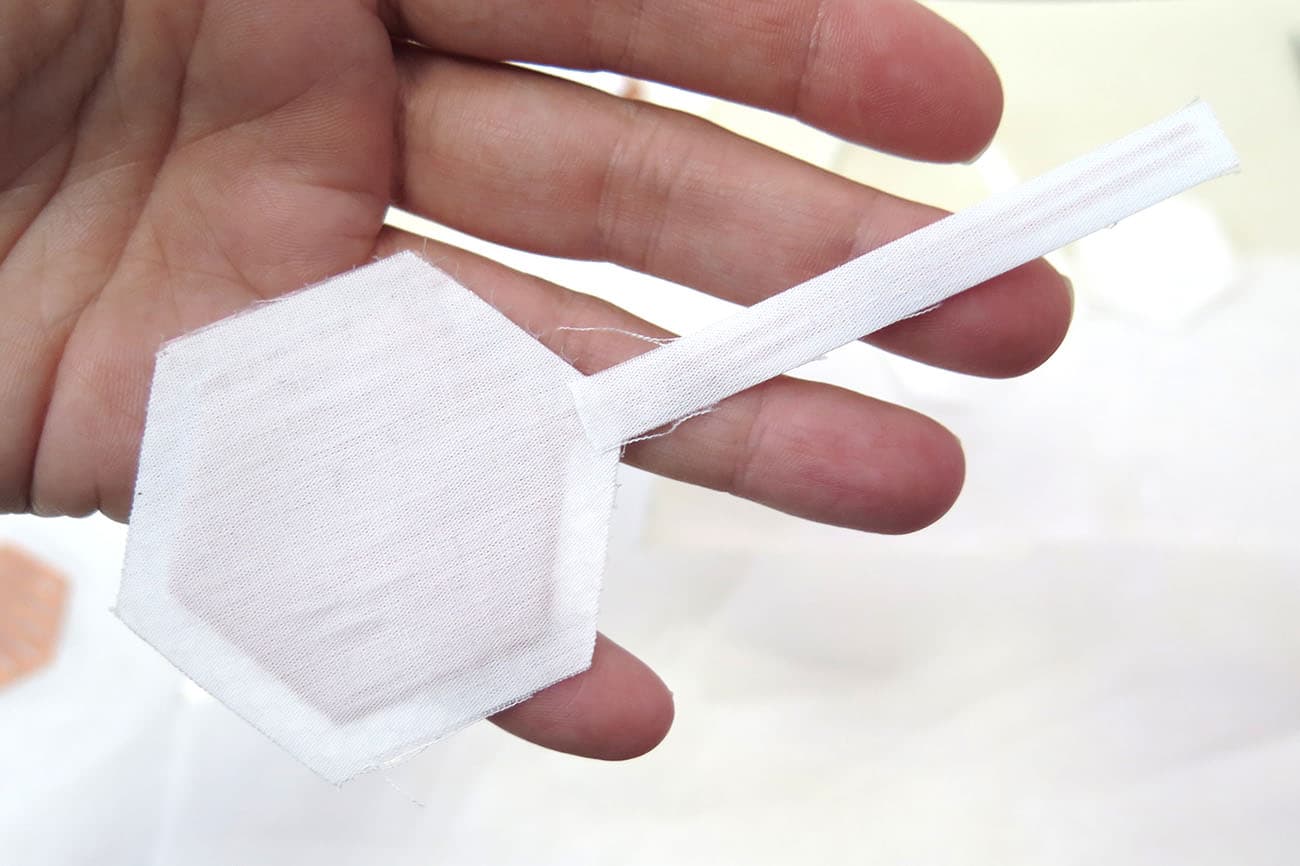
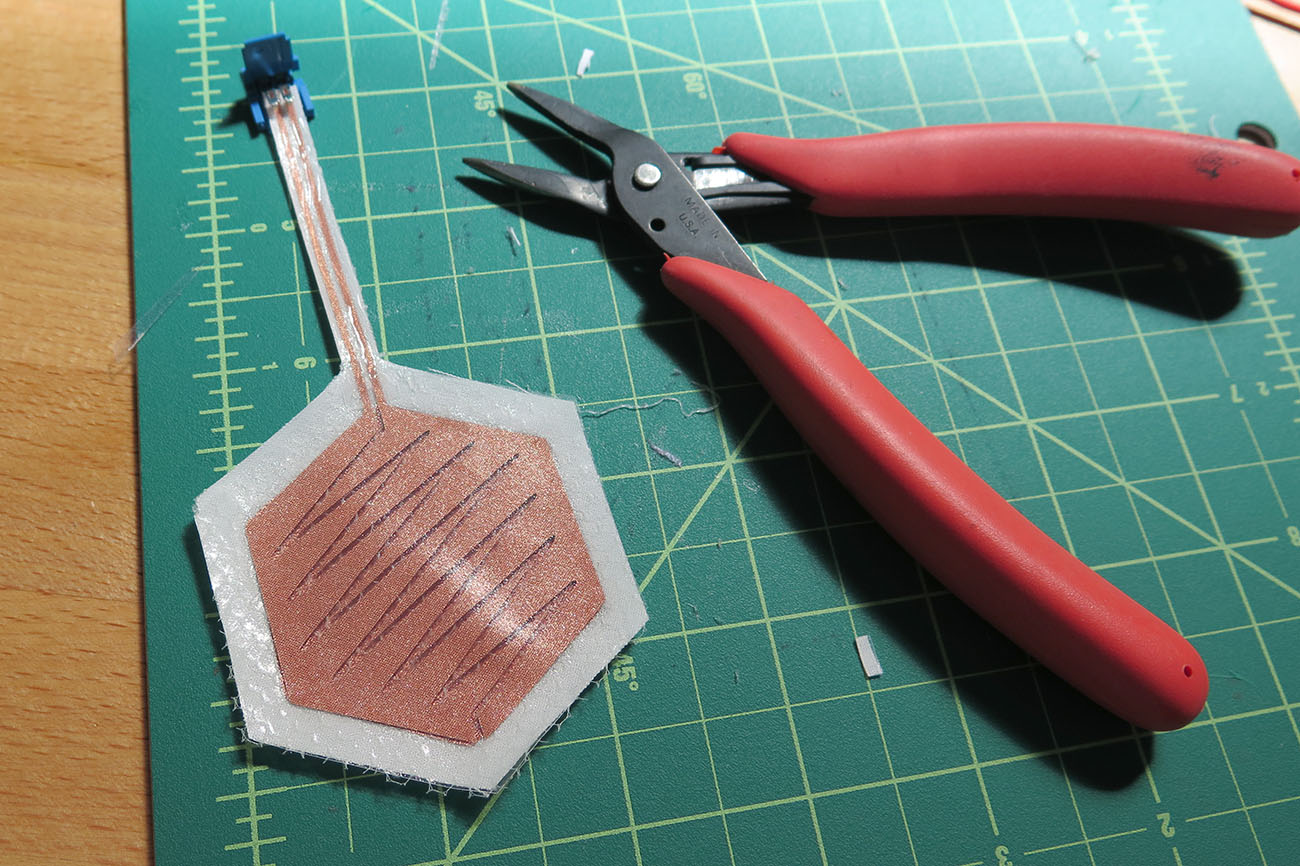
The switch is made up of 2 layers of conductive fabric. One layer is cut in half with interdigitating points. The second layer is a solid hexagon.
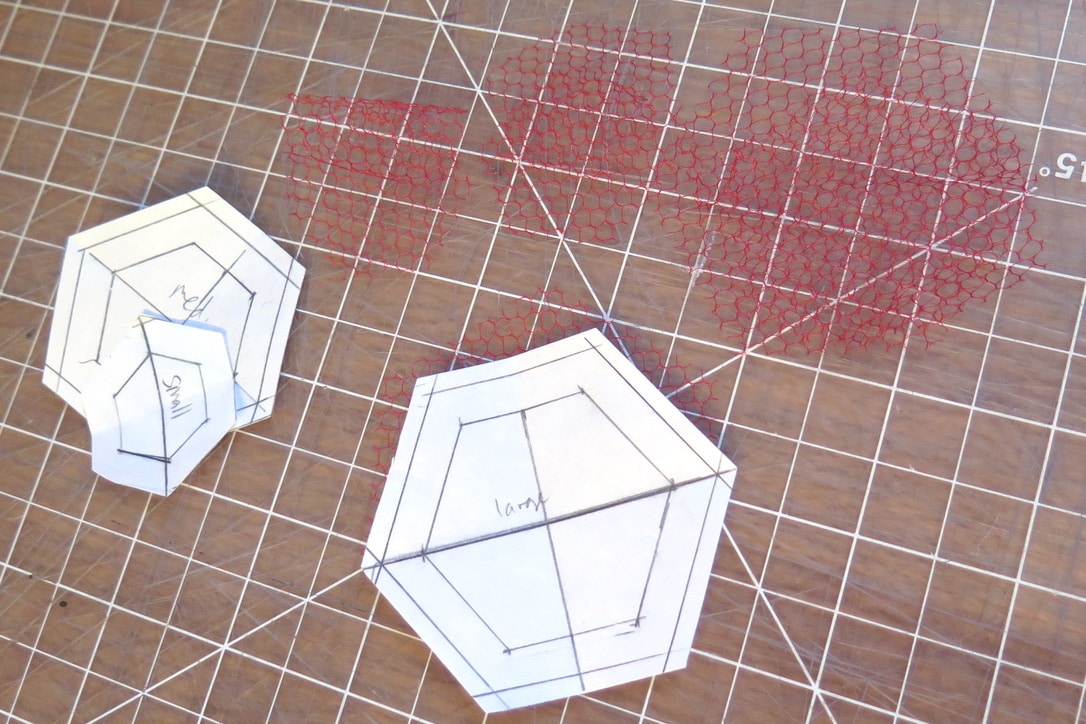
Download the attached files. I’ve included three sizes of switches.
- 23 mm = Small
- 35 mm = Medium
- 54 mm = Large
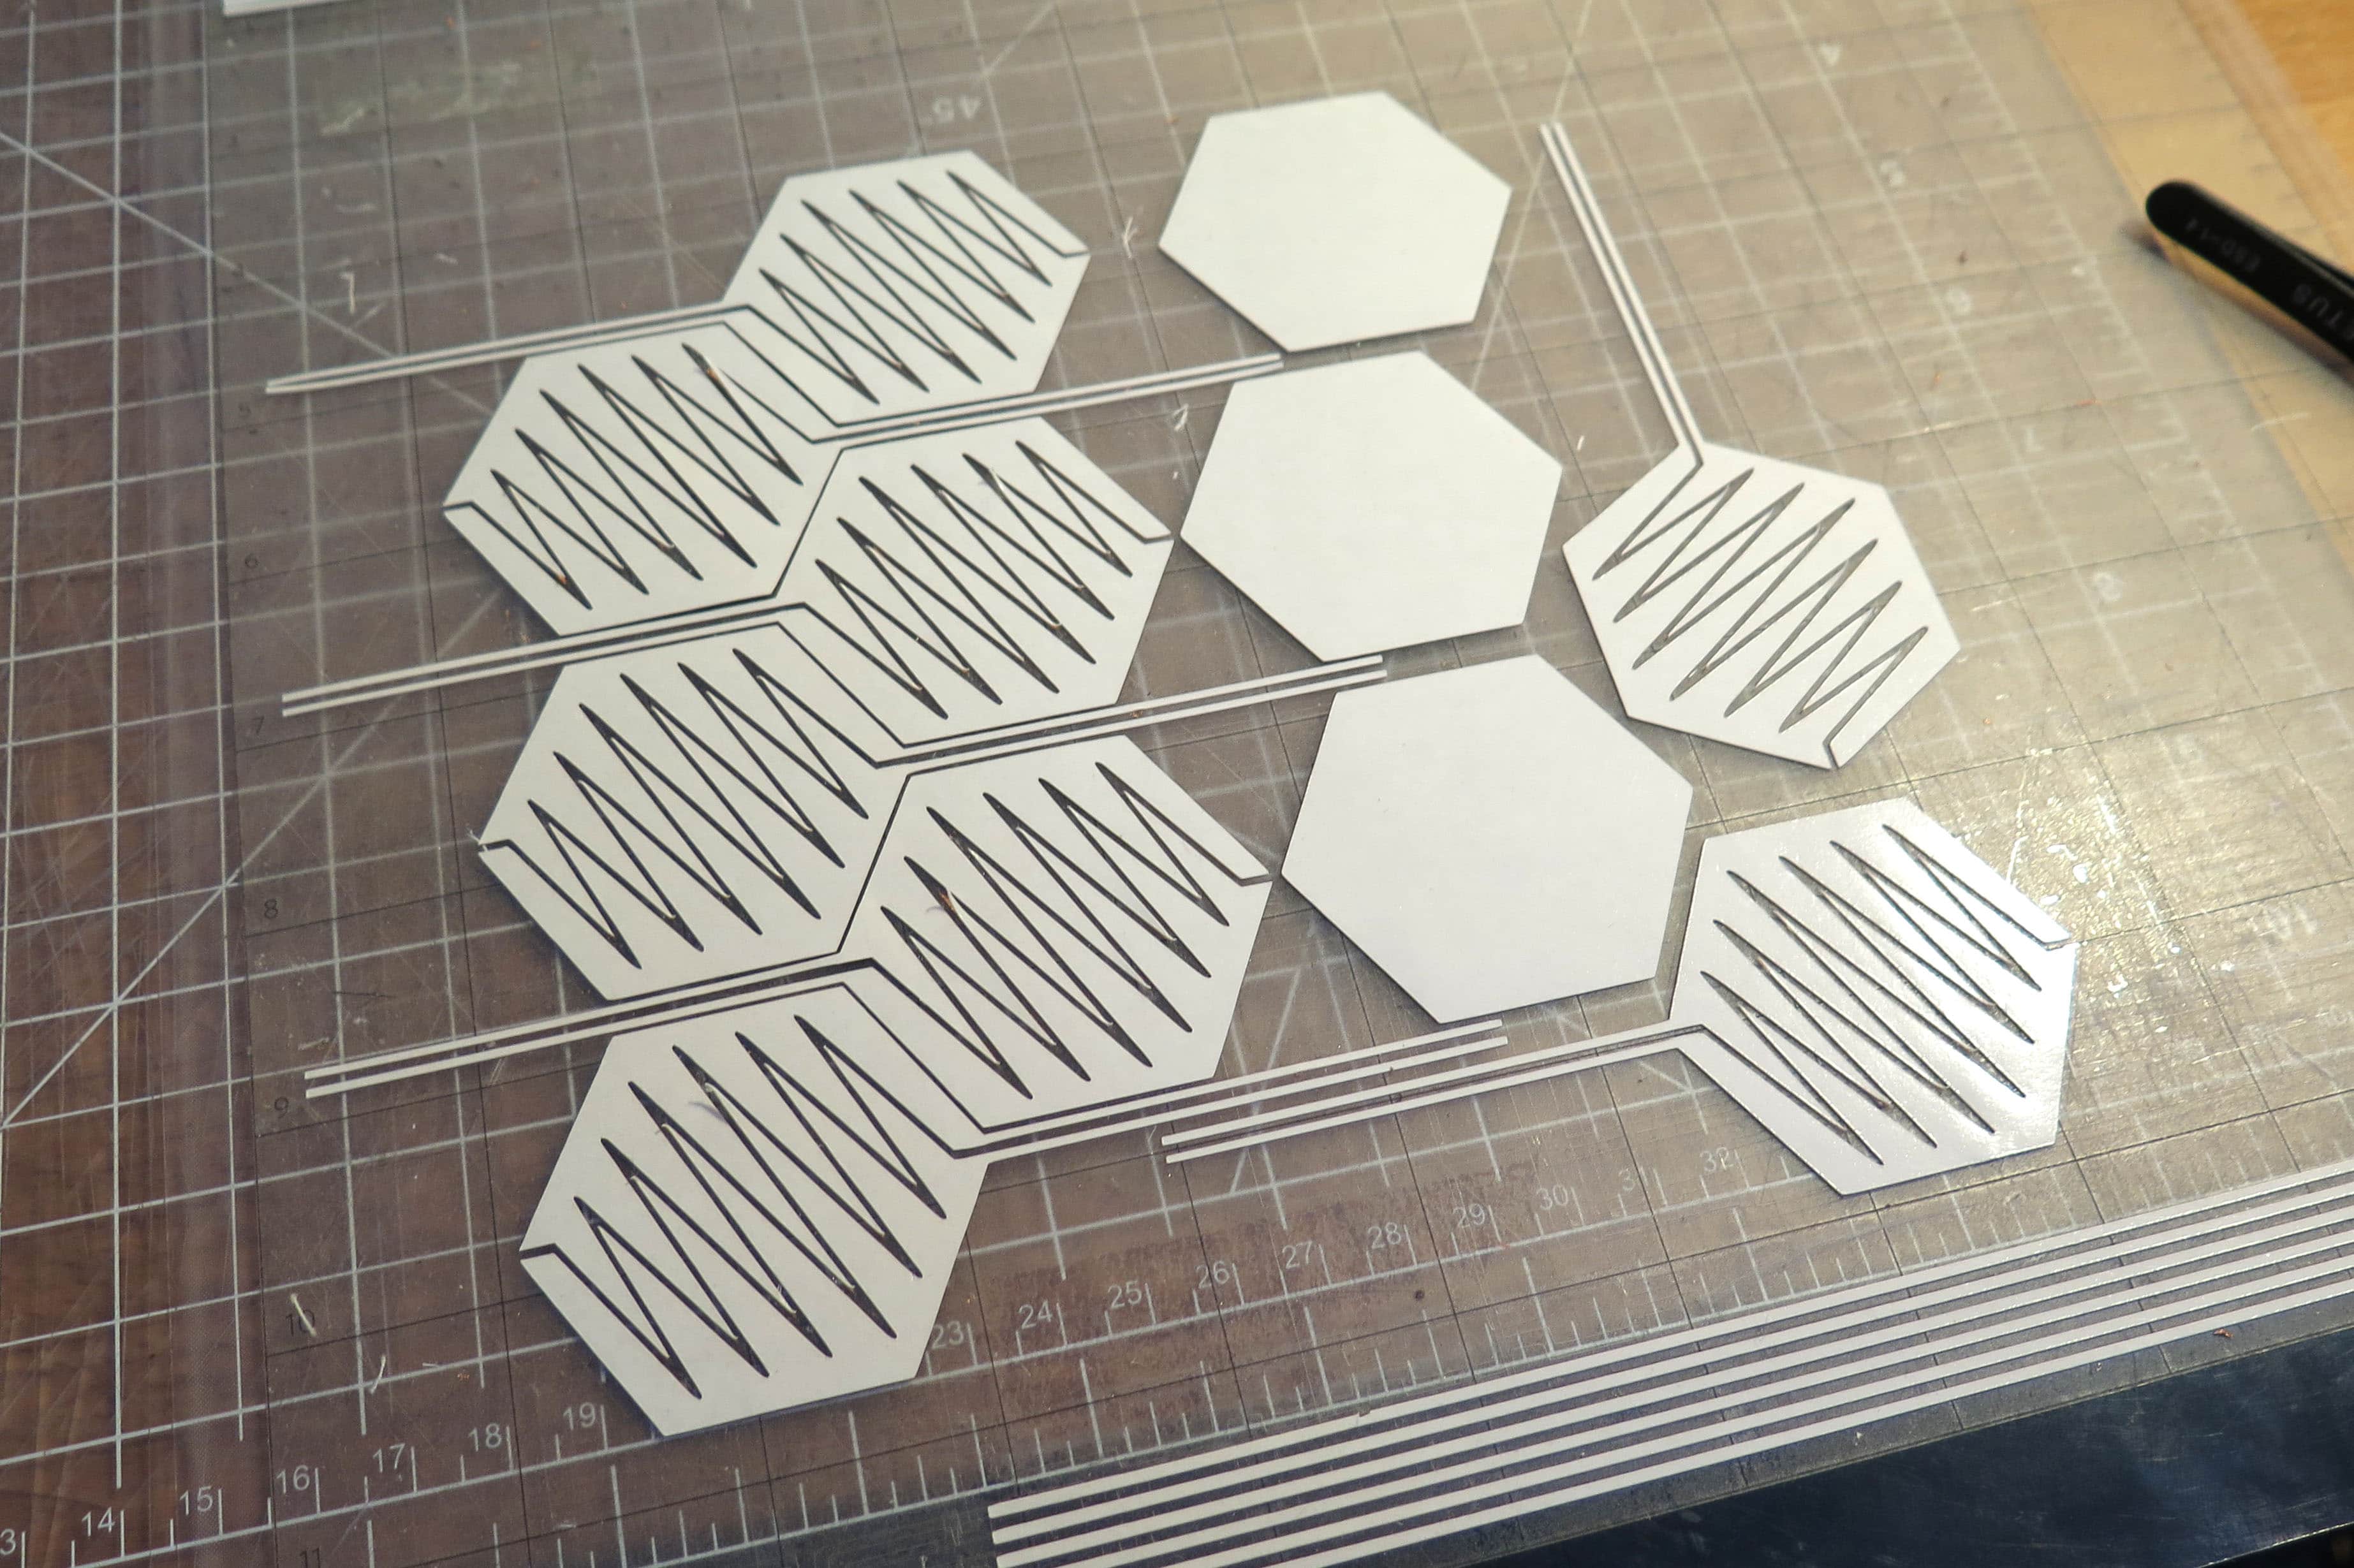
Use Illustrator to resize or redesign your own switch patches. Just make sure the proportions stay the same for all the patterns for one size. Use the PNGS to trace in the Silhouette software to cut or as patterns for cutting by hand. If using the Silhouette Cameo, adhere the conductive fabric to the cutting mat with the white paper backing side up. A bone folder comes in handy for smoothing the fabric down using even pressure to help it adhere to the cutting mat.
Cut Settings for the Silhouette Cameo:
Copper Conductive Fabric
Blade Length: 6
Speed: 5
Force: 15
This setting has been also used with Ripstop Silver with Sewfree Elastic, CobalTex with Sewfree Elastic and Shiedit Super. You can use a blade height of 4 for the blade height and less force with the Shieldit Super.
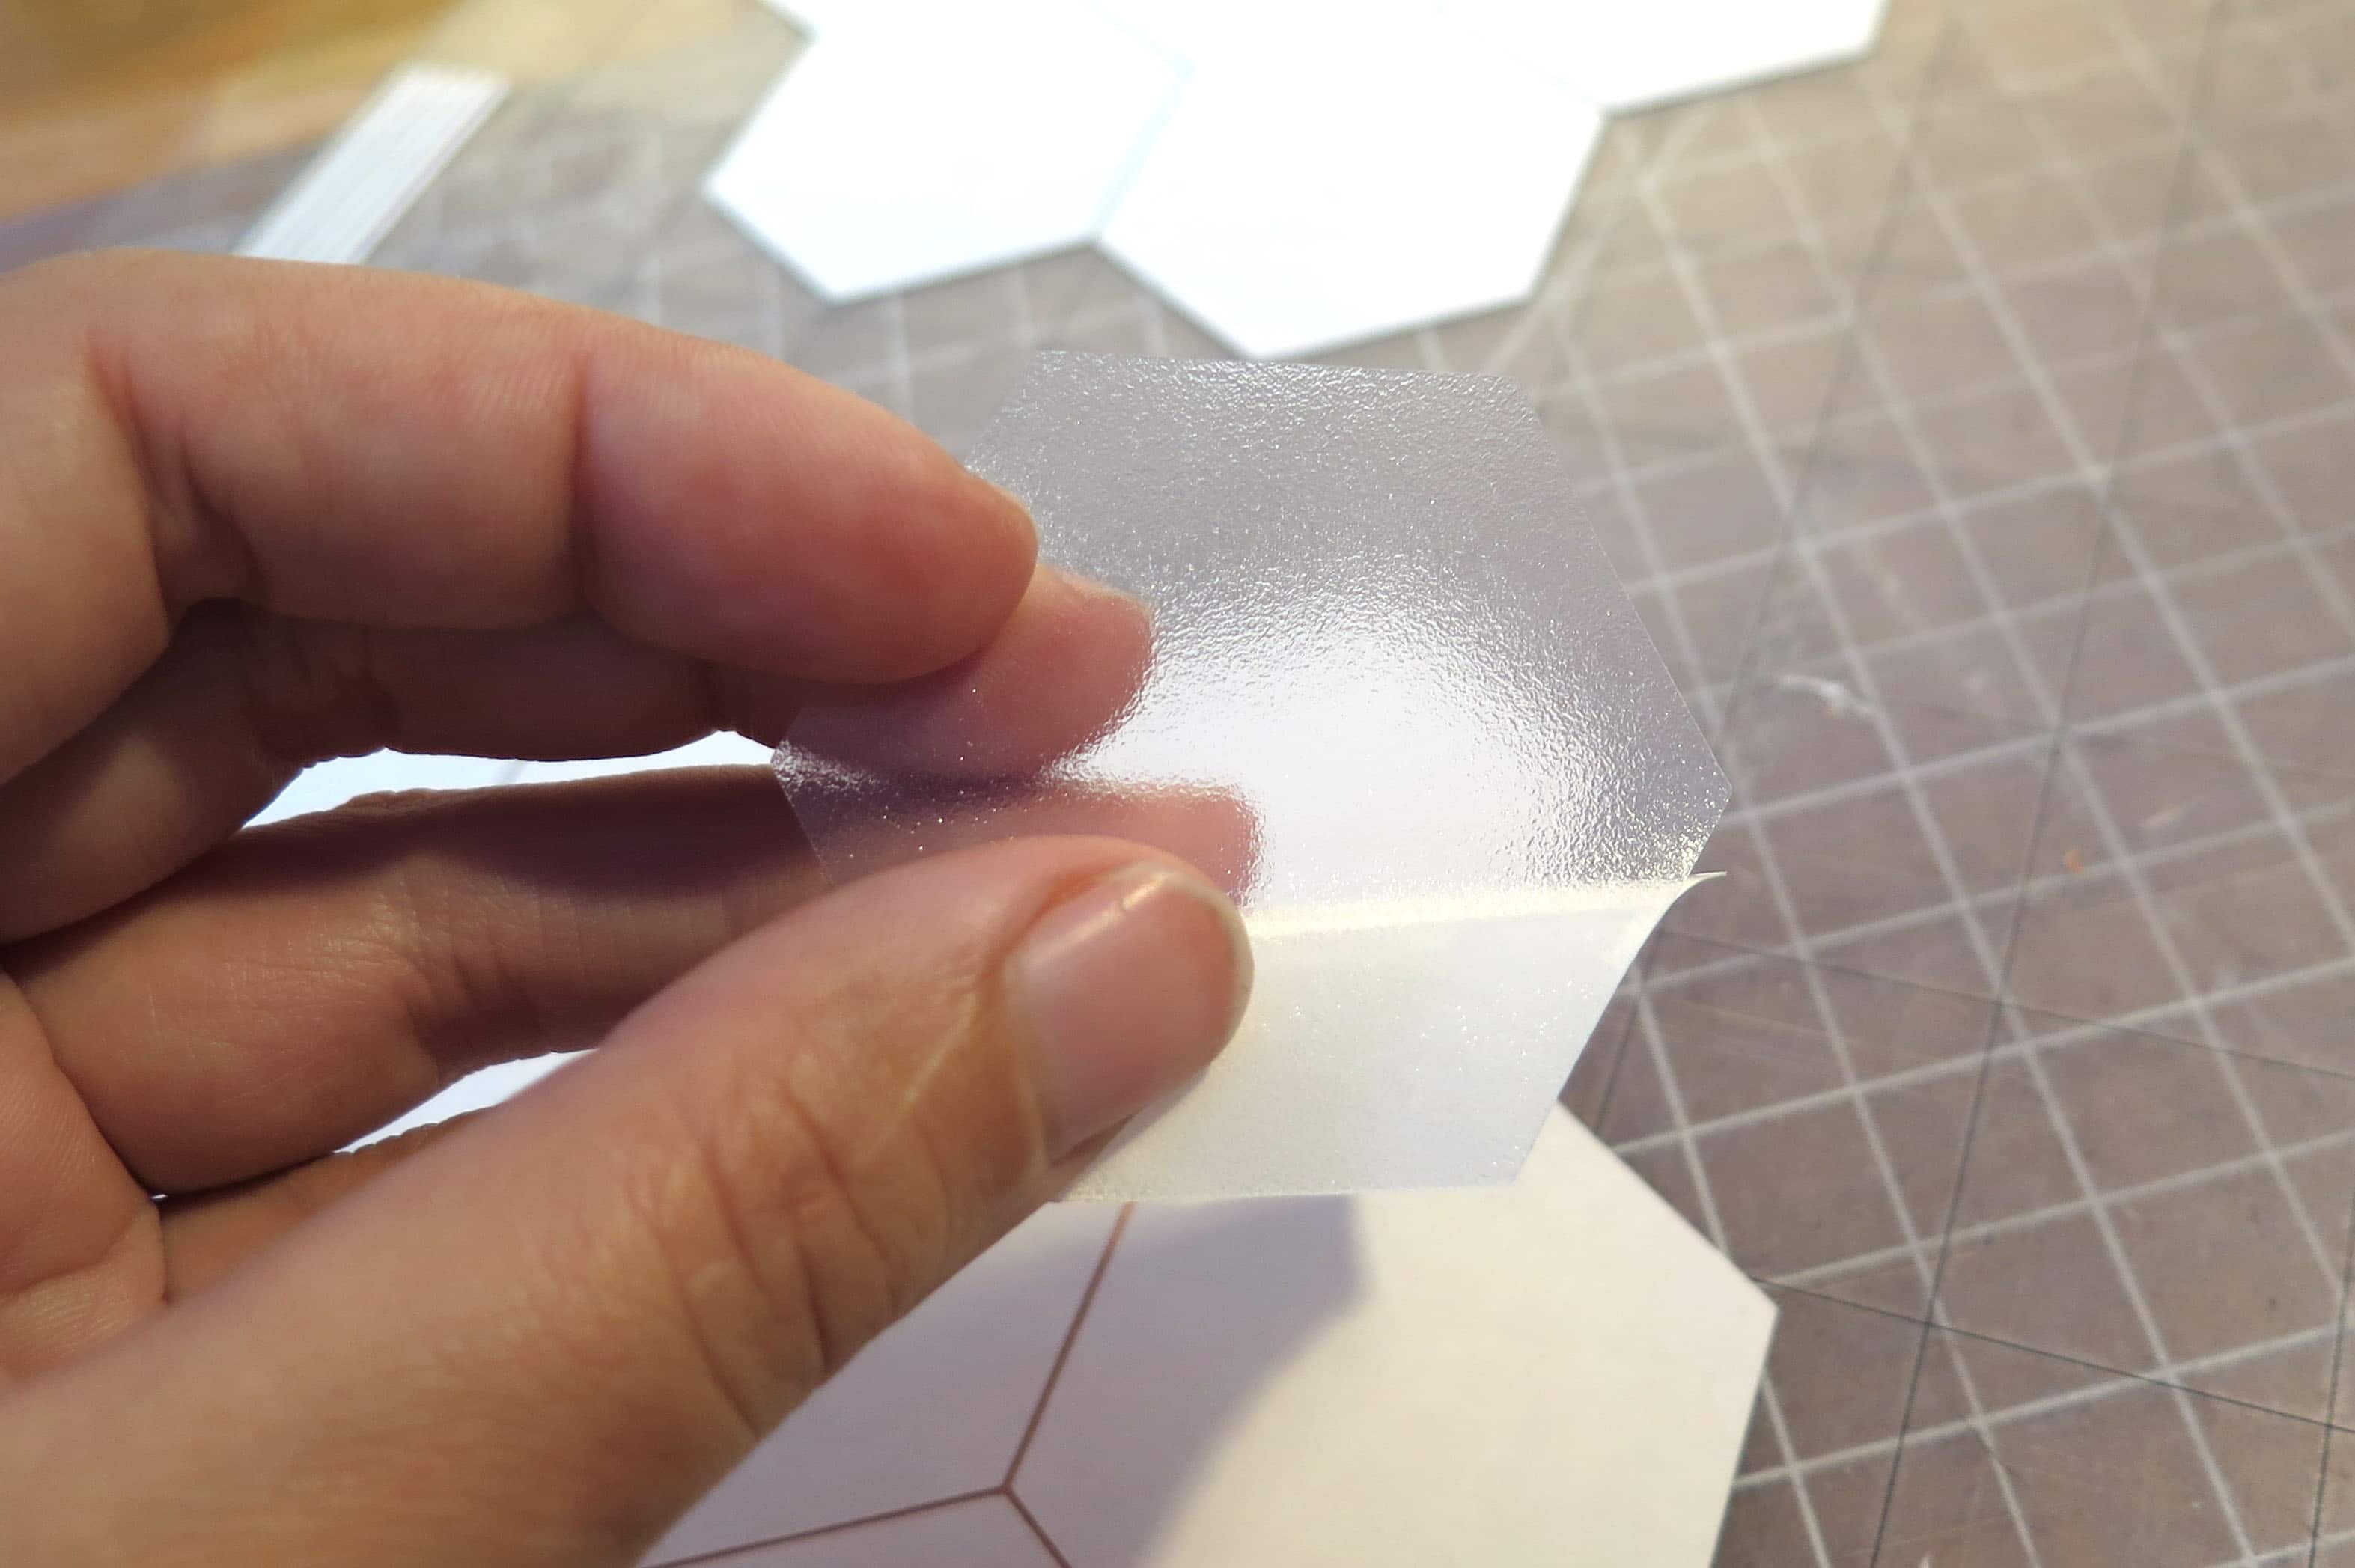
Adhesive Film
Blade Length: 4
Speed: 5
Force: 15
Weed out all the copper leftovers in between the points and around the switch pieces. Using tweezers is helpful.
Step 2. cut adhesive

The Bemis adhesive film cuts beautiful on the Silhouette. Or, print design file and cut by hand.
- Cut one solid hexagon for each switch.
- Cut a strip that is 6 mm wide and as long as the leads + 5 mm. If you are making multiple switches, cut a strip longer than 6 mm and then cut that down as you go.
Step 3. cut fabrics
Before cutting, you need to iron on the adhesive film onto one side of the cotton fabric.
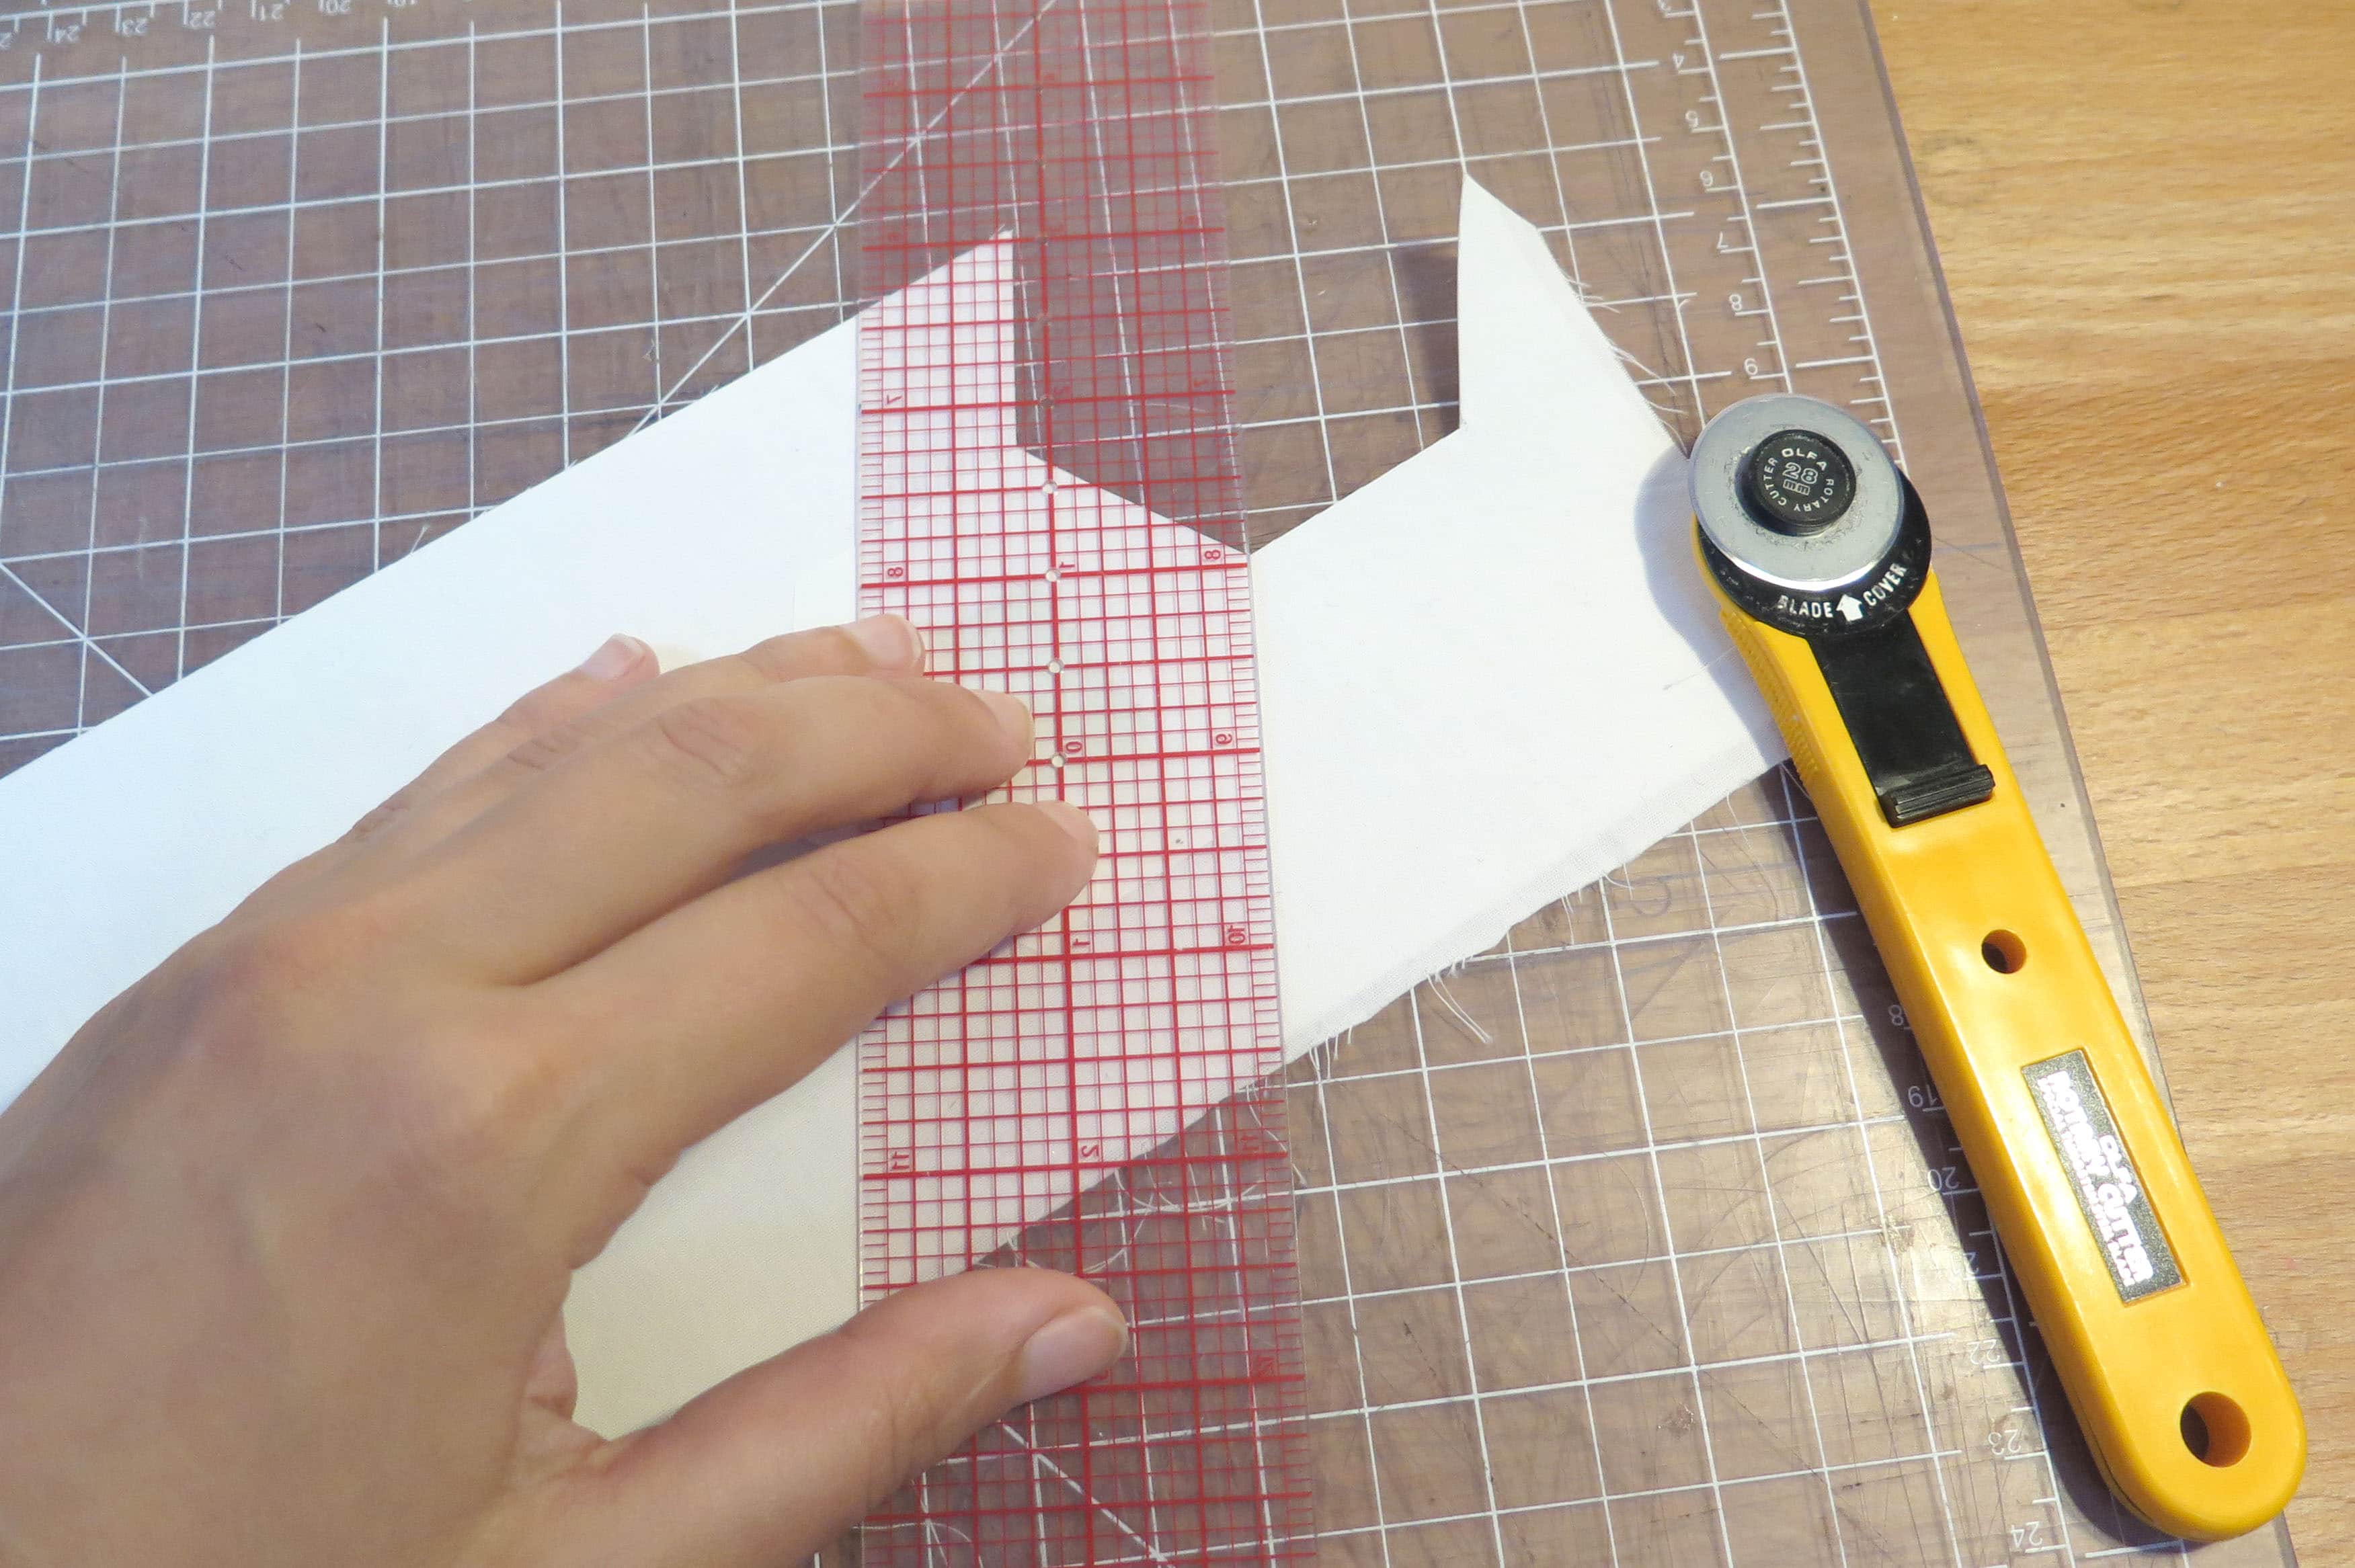
In my experience, the Silhouette does not do a good job cutting fabric that doesn’t have some stiffness to it cleanly so I would use scissors or a blade to cut by hand for this step.
Cotton with Adhesive
- Cut one hexagon for each switch.
- Cut one 6 mm width strip of cotton with adhesive film long enough to cover the length of the switch leads plus an extra 5mm. It’s easy to cut long strips. You can cut to length later on in the process.
Net Fabric
- Cut one hexagon for each switch.
Step 4. Transfer conductive fabric to film – side with leads
This is where the adhesive backing of the conductive fabric comes into play. Keep the Silhouette-cut conductive fabric on the Silhouette cutting mat. The goal of this step is to transfer the fabric from the cutting mat to the adhesive film. The first side you are going to transfer is the interdigitated side with the leads.
1) Peel the white paper backing off of one fabric hexagon with leads. It’s easier to assemble one switch at a time if it’s your first go.
2) Peel off the paper backing from an adhesive film hexagon.
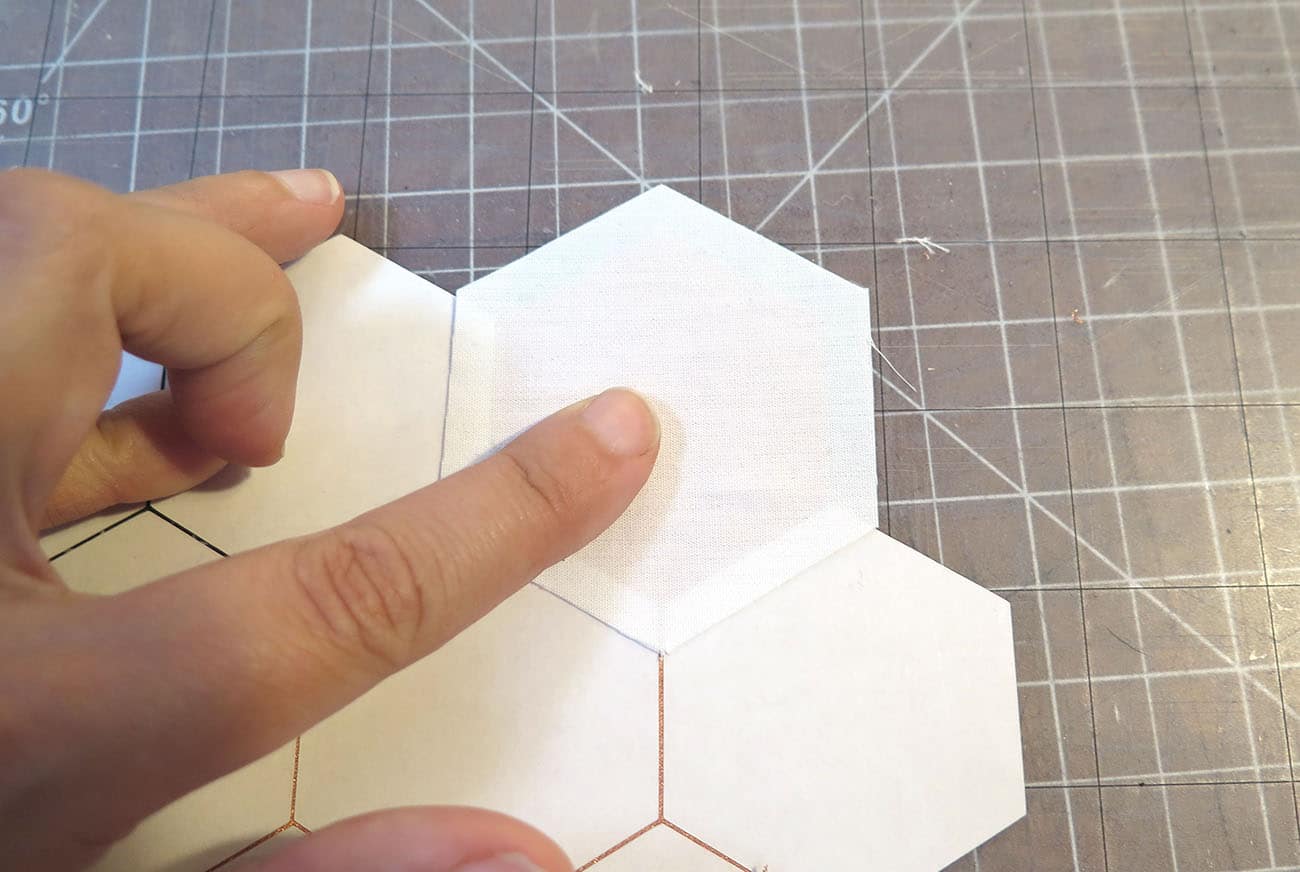
3) Center the adhesive film hex over the fabric hexagon. You should have about 3 mm of a film border all around the conductive fabric.

- Take the 6 mm wide strip of film with the paper backing still on and place it film side down to cover the leads while overlapping where they meet with the hexagon.
- Press the film hex and the strip down onto the adhesive fabric to help it adhere. The goal to peel up the film with the conductive fabric stuck to it, transferring the fabric from the cutting mat to the adhesive film. Start with the hexagon by pulling up on one corner. Make sure the conductive fabric is sticking to the film as you go. Go slowly while keeping the film as parallel to the cutting mat as possible rather than curling it back all way. This prevents the transfer from buckling while it’s being transferred. After one side starts to transfer, pull up on the opposite corner. You may need to go back and forth between sides pulling towards the middle of the hexagon a couple of times to smoothly transfer the fabric to the film.
- Carefully pull the entire hexagon off with the leads from the cutting mat.
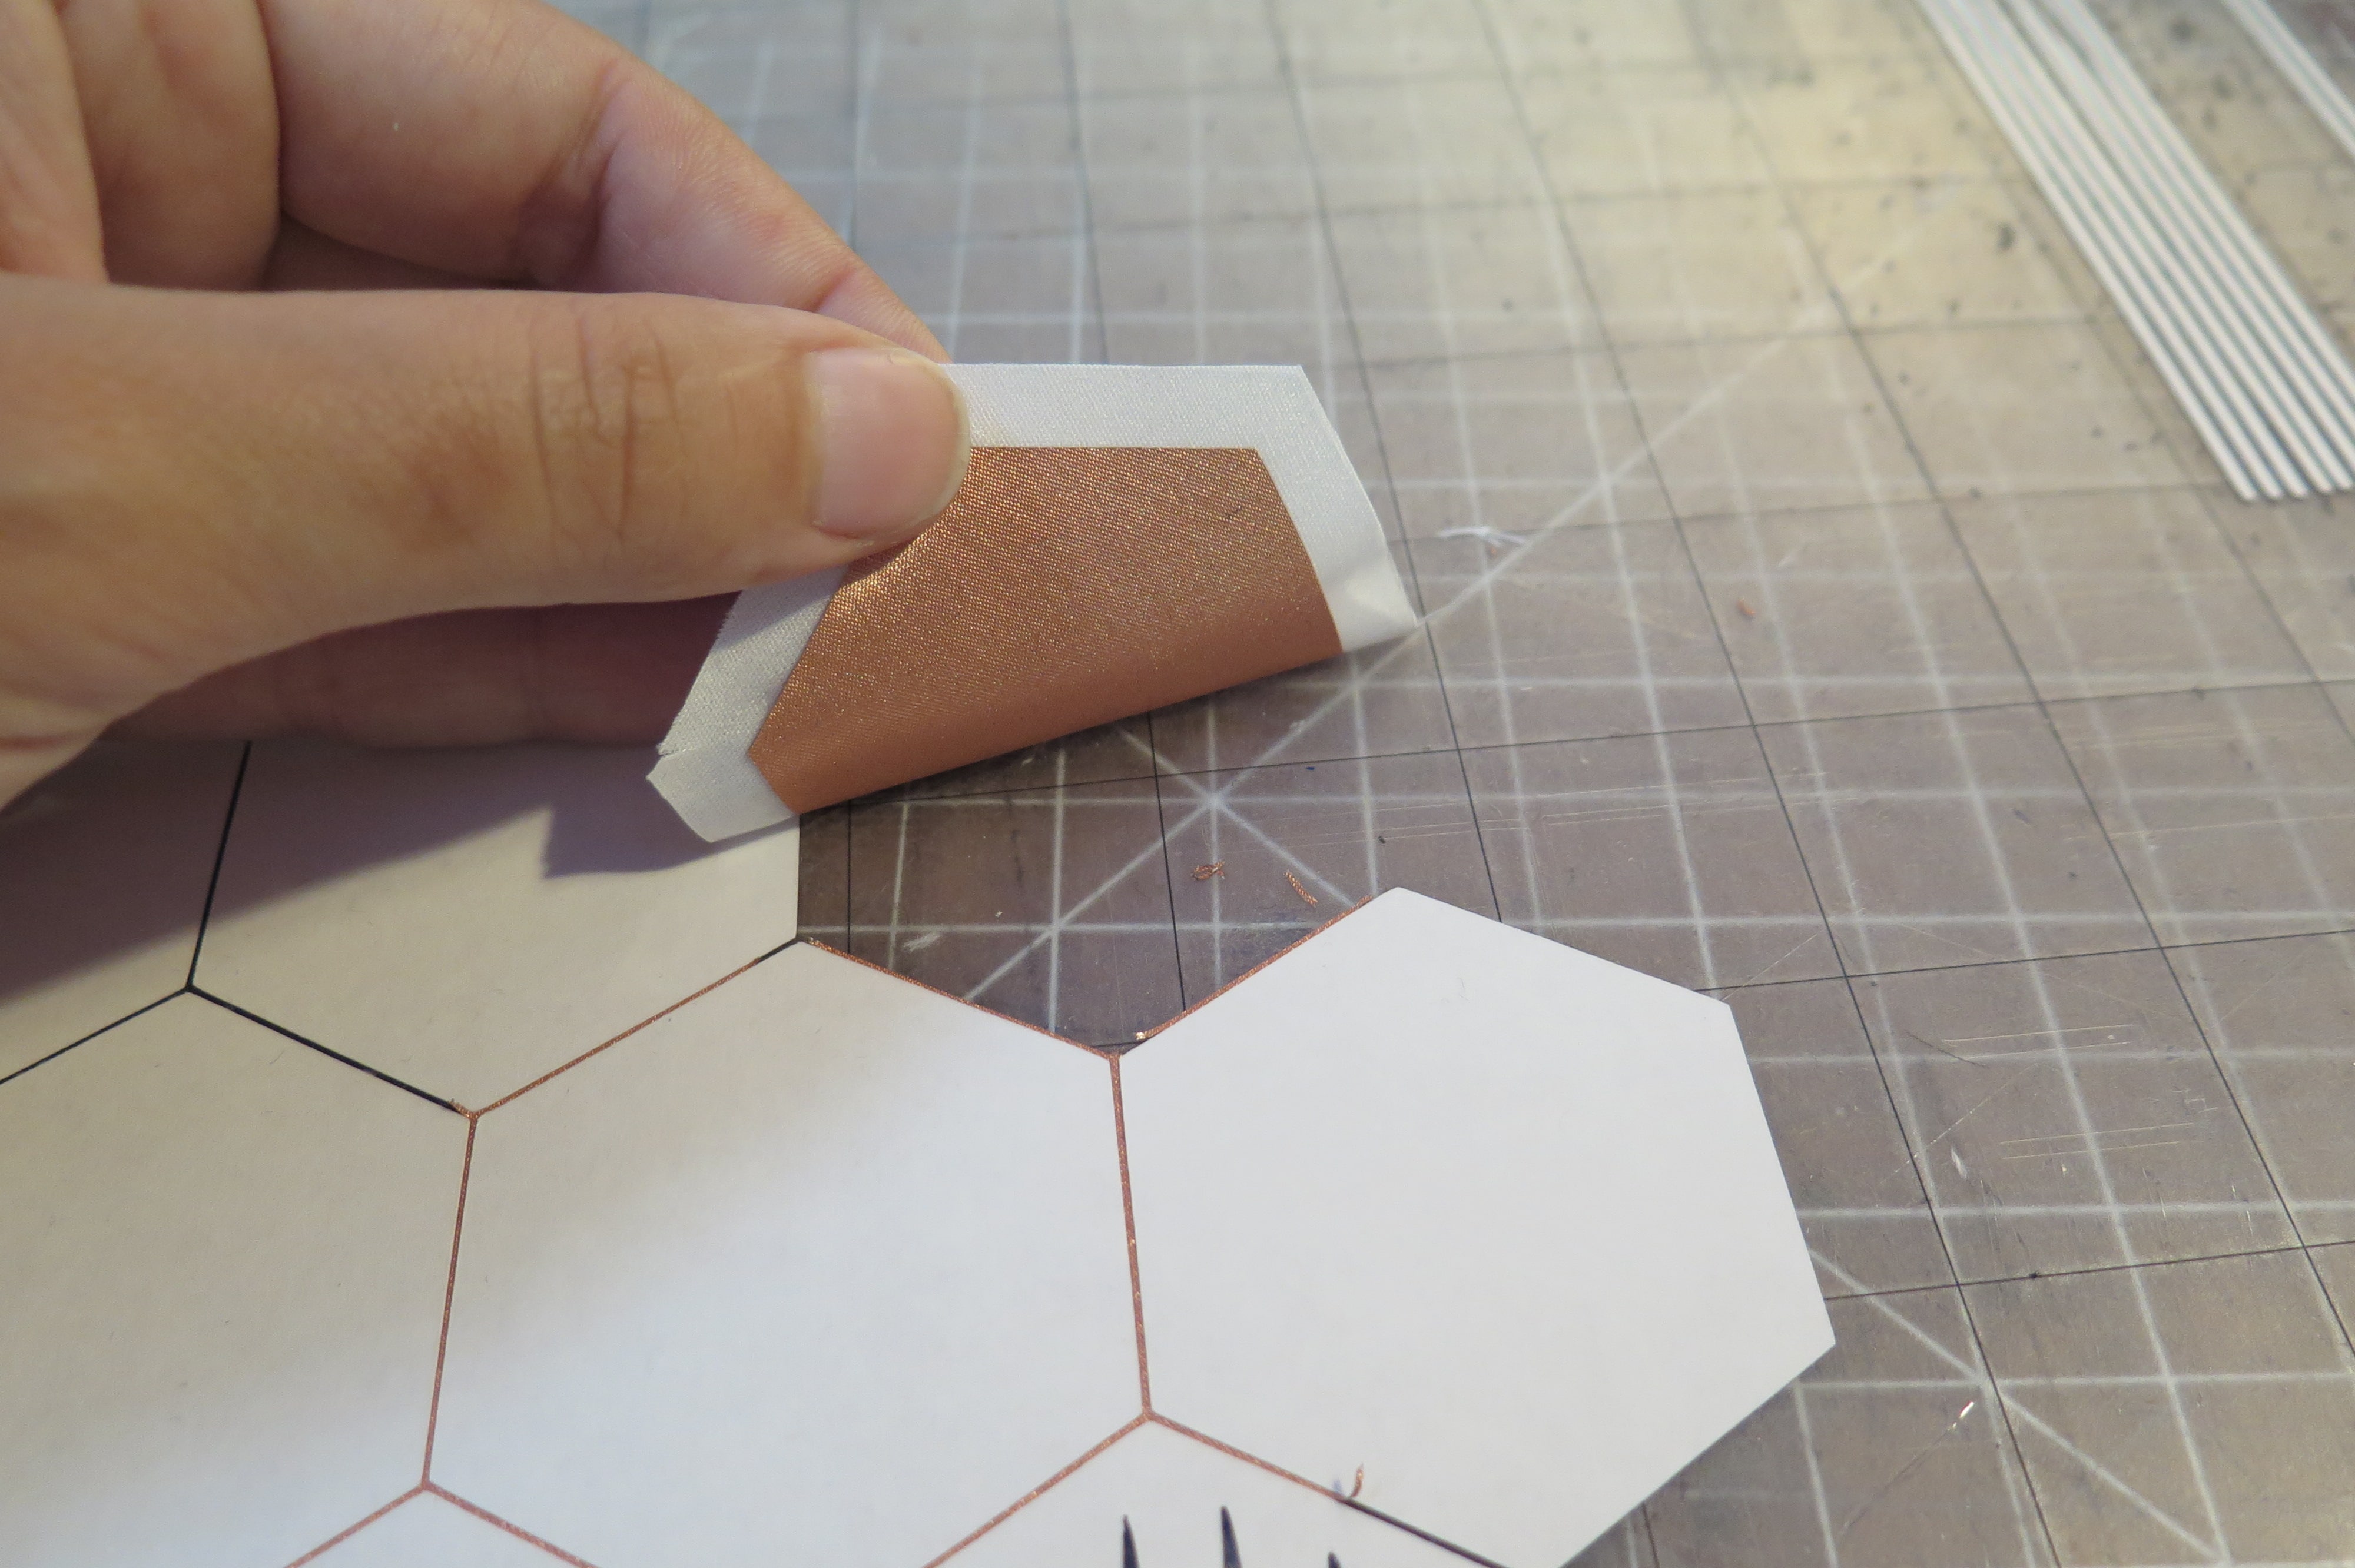
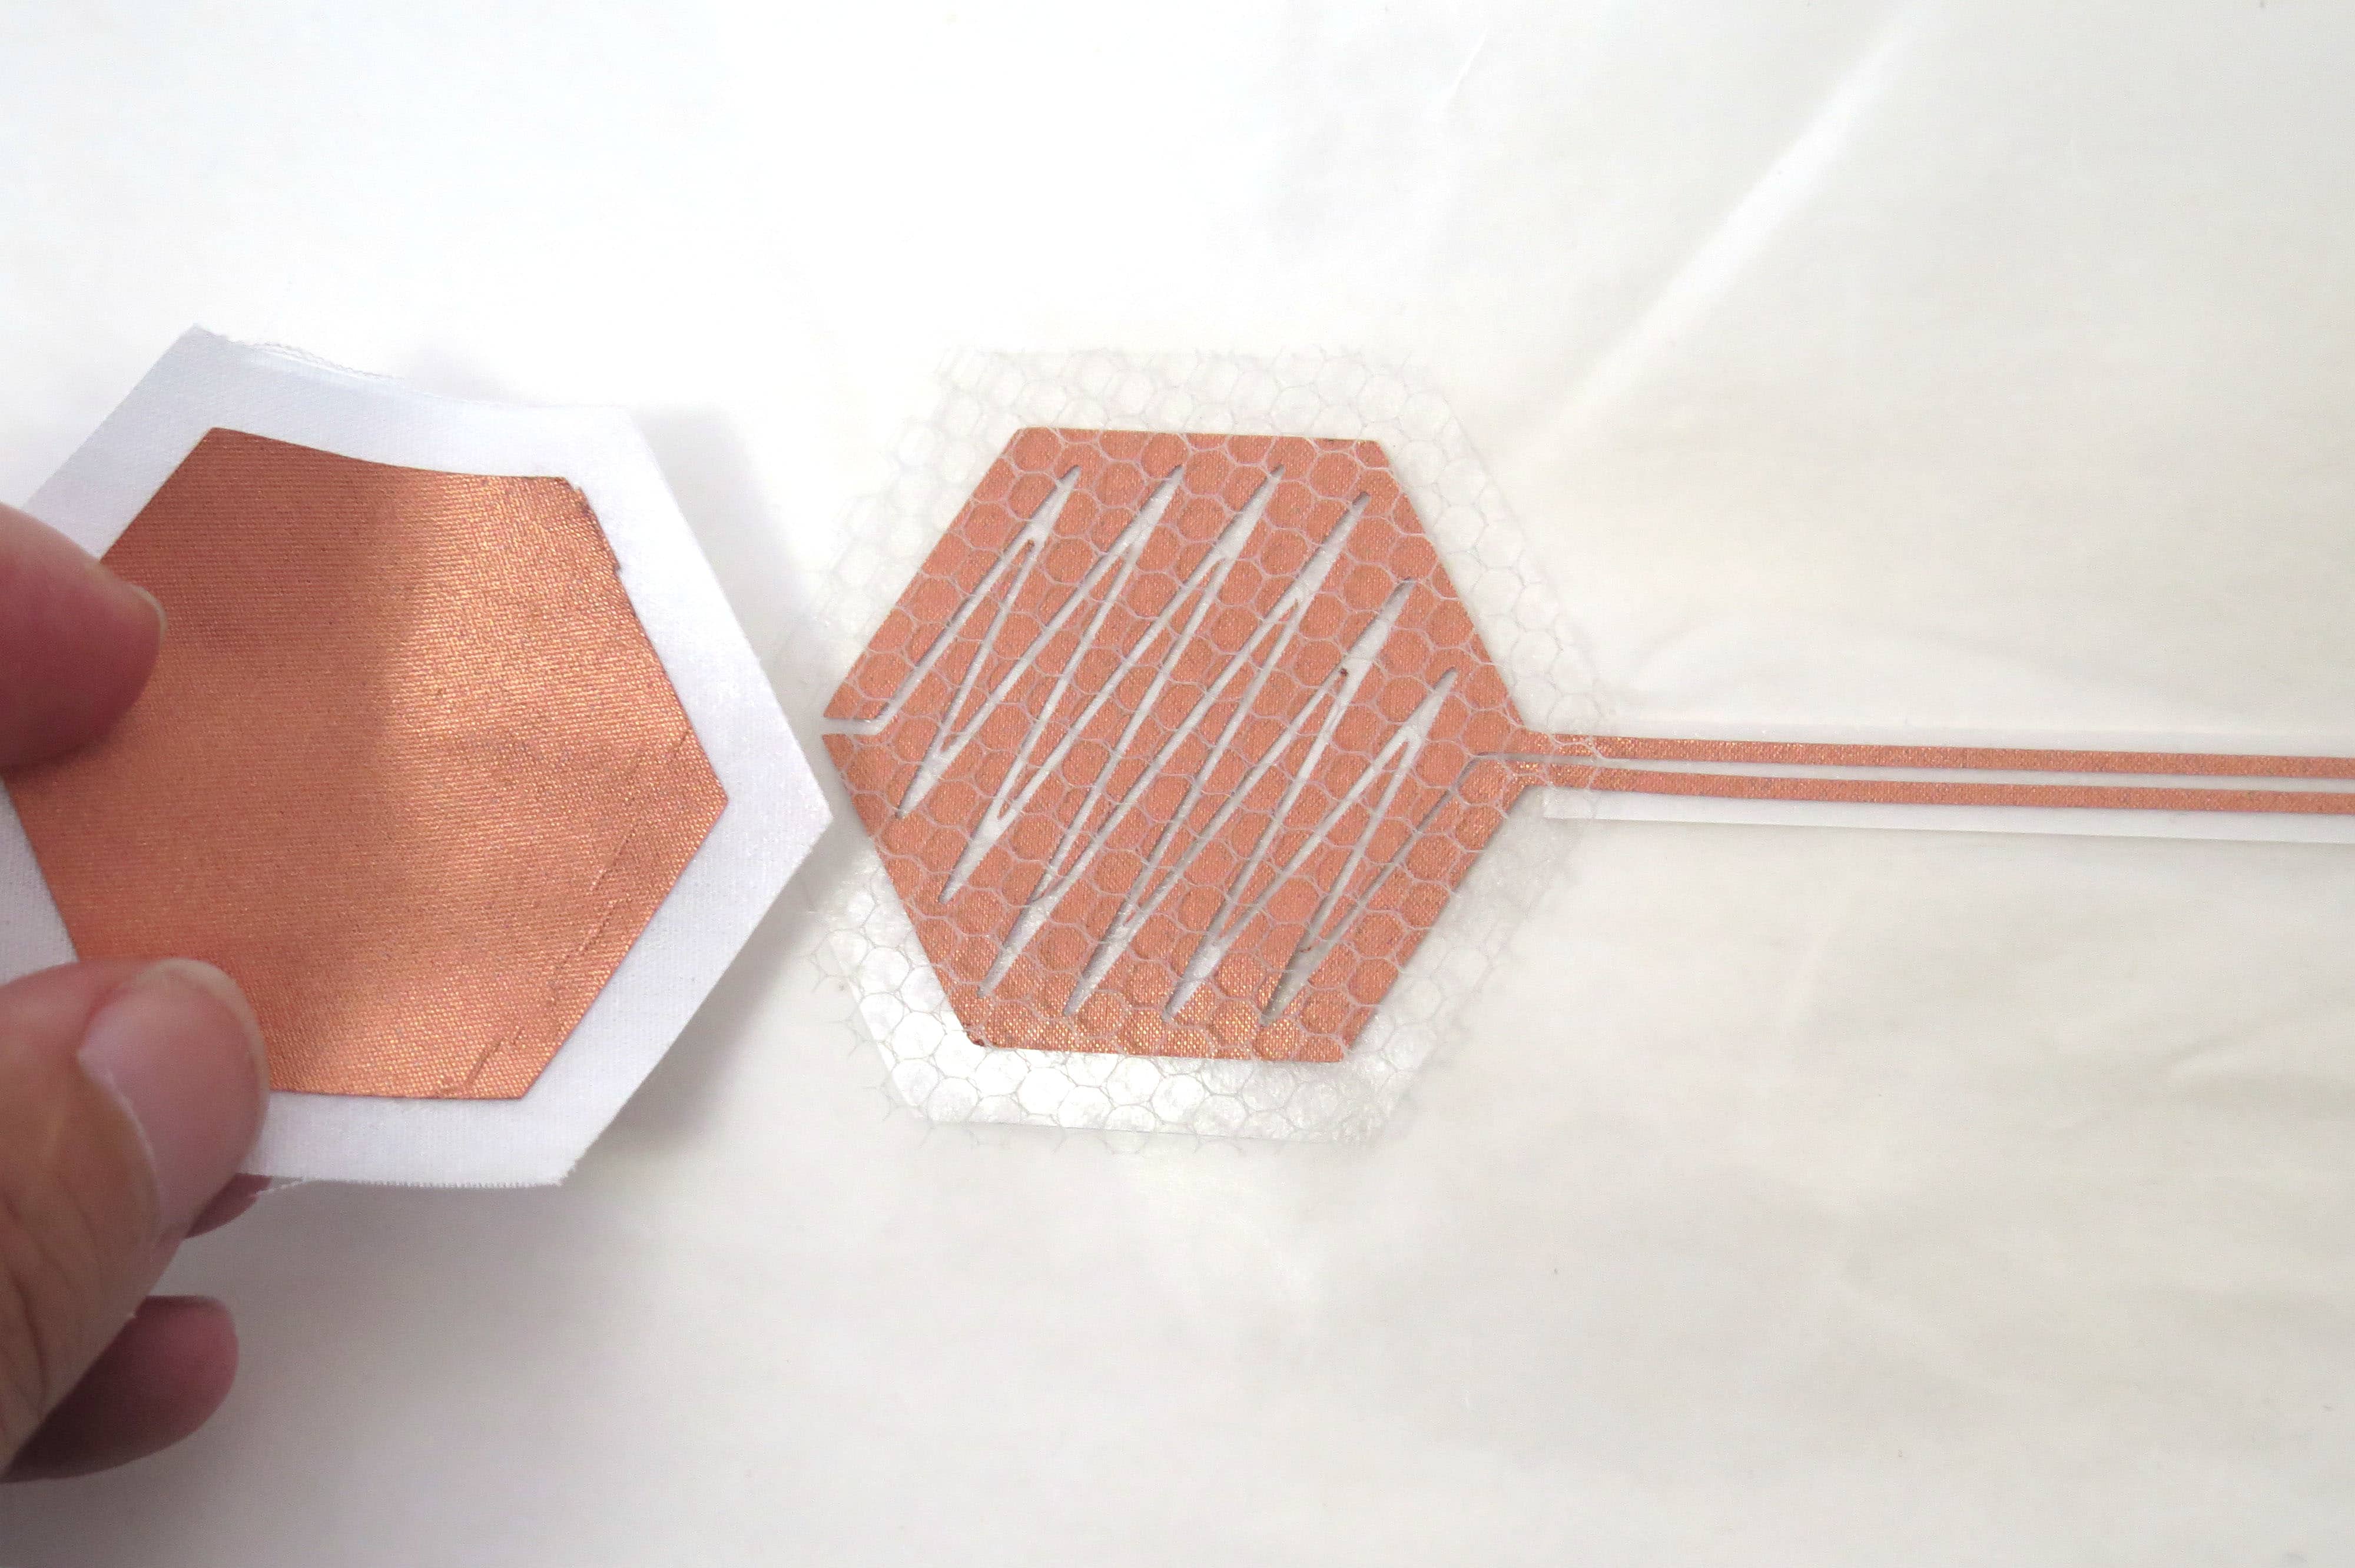
Step 5. Transfer conductive fabric to cotton with film – solid hexagon
Next is transferring the solid copper fabric hexagon to the hexagon you cut from the cotton fabric with iron-on film on one side.
- Peel the paper backing off of one solid copper hexagon.
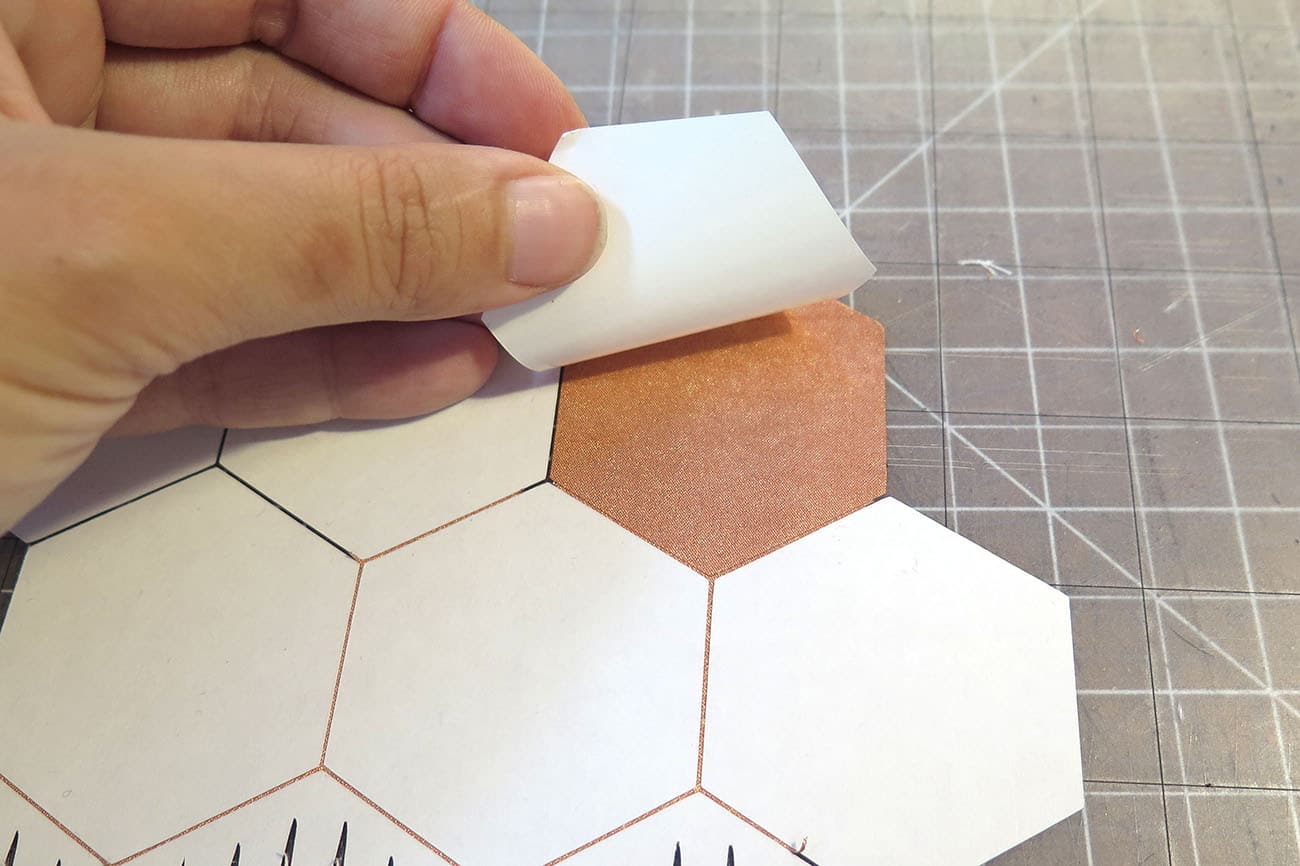
- Peel off the paper backing from the adhesive film from the cotton hexagon, if you haven’t already.
- Center the cotton hexagon film-side down and press into the copper hexagon.
- Peel the film with the conductive fabric stuck to it from the cutting mat in the same manner as the first side.
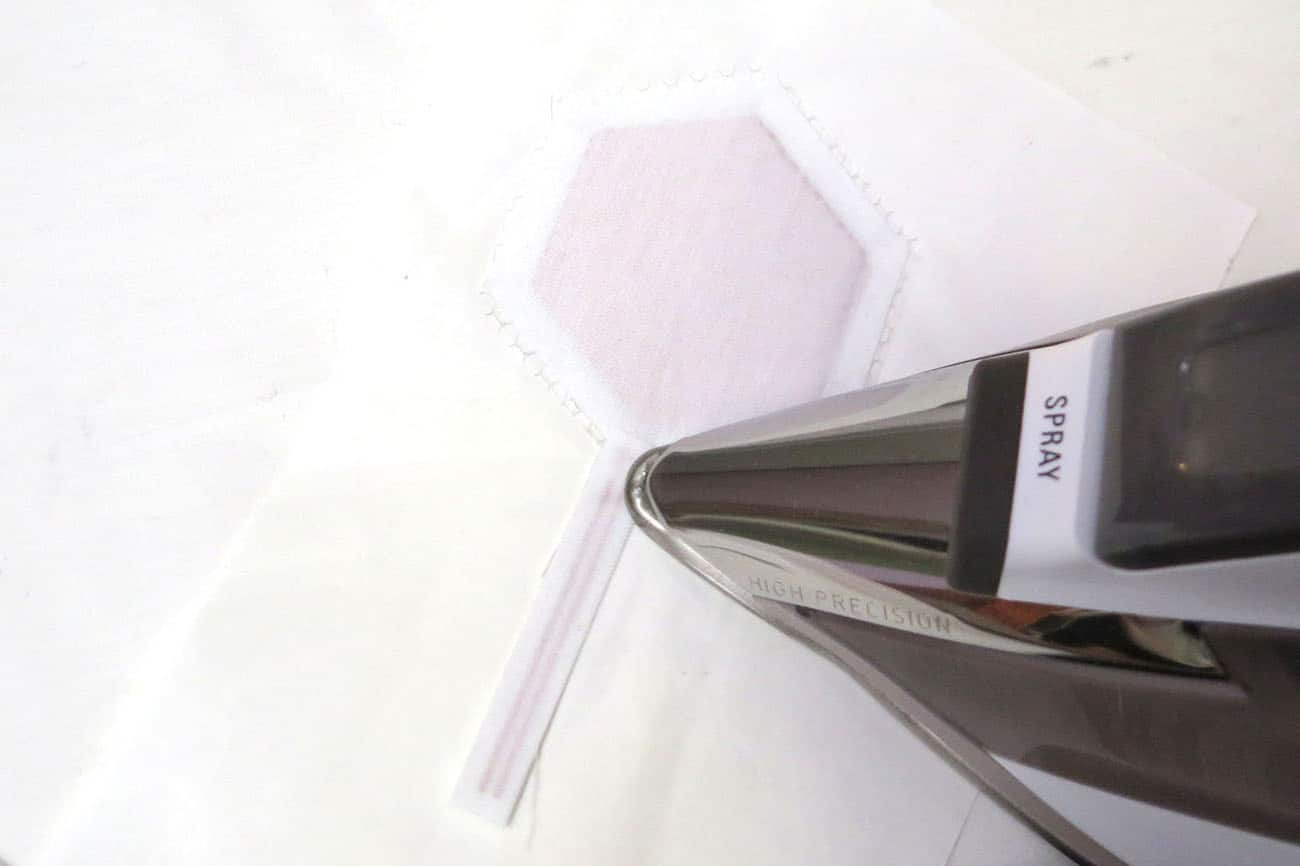
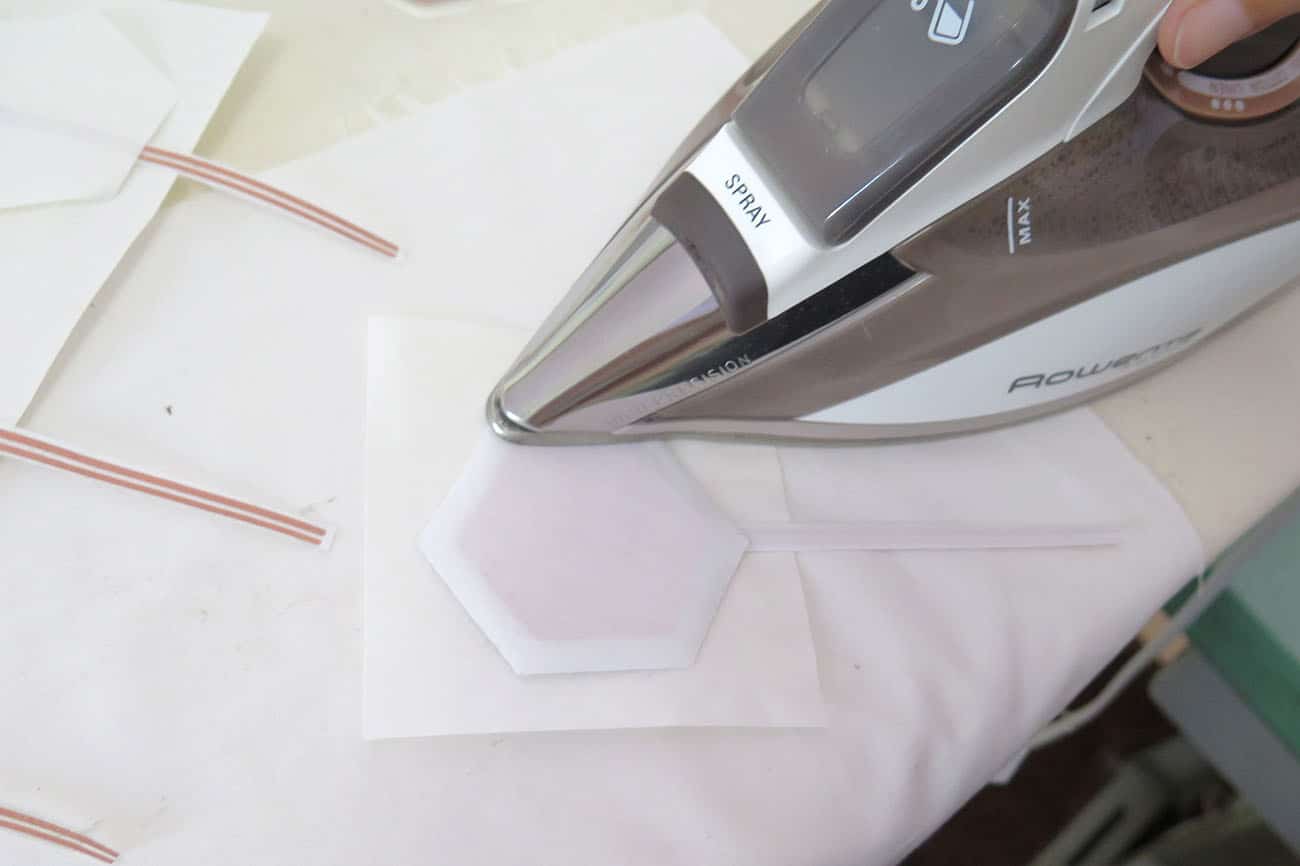
Step 5. Layer and iron
In this step, you are going to assemble the two halves with the net in between. The net hexagon adds a spacer to the switch preventing the two sides from touching. You will also create a gap of air by ironing only around the edge.
- Heat the iron up in high heat and put a sheet of paper backing that came from the adhesive film on to the ironing board. Only iron the switch if it is on top of this backing. The film layers will melt once heated and it will stick to the ironing board if not on the release paper.
- Place the interdigitated piece with leads copper side up and film side down on top of the paper.
- Put the net on top of the copper fabric making sure to cover it.
- Put the solid hexagon copper side down and cotton fabric side up creating a net sandwich between the copper switch sides.
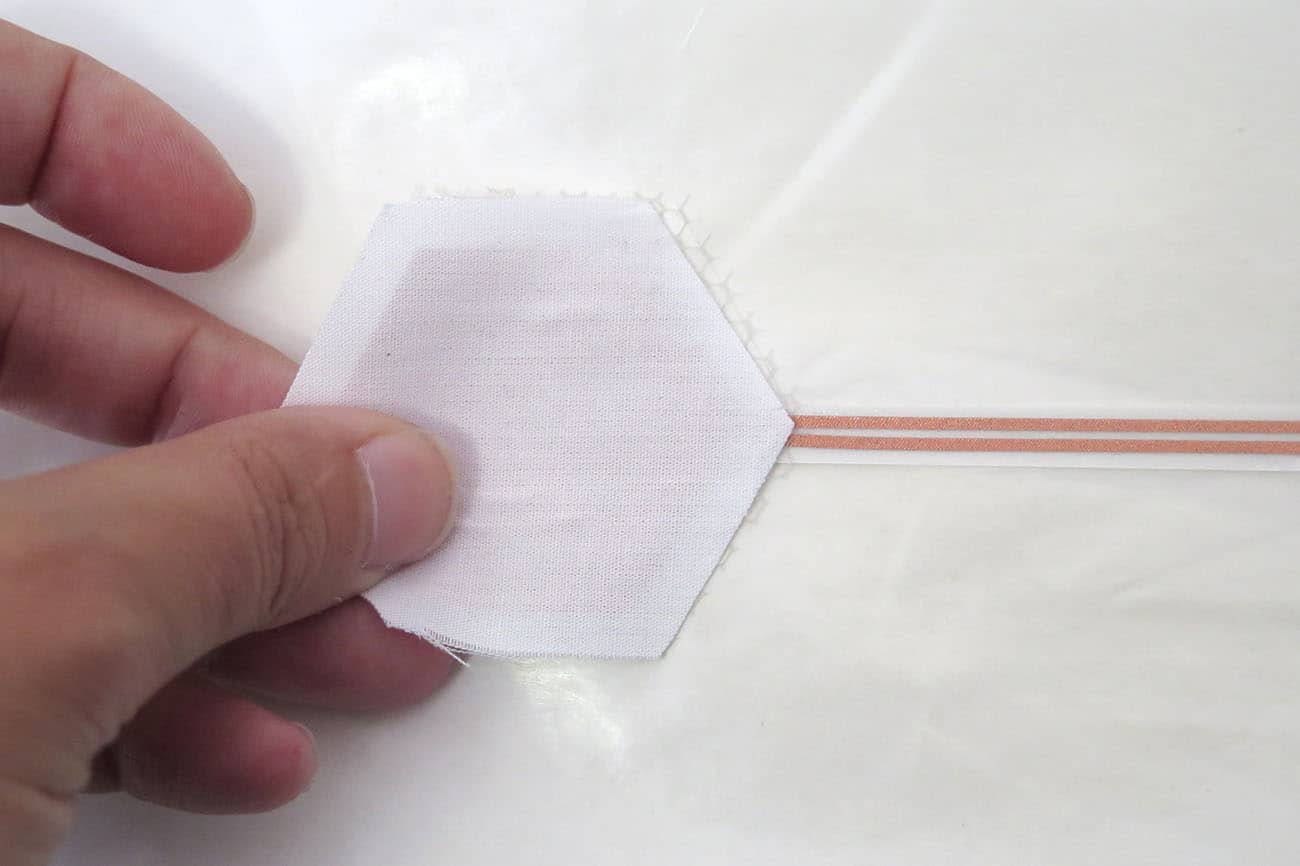
- Lastly, place a strip of the cotton with adhesive film over the leads with the film side. Overlap the strip with the hexagon where they meet.
- On high heat ~400 – 450 degree Fahrenheit, iron along the leads and around the switch along the ~6 mm border. A little bit of heat can be applied to the middle where the hexagon to help adhere the conductive fabric to the adhesive film.
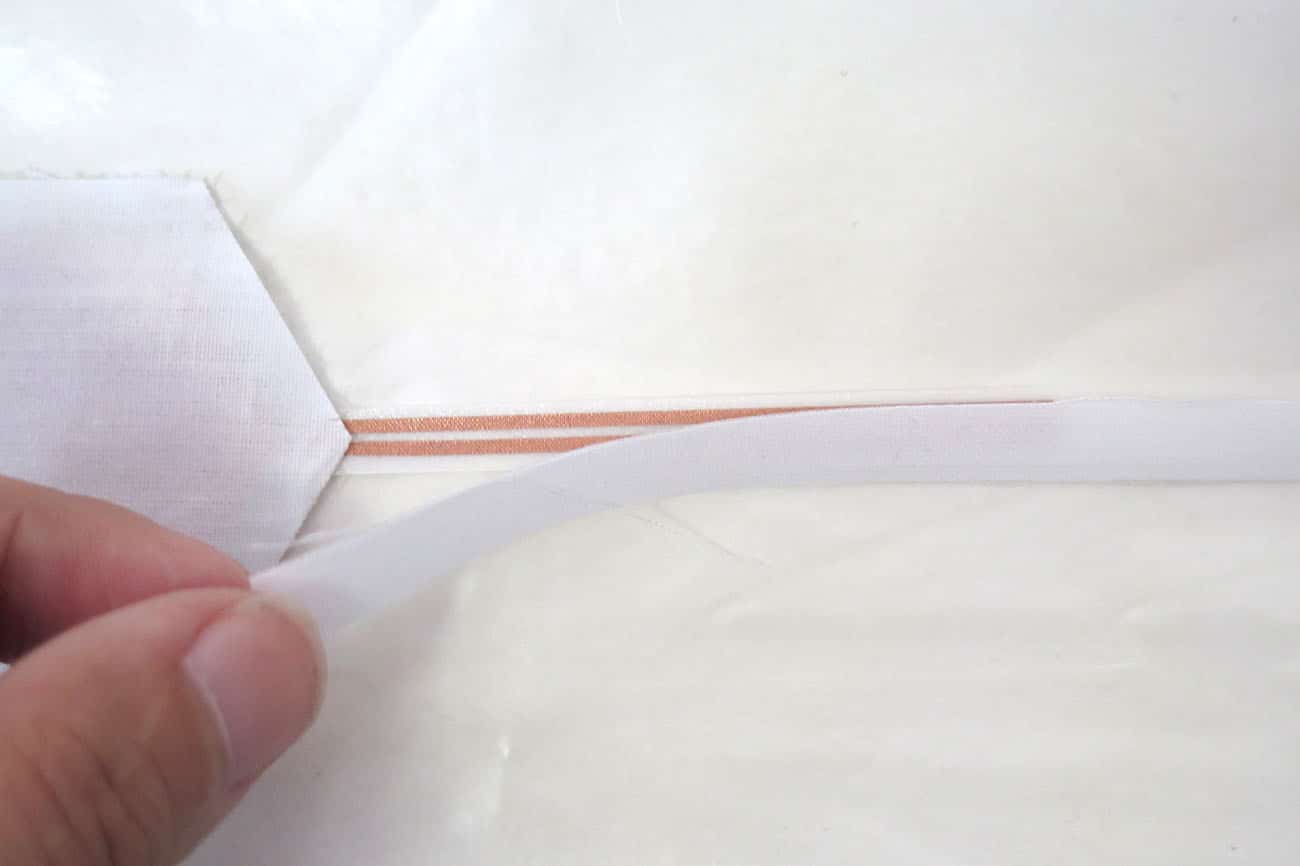
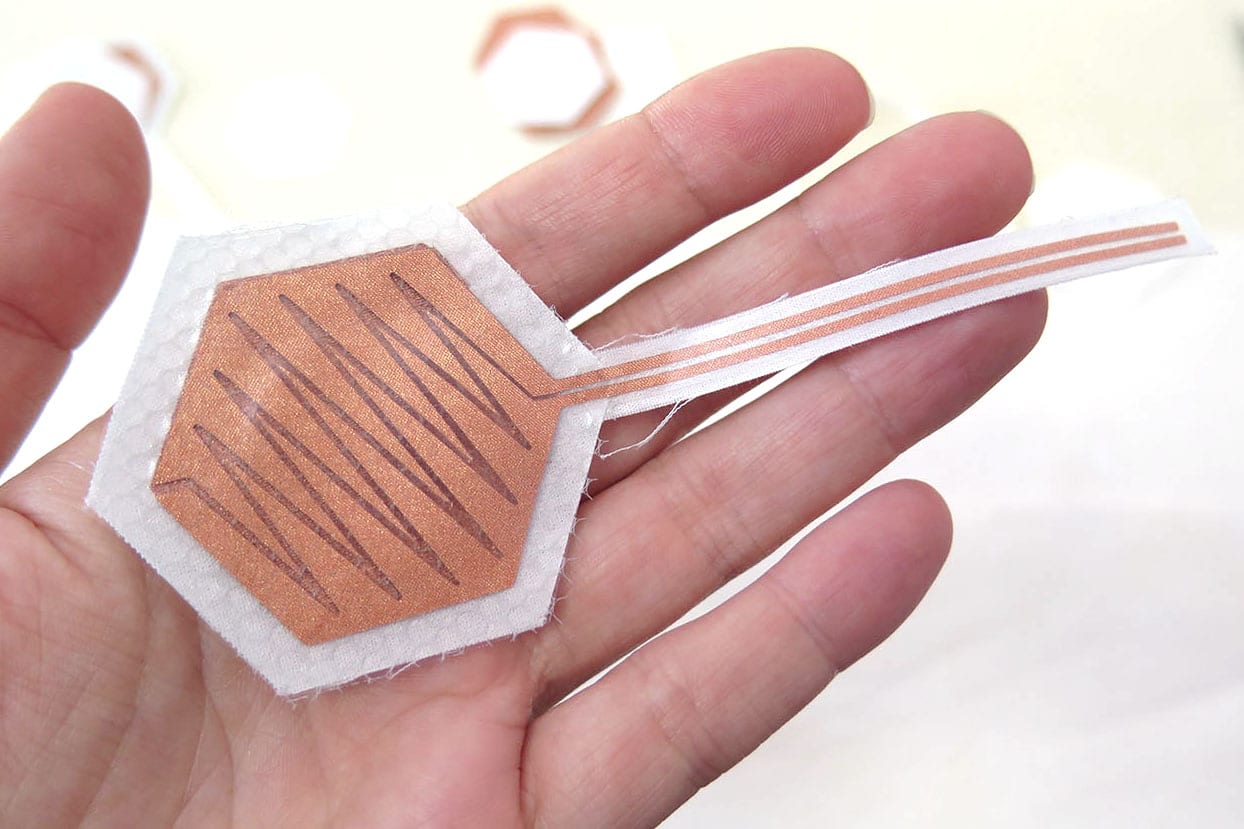
Step 6. Let Cool and Peel up
After ironing, let everything cool completely. Carefully peel the switch up from the release paper and flip over. Peel off the paper on the leads and it’s ready to test!
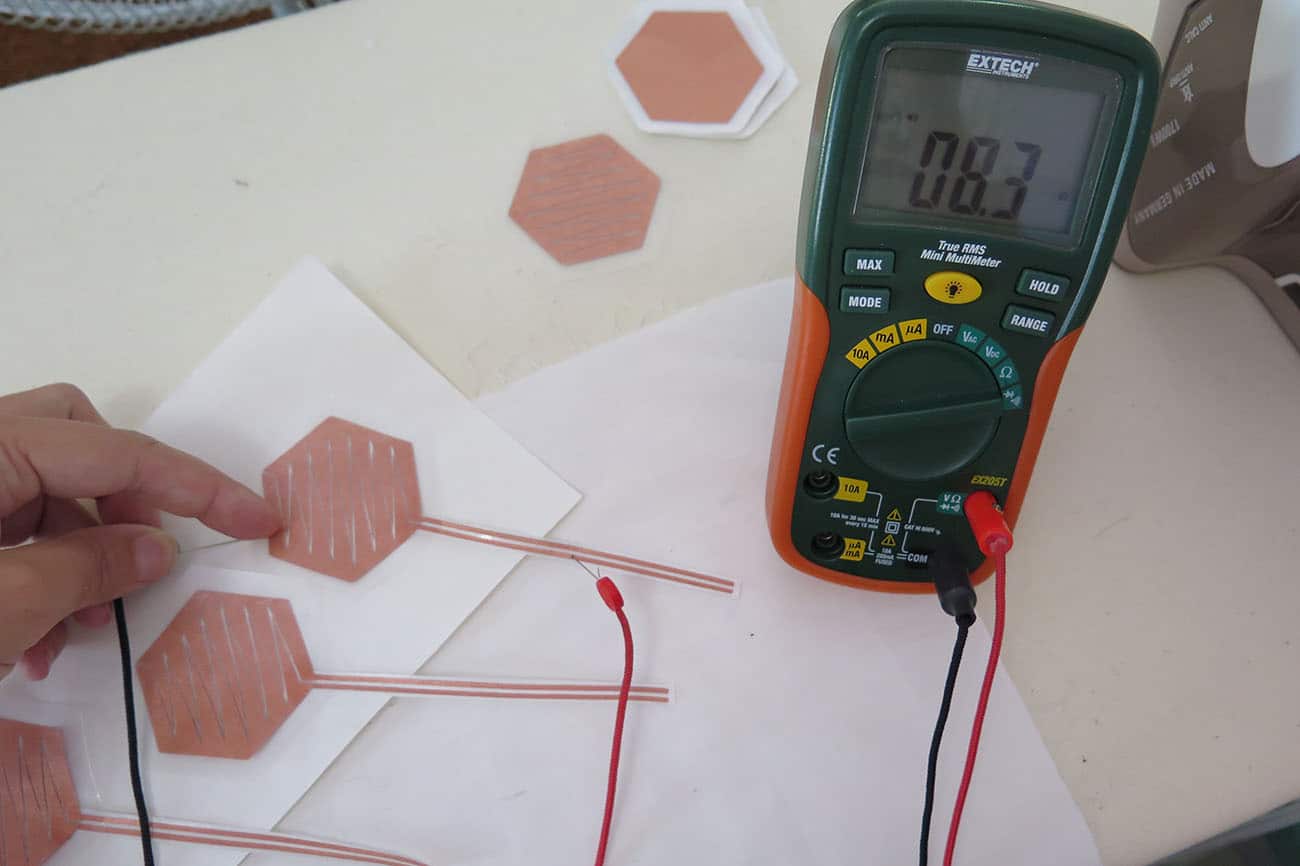
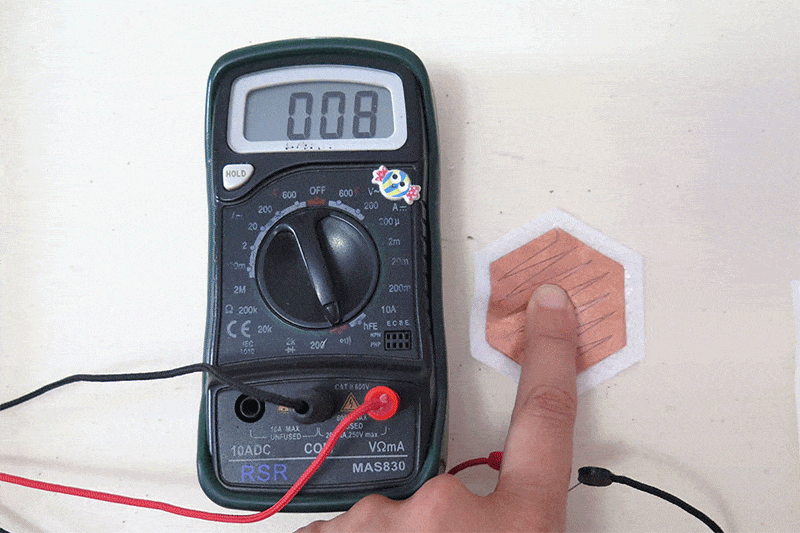
Step 7: test
Use a multimeter with sharp leads to pierce through the two switch leads in order to make electrical contact. Alternatively, you can use alligator leads clipped to the meter probes and then clipped to straight pins pierced through the switch leads.
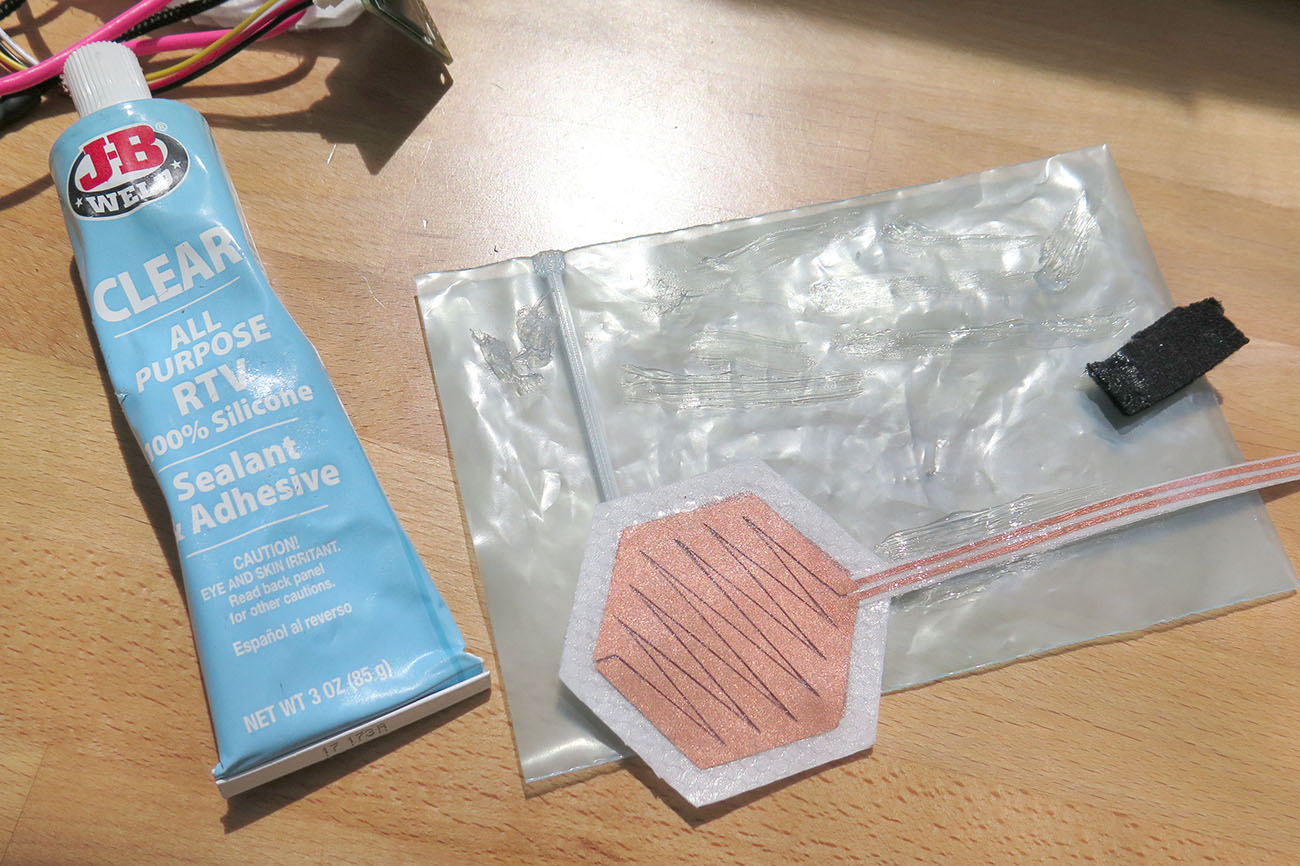
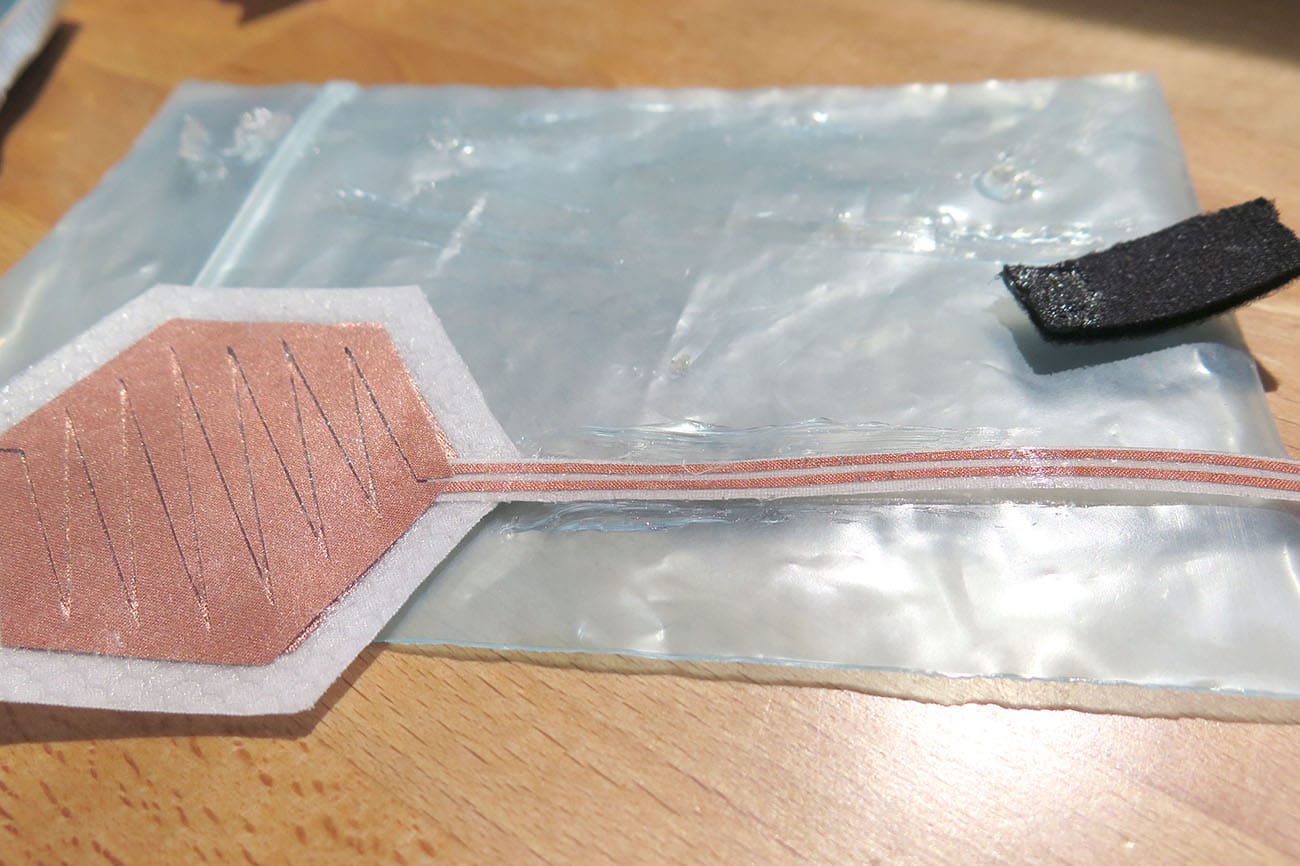
Step 8: coat leads with silicone
From putting them in the switch frames, the leads will suffer a lot of wear and tear. To make them stronger and last longer use 100% silicone adhesive to coat the leads with.
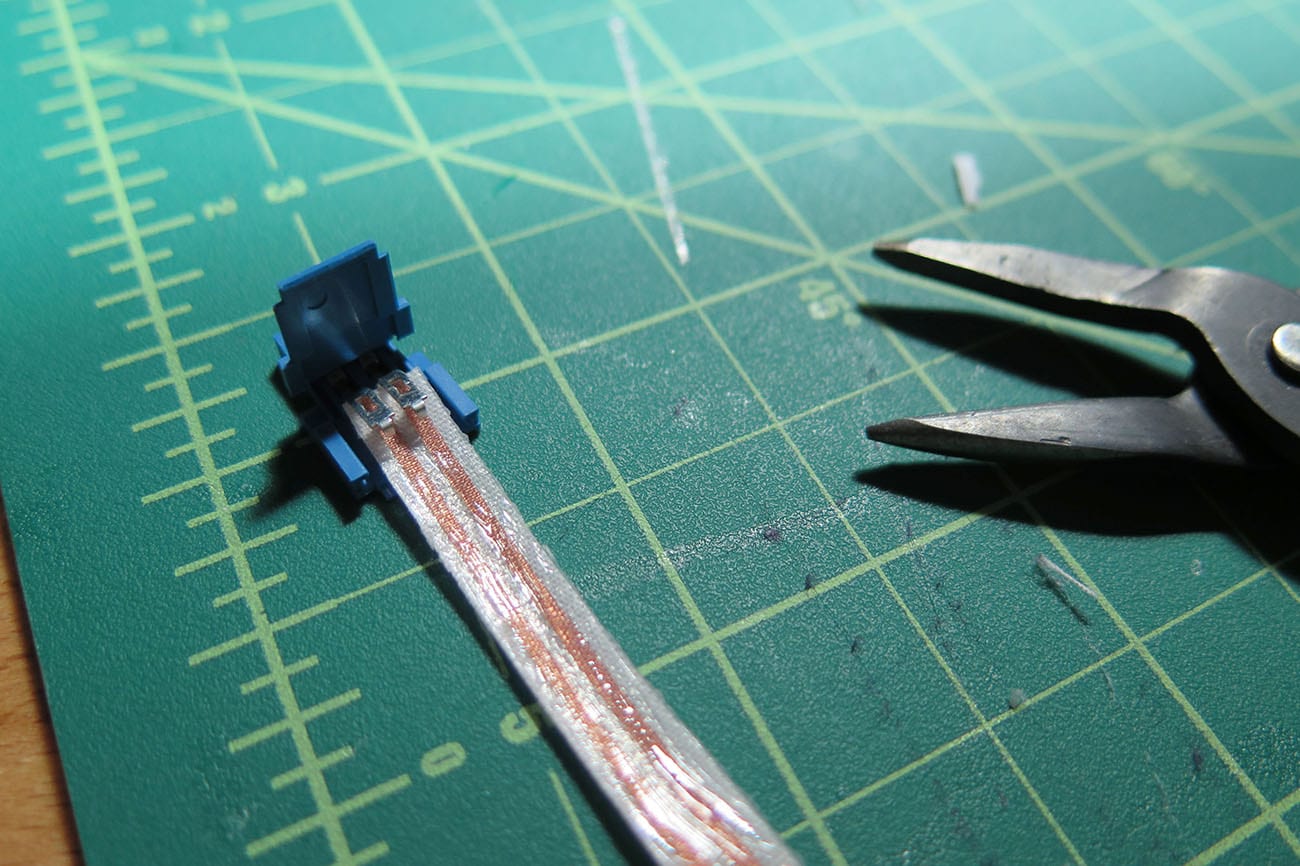
Step 9: attach a connector
Open the clincher connector and place the leads between the claws of the crimp pins. Line up the metal teeth with each lead. Use small needle nose pliers to clamp down the metal teeth then snap the top closed.
Step 10: test again
Test one more time. If you are making contact you are good to go!