Step 1. Laser Cut Hoop Pieces
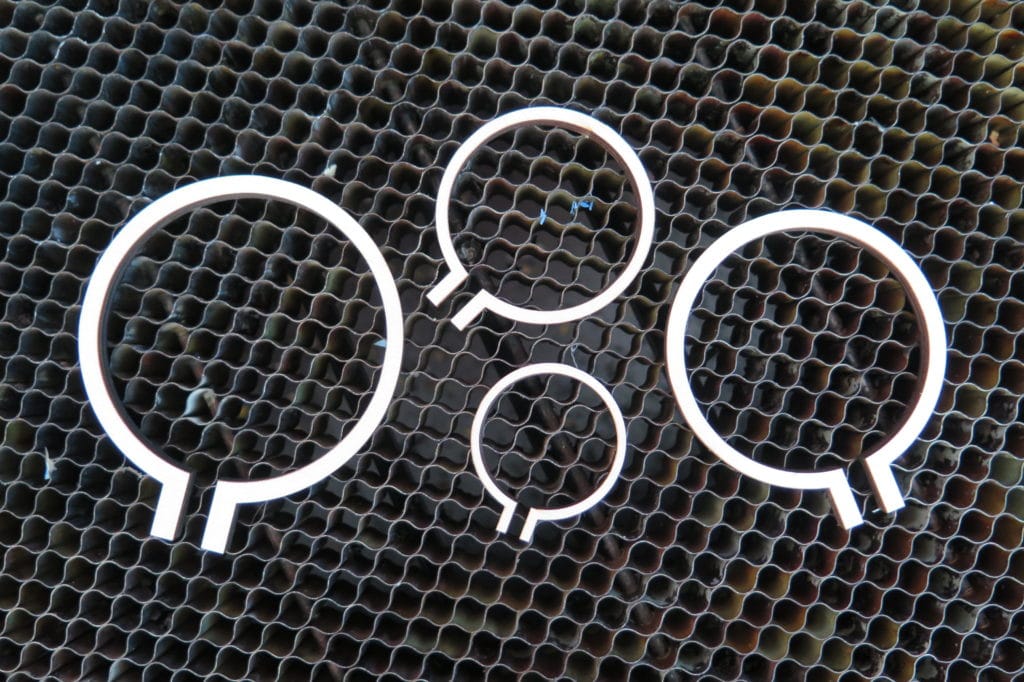
Download the attached files to laser cut the outer and inner pieces of the switch hoops from 6 mm thick wood. Alternatively, you can purchase mini embroidery hoops to use instead of cutting your own.
Step 2. Drill Hole in Laser Cut Hoop
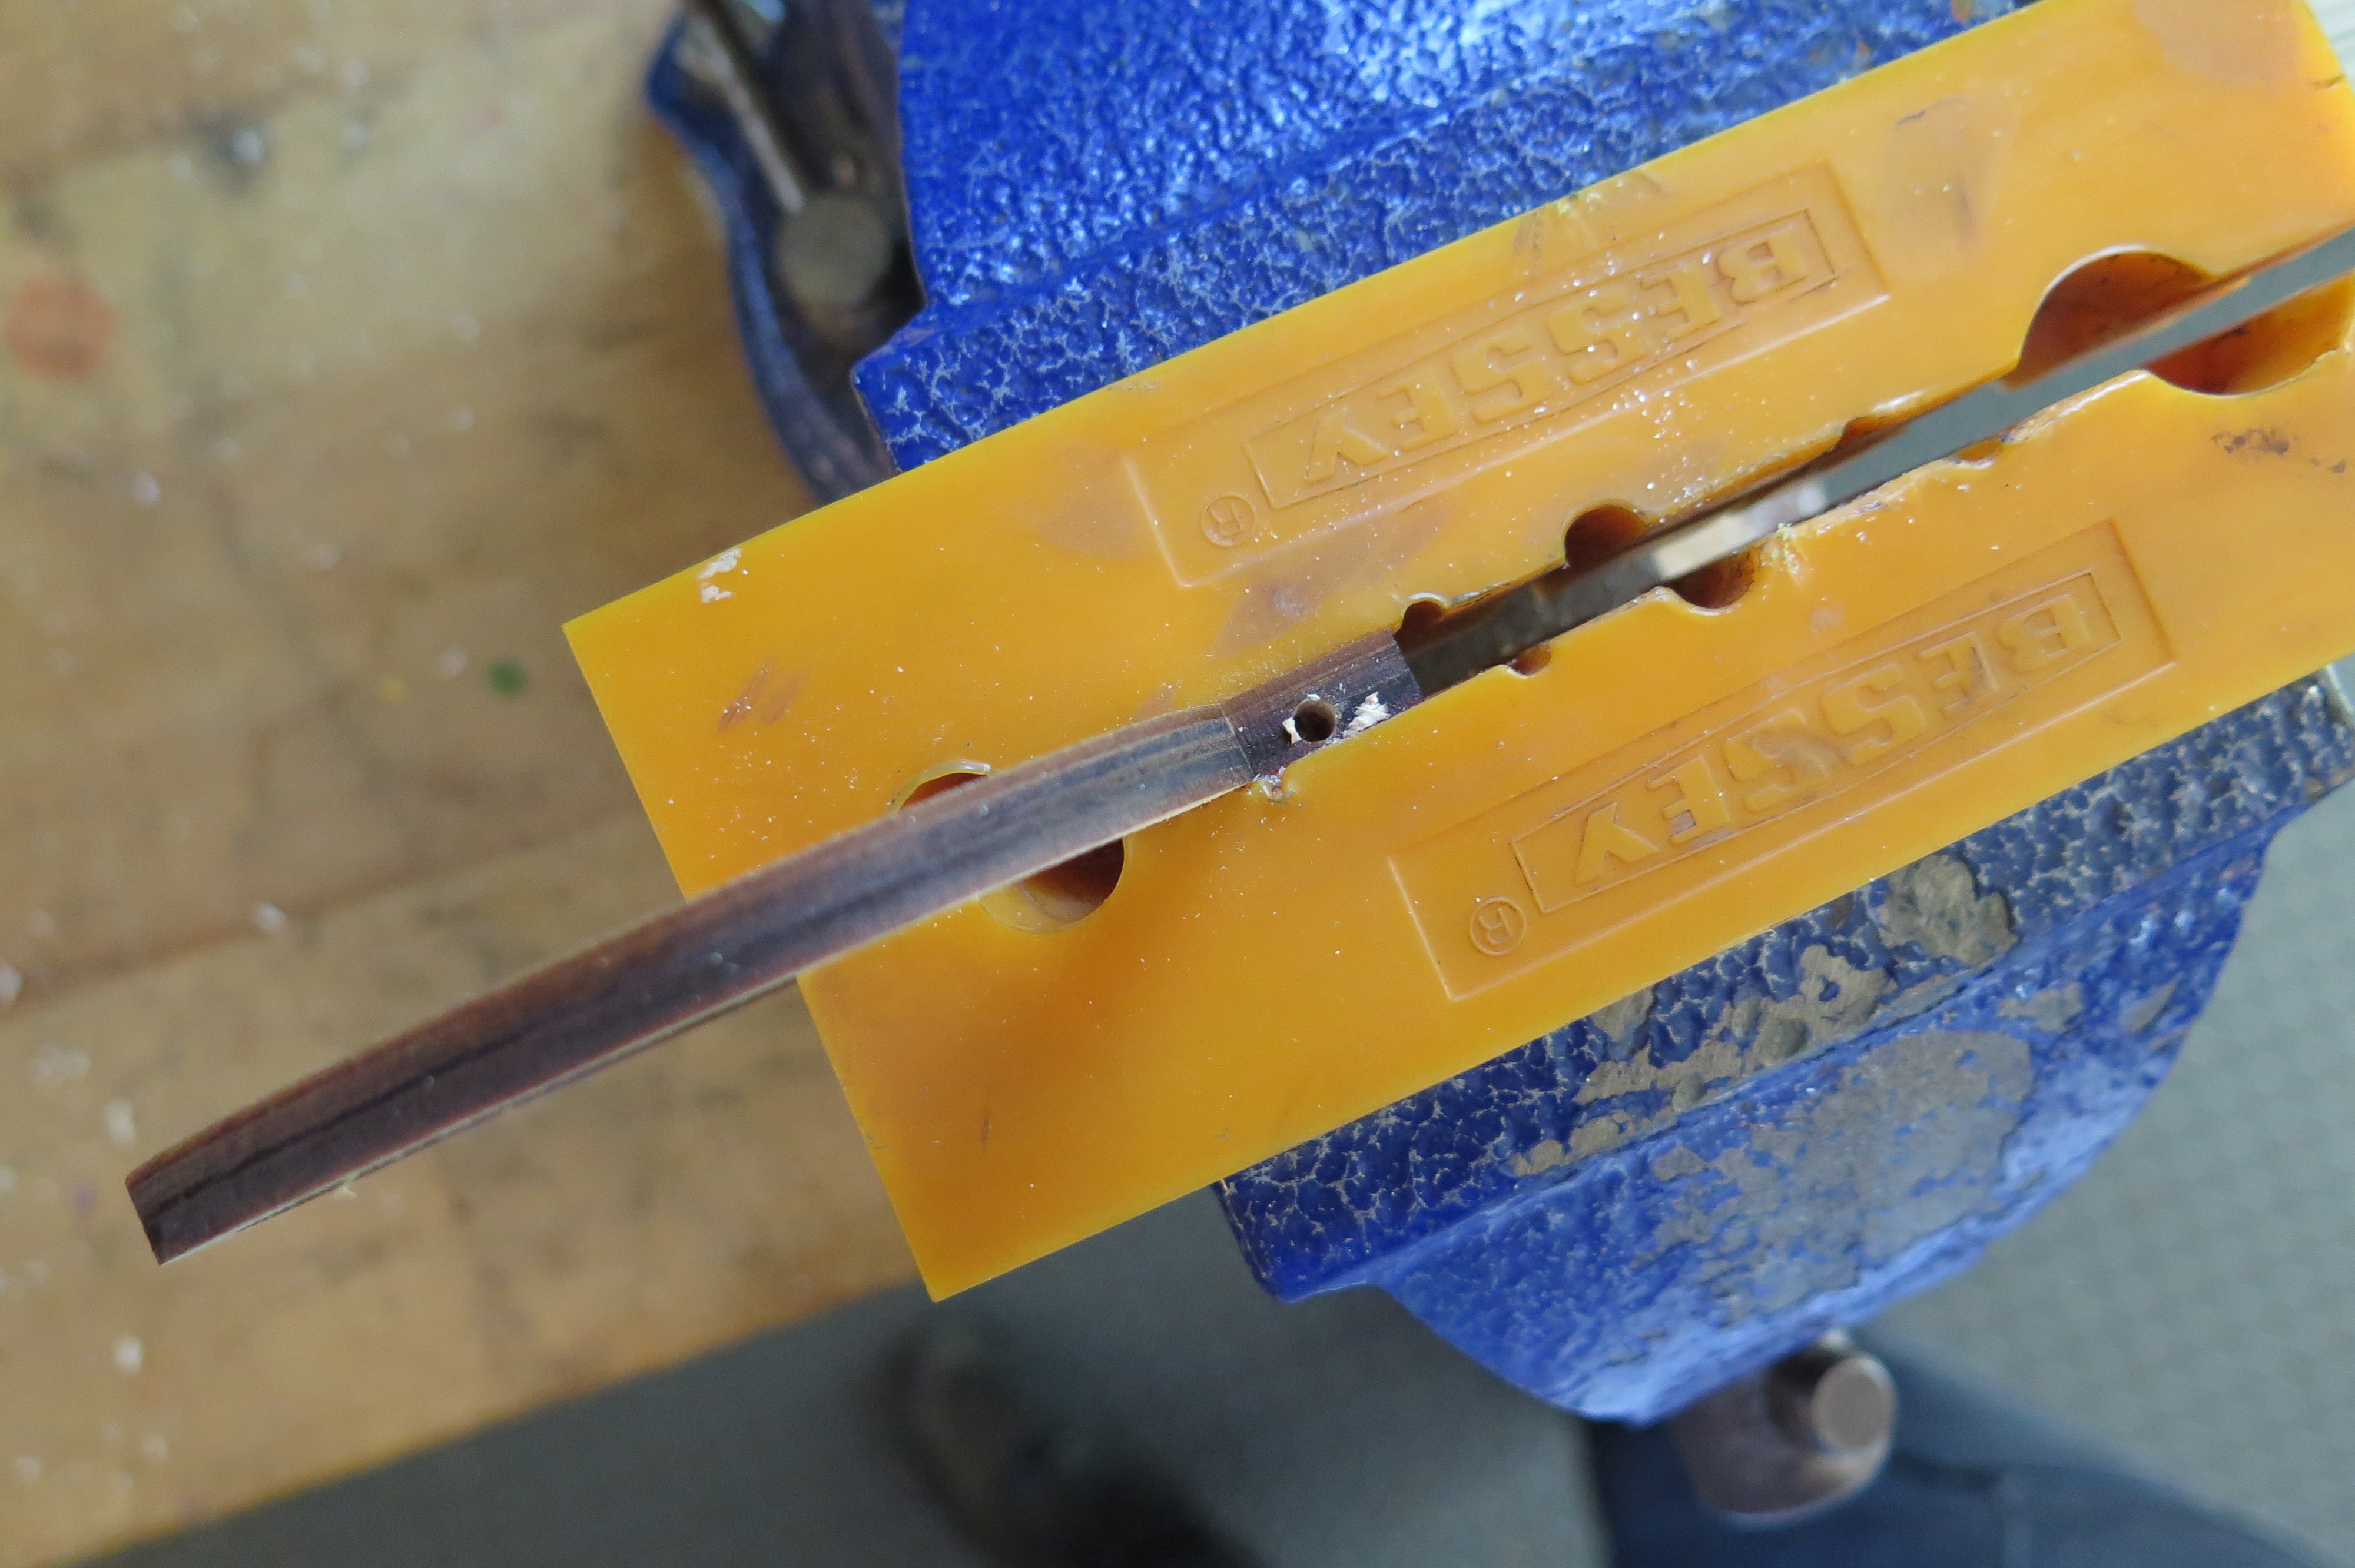
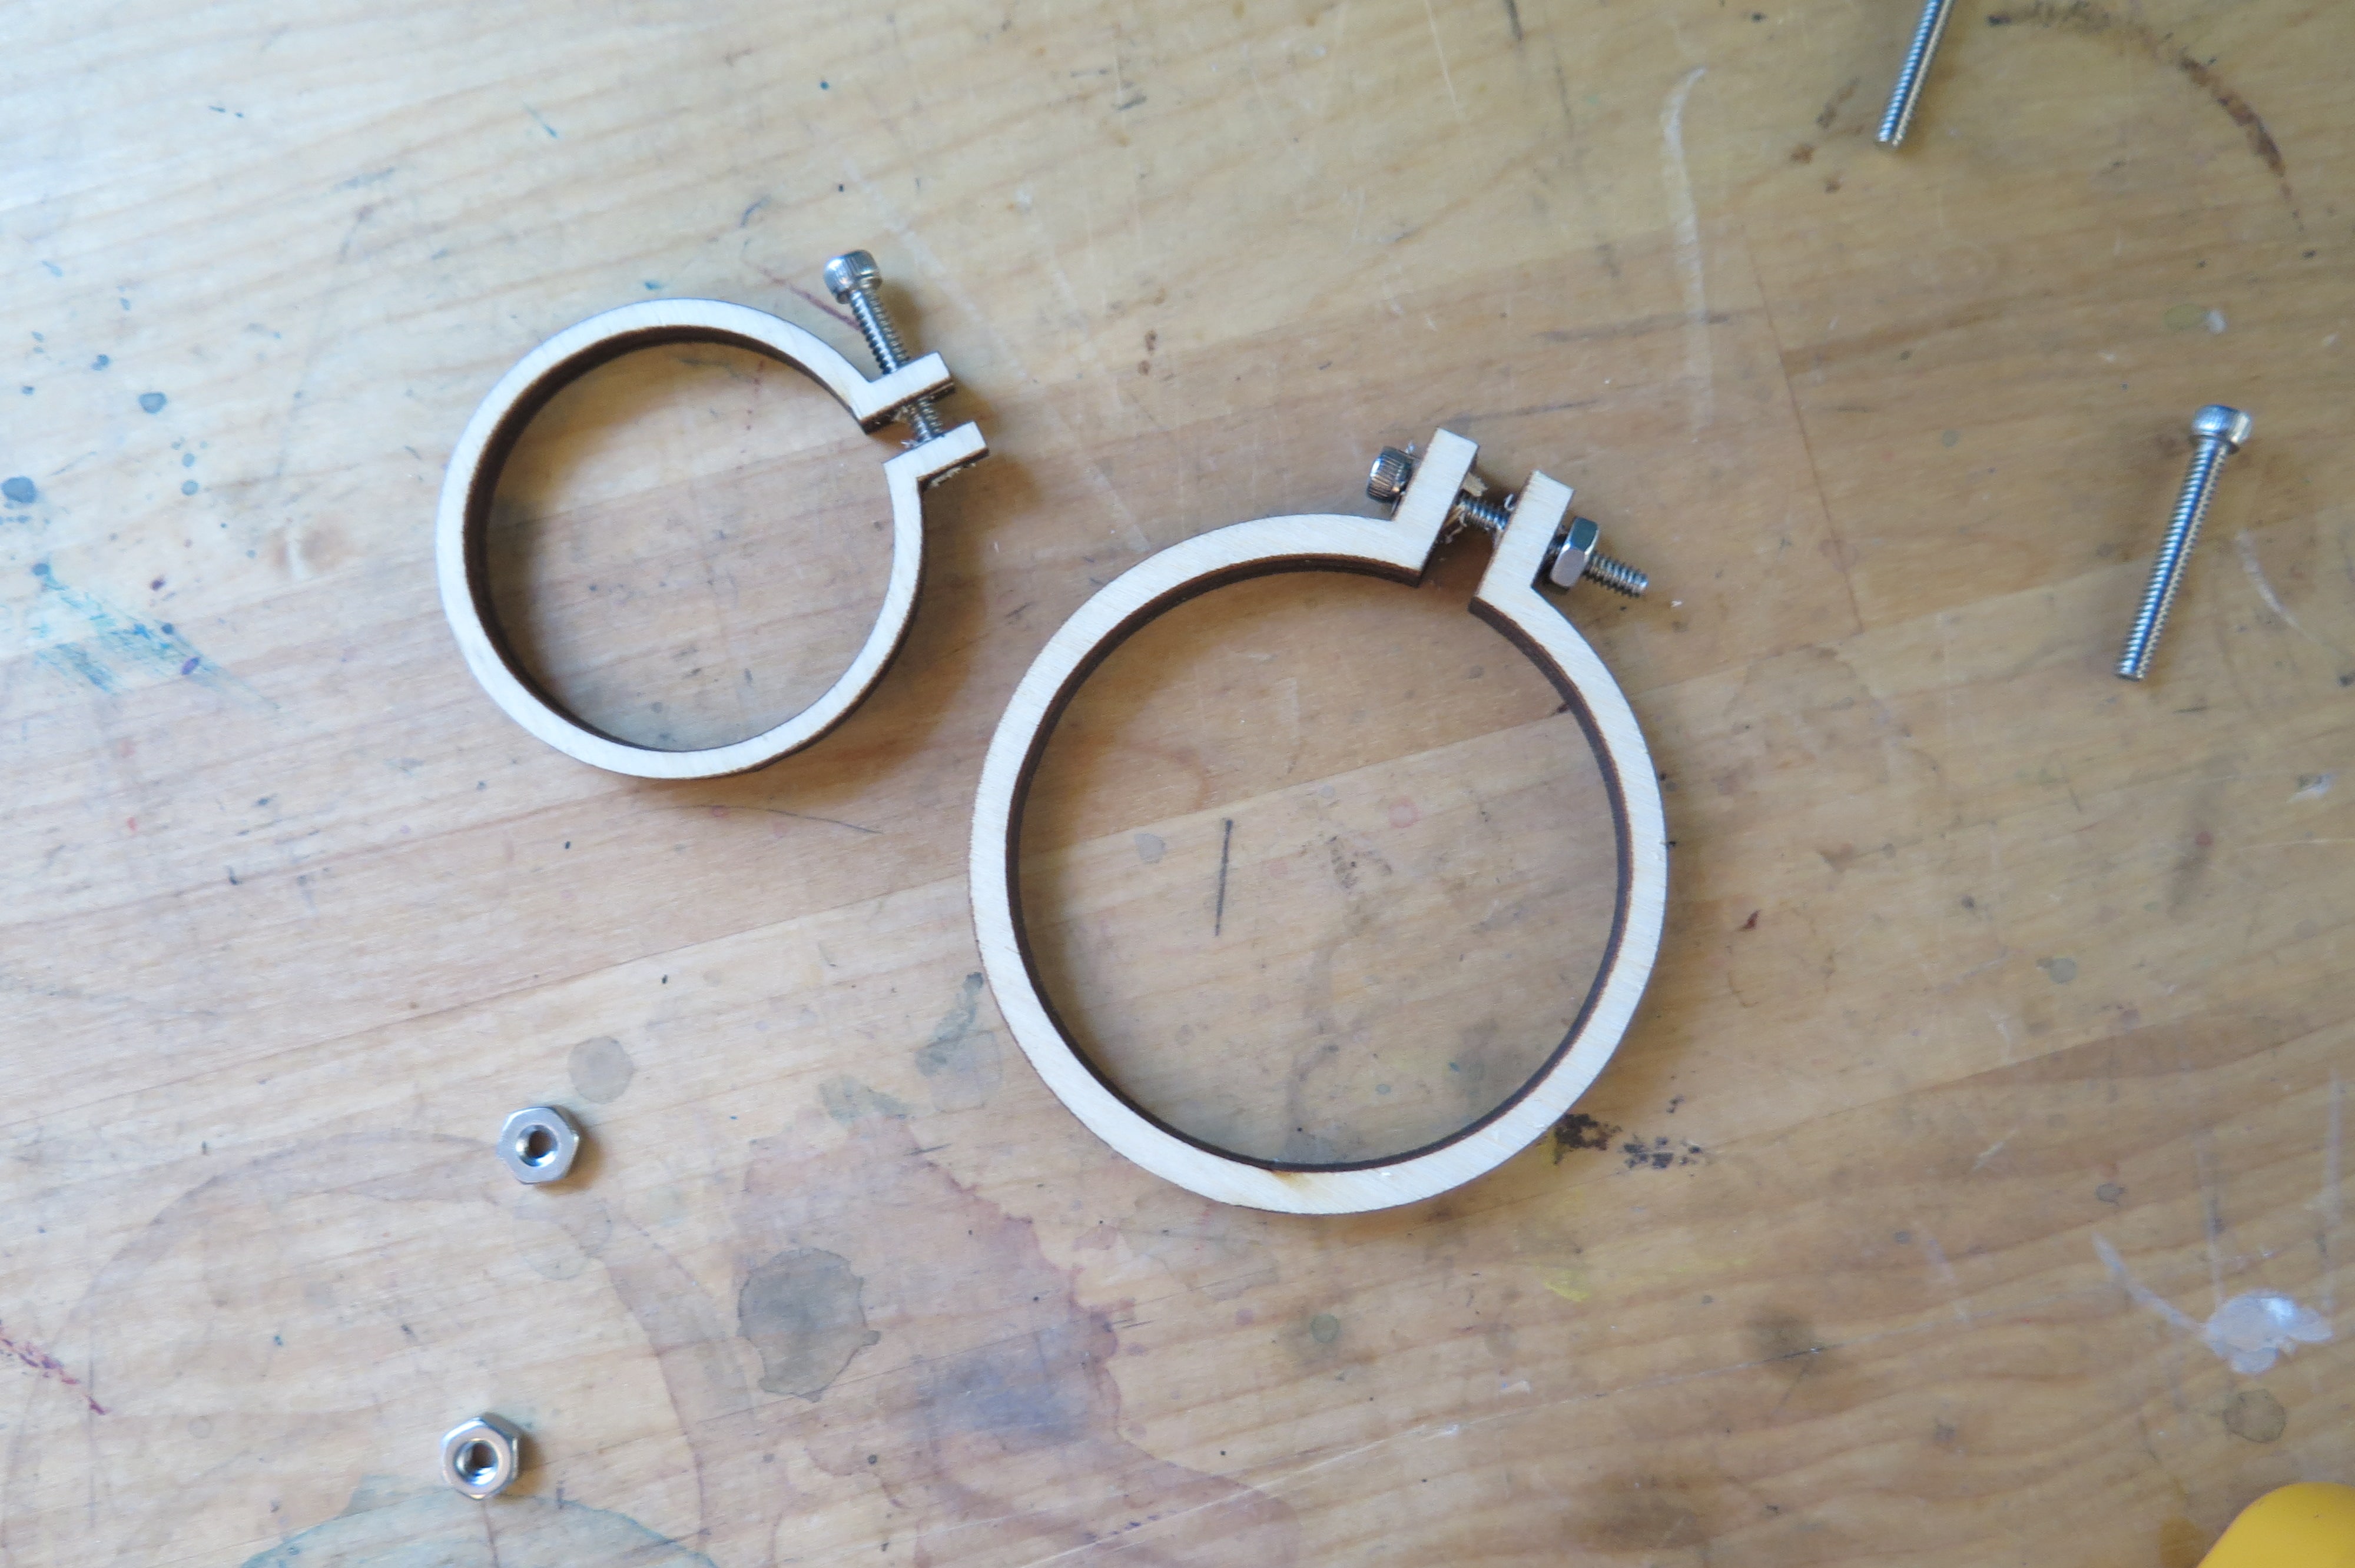
The wood is thin so it’s tricky to drill a hole that is centered. I recommend making a pilot hole and stepping up to the final 3.5 mm hole. If a hole breaks from the wood frame and doesn’t stay within bounds that’s ok for the prototyping stage. It is still able to clamp when the nut is used.
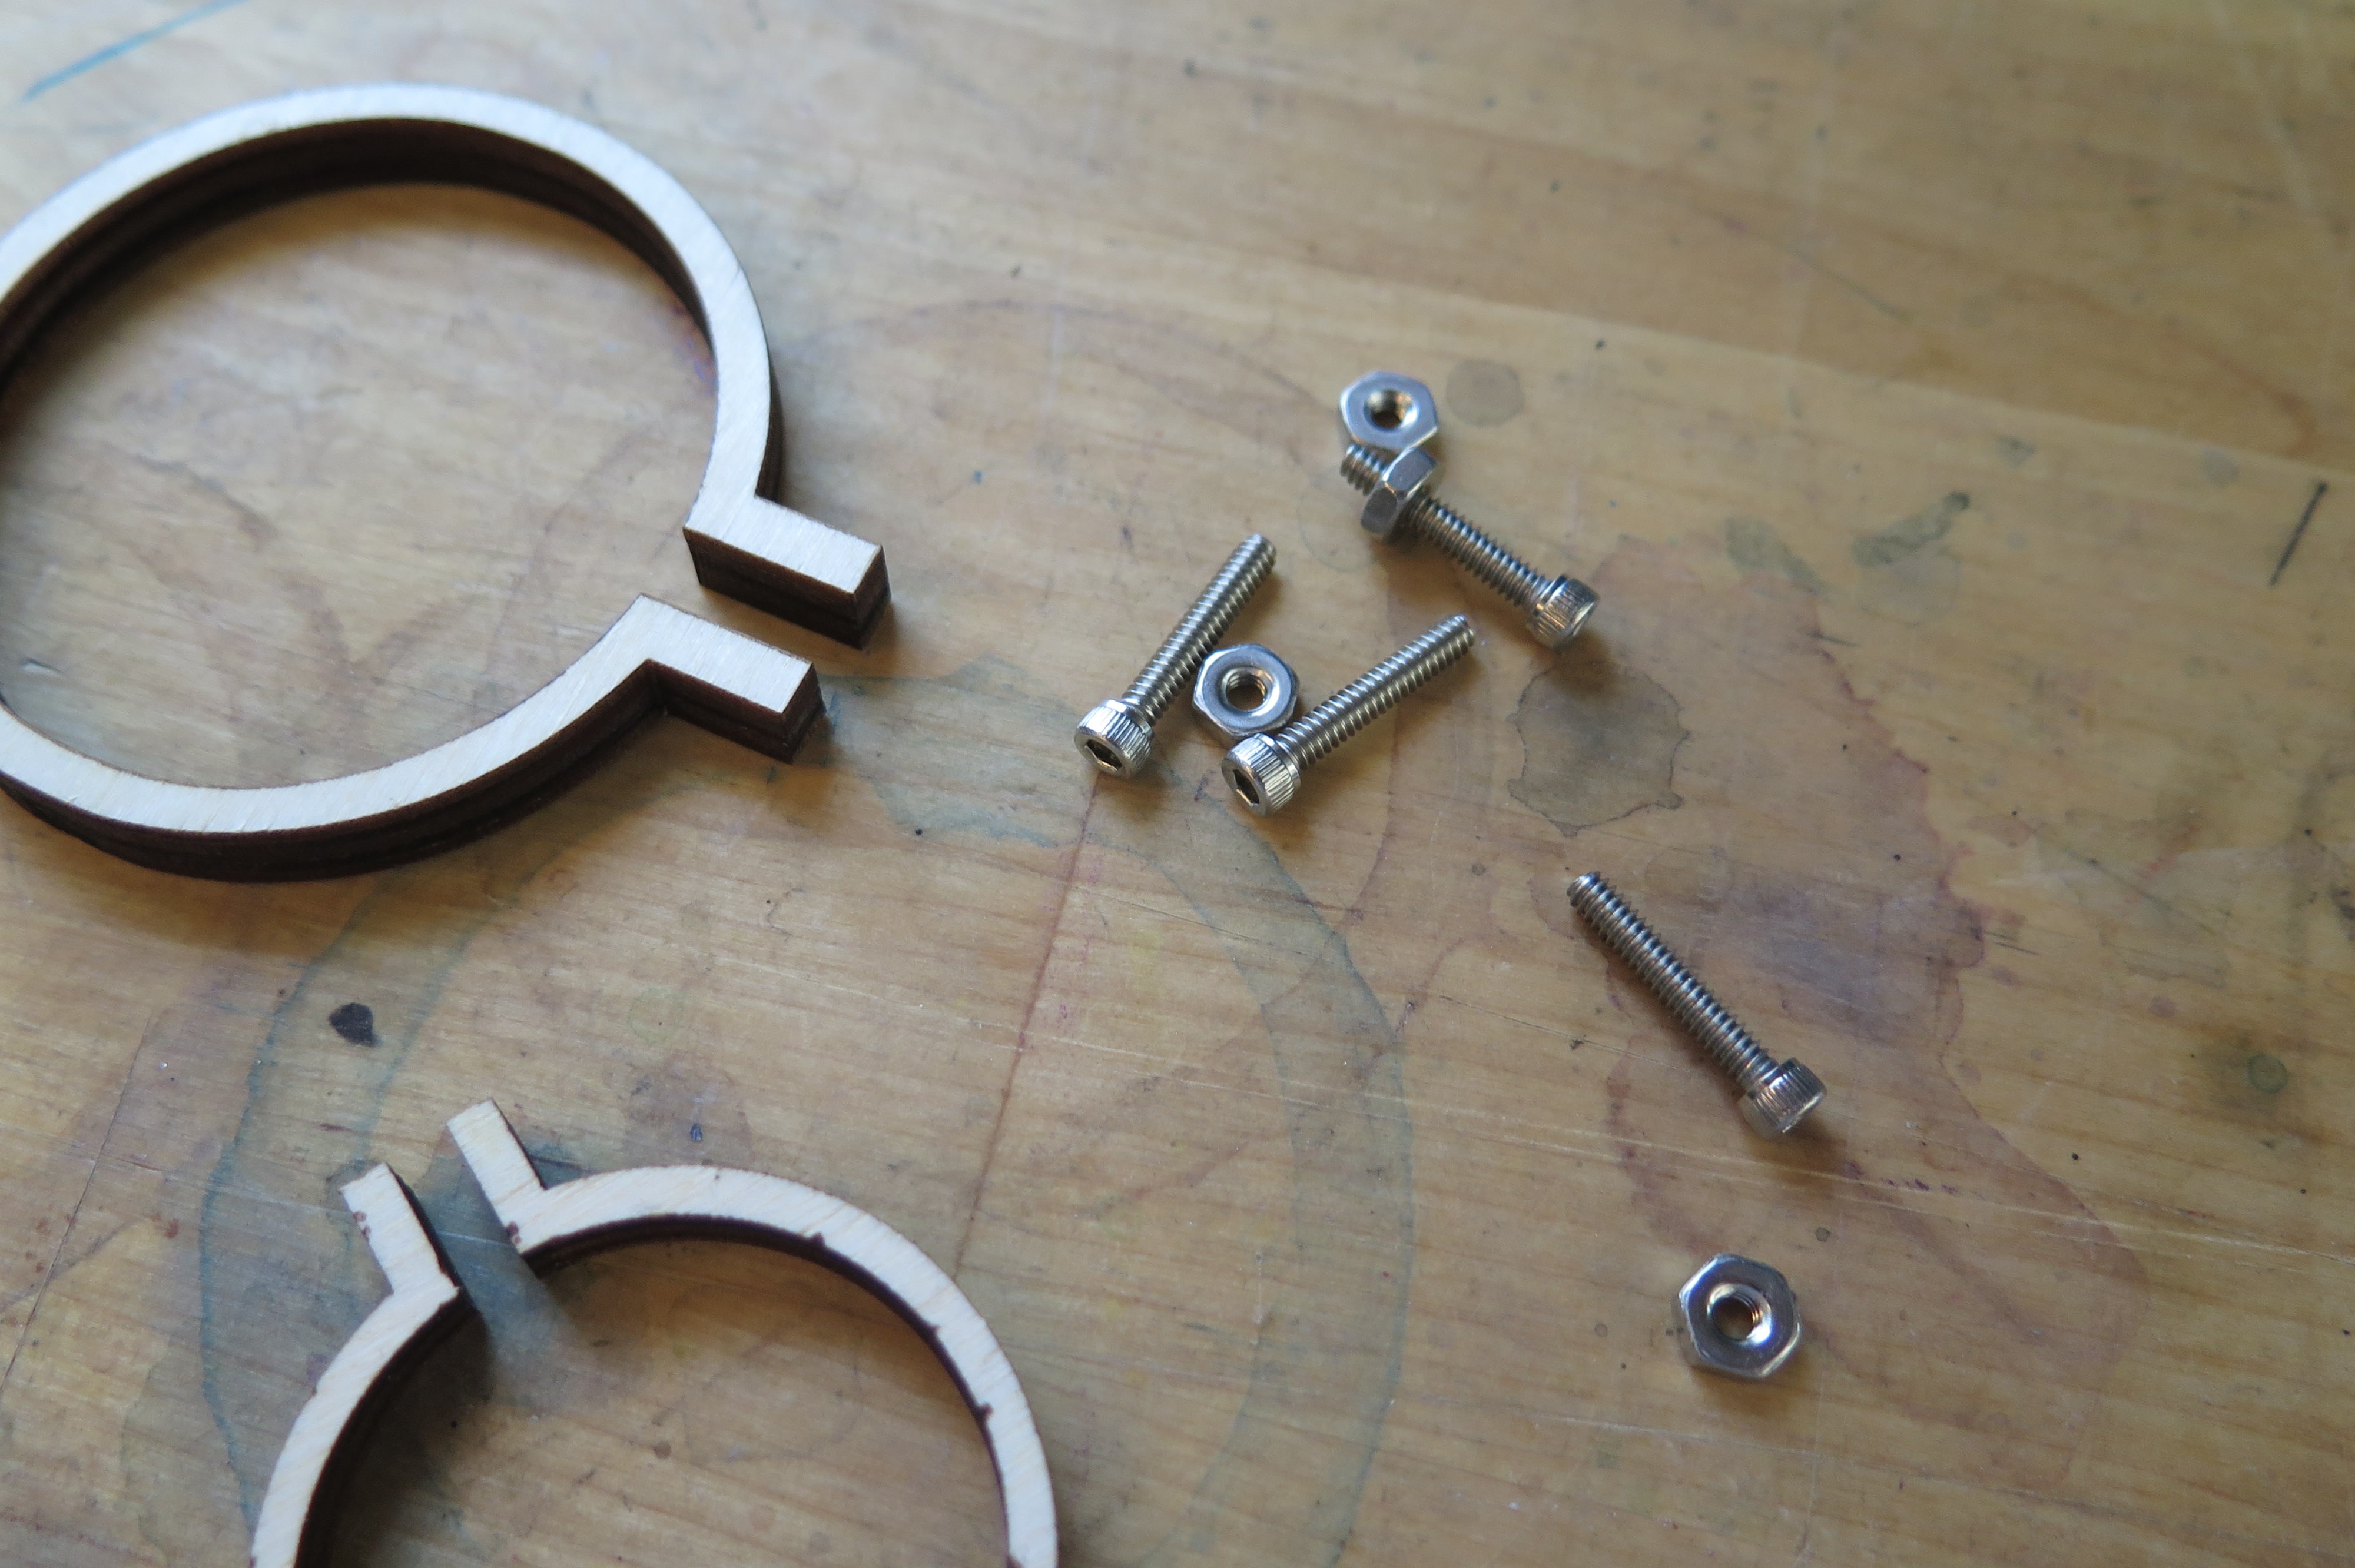
Push one M3 screw through the two drilled holes and secure a nut on the end. Play with length, you will likely want a screw between 2 – 3 cm.
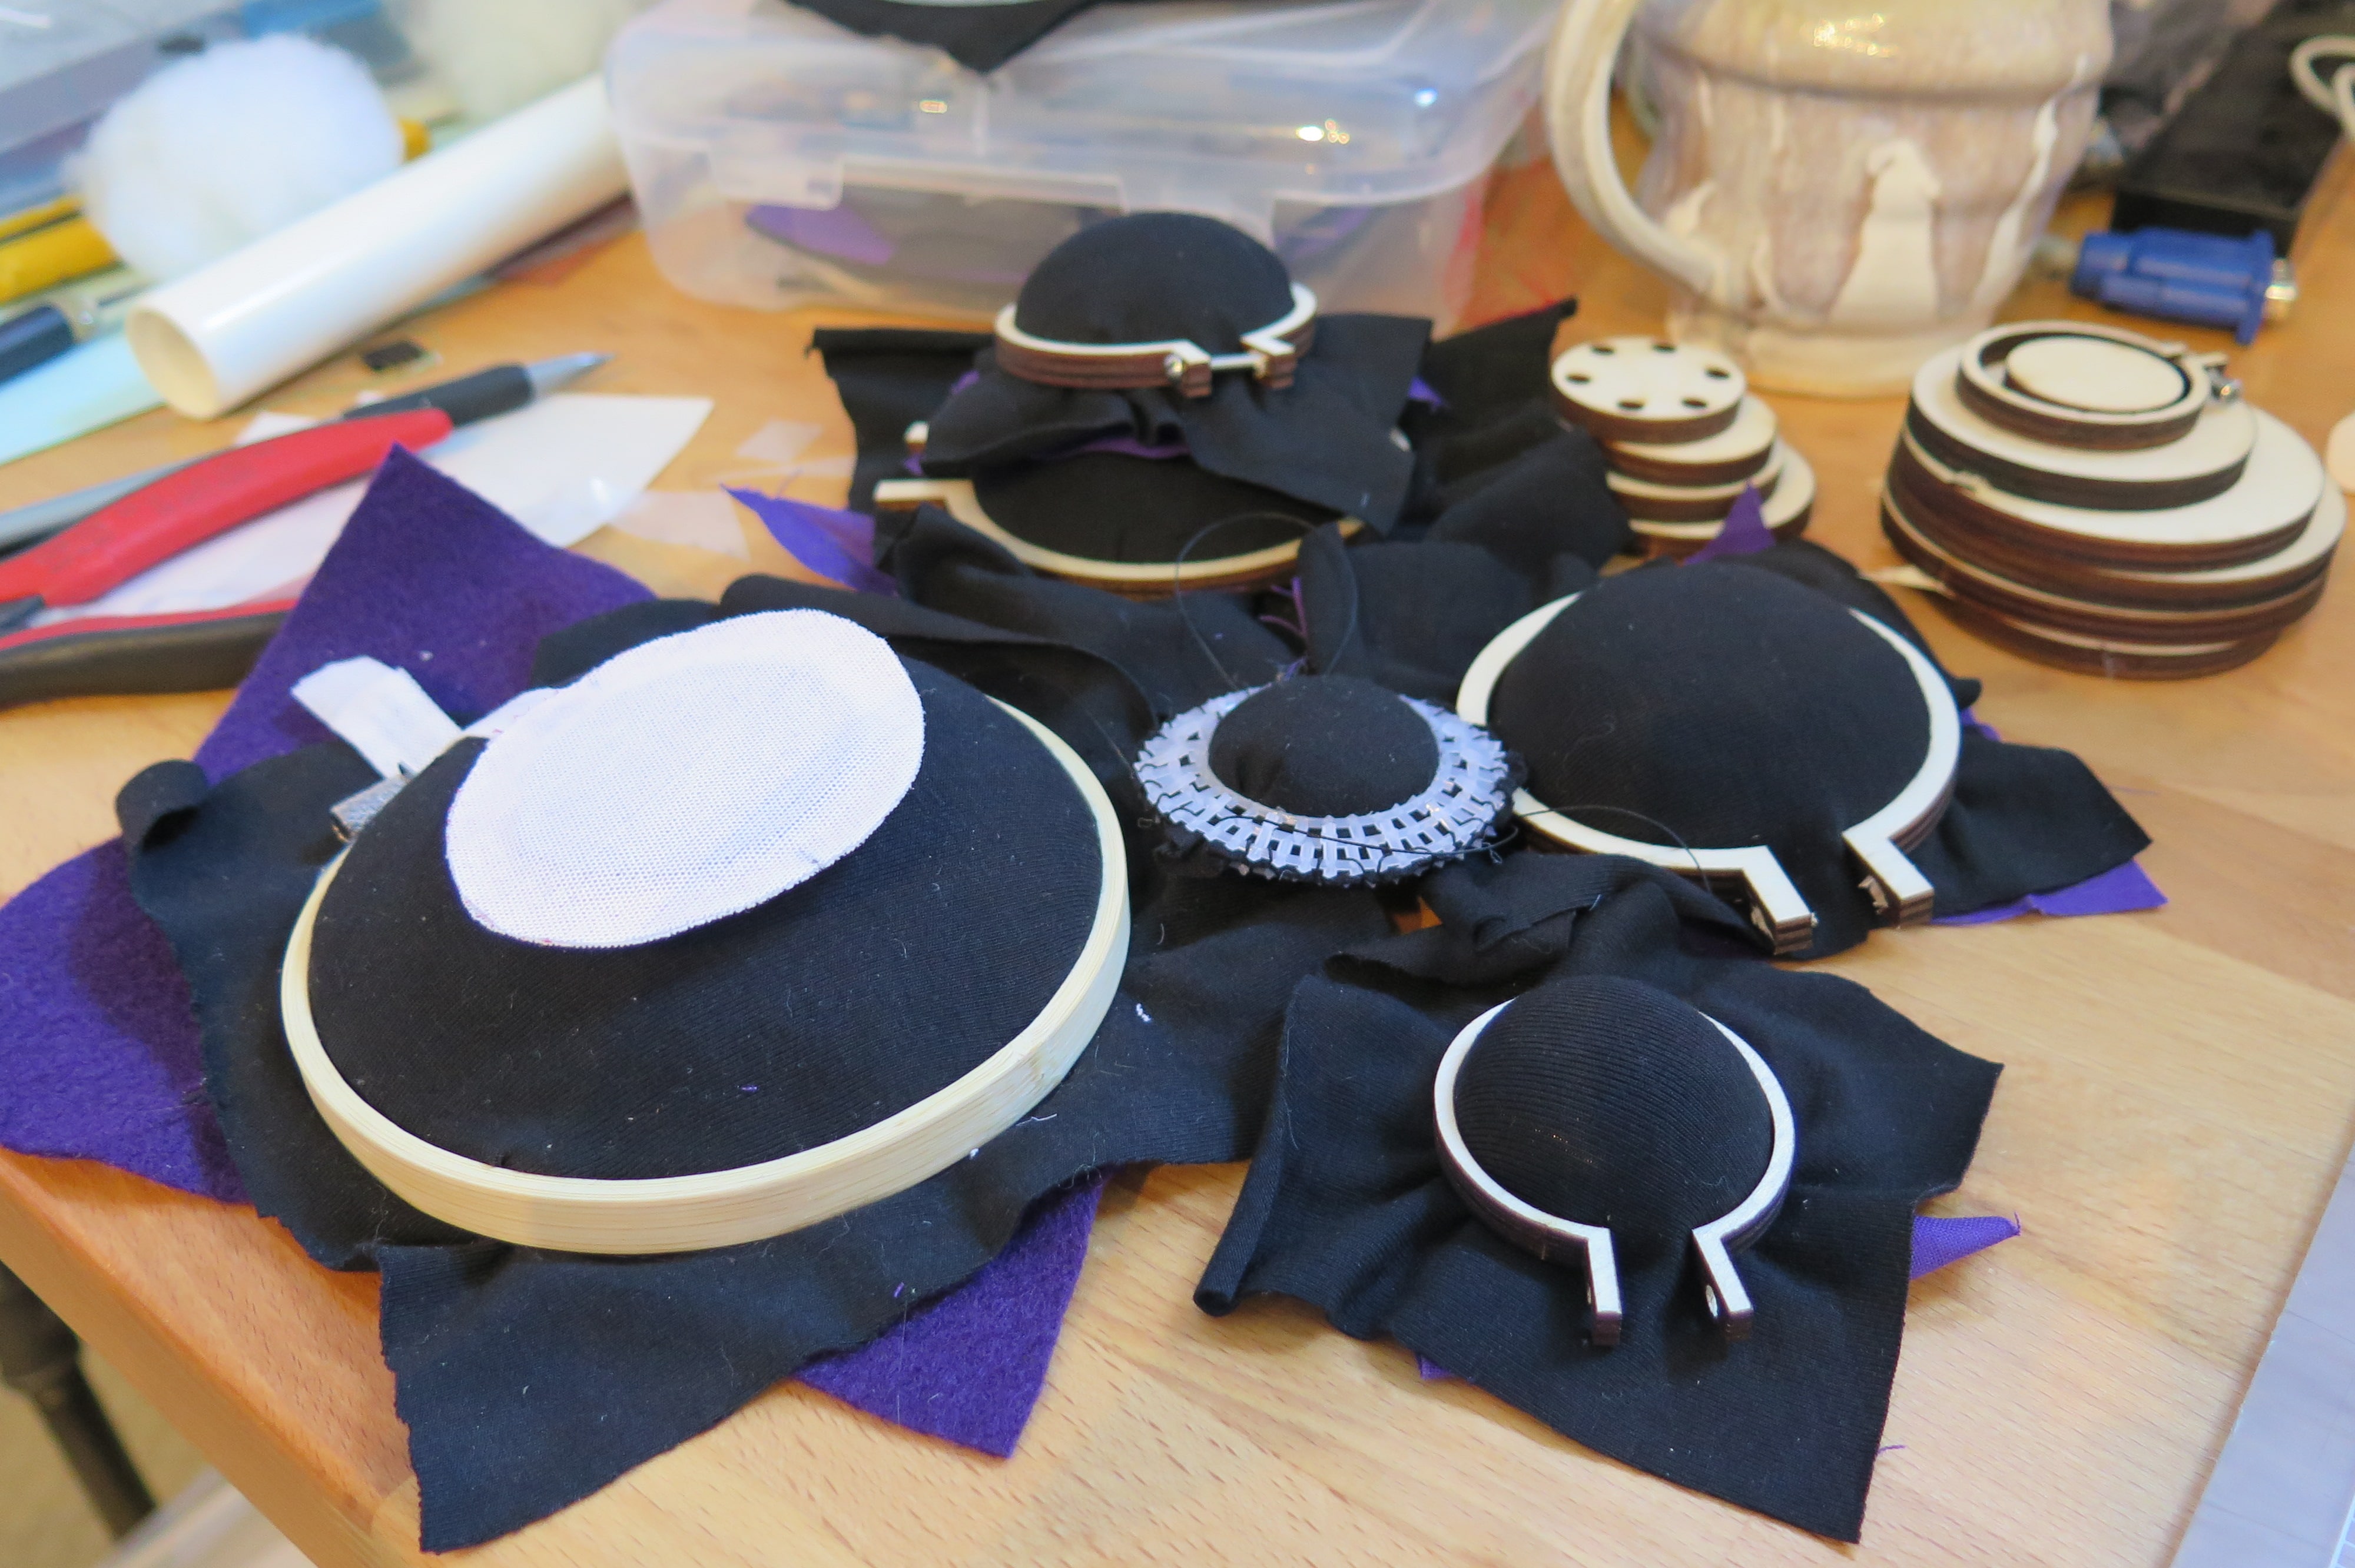
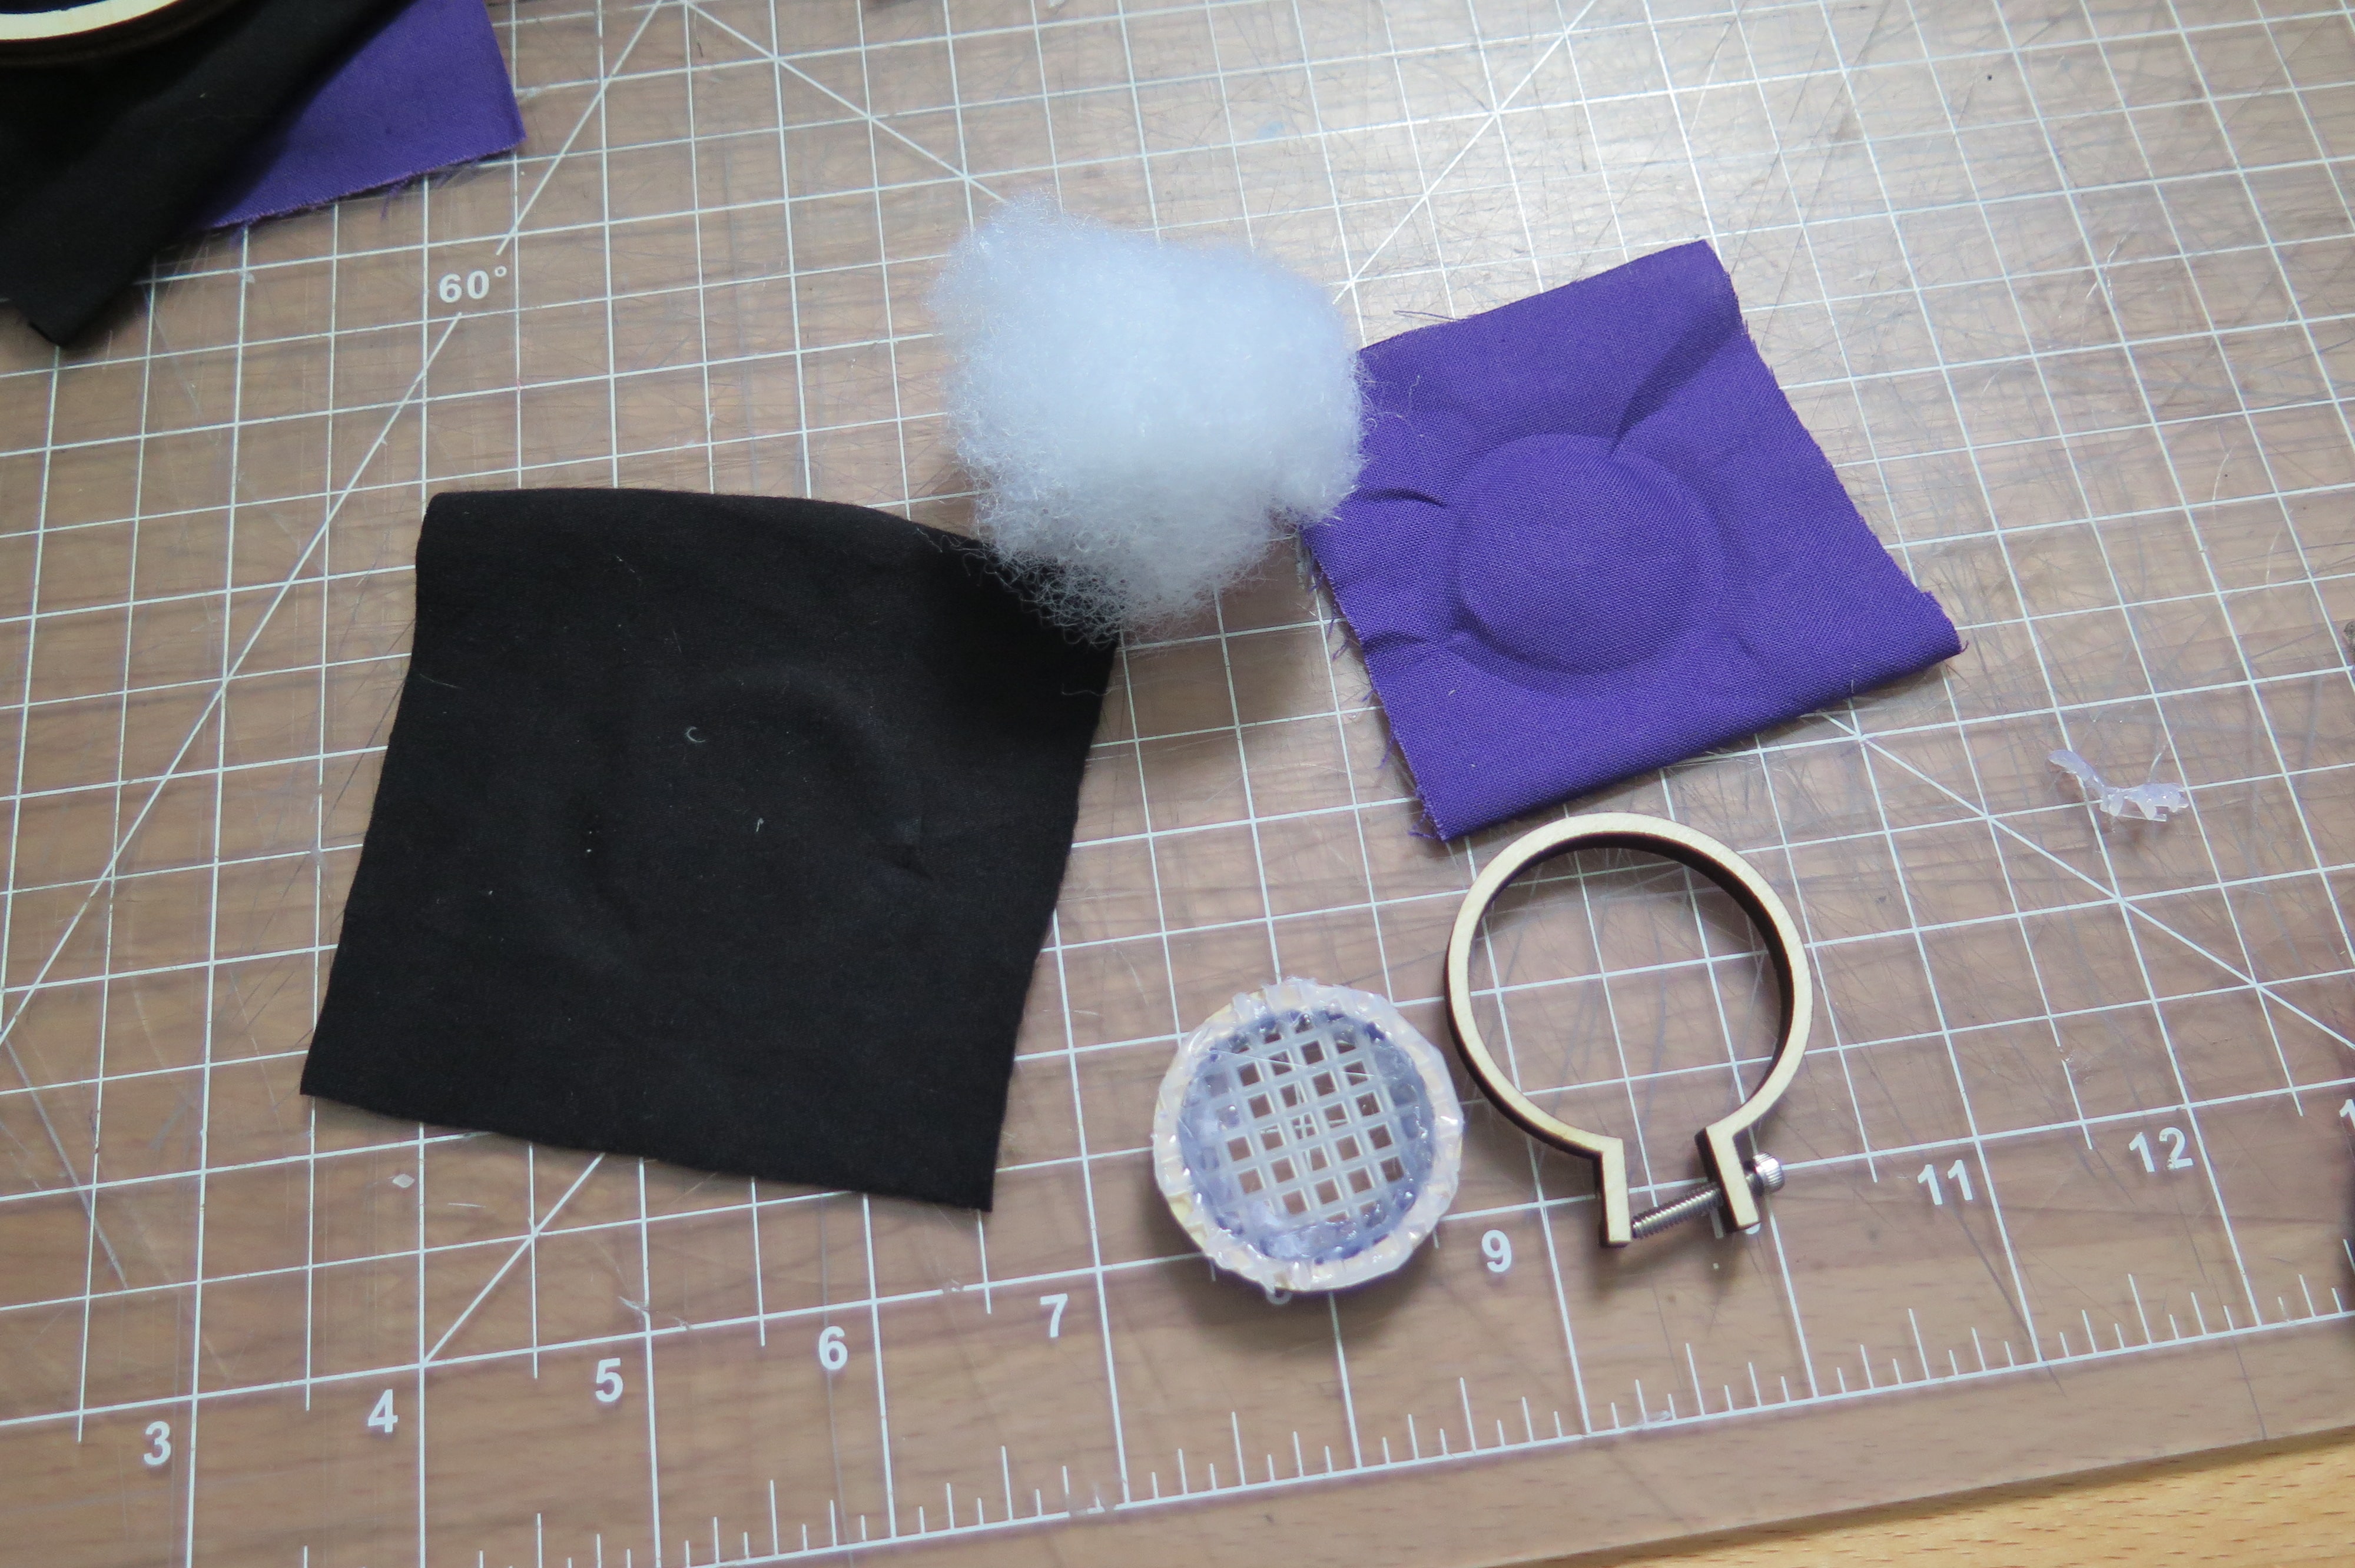
Step 3. Hot Glue Base into Inner Hoop
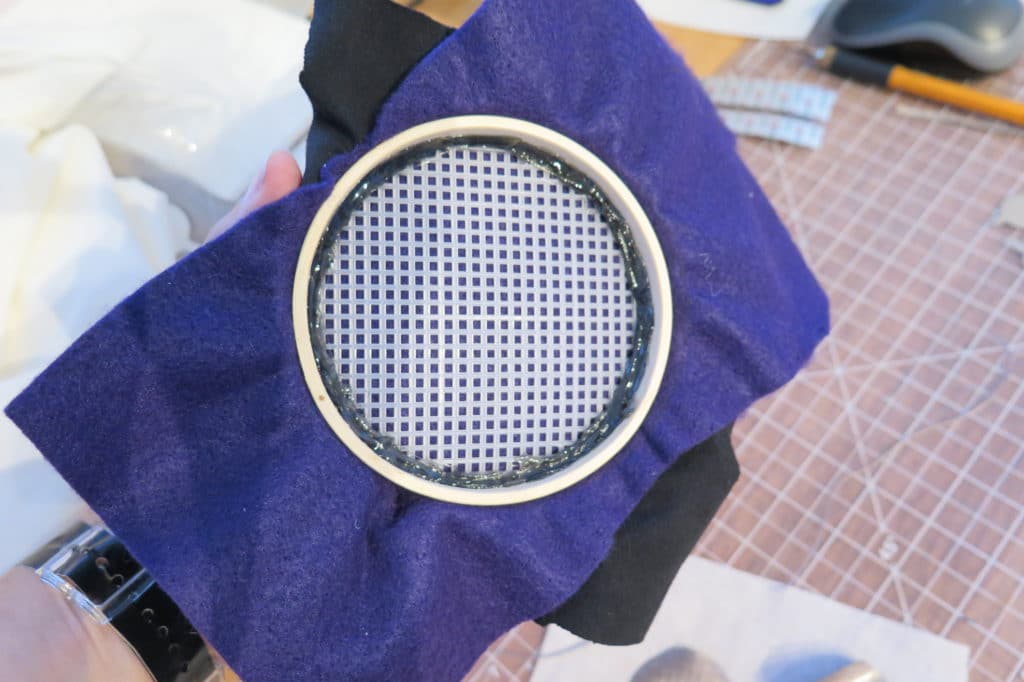
The inner hoop becomes the bottom of the switch. For the stuffing to have something to sit and to add stiffness to press against there needs to be a semi-rigid base attached to the inner hoop. This rigidness can be achieved in several ways but I opted to use a wood frame with a plastic mesh because I realized that the mesh was needed afterward but then later liked how light the plastic was and how tall the wood frame was. Another way it could be done which would eliminate this step altogether would be to cut the inner hoop as a solid and not a frame. However, I feel the wood to be much heavier and clunkier. Perhaps a semi-rigid plastic that is in between thicknesses of the wood and mesh would be ideal.
Step 4. Assemble
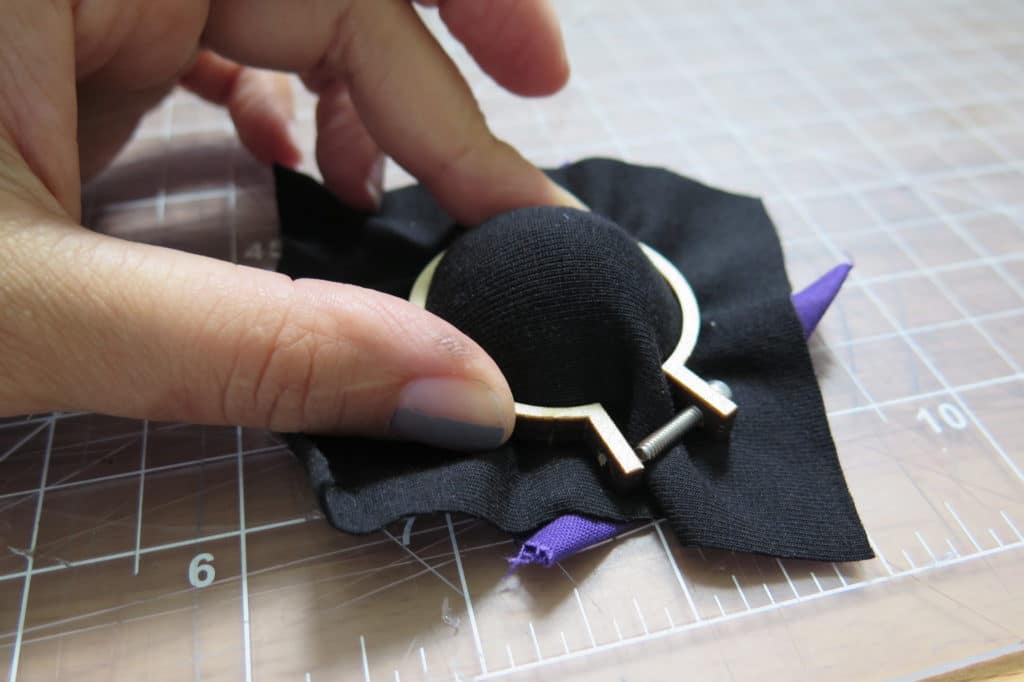
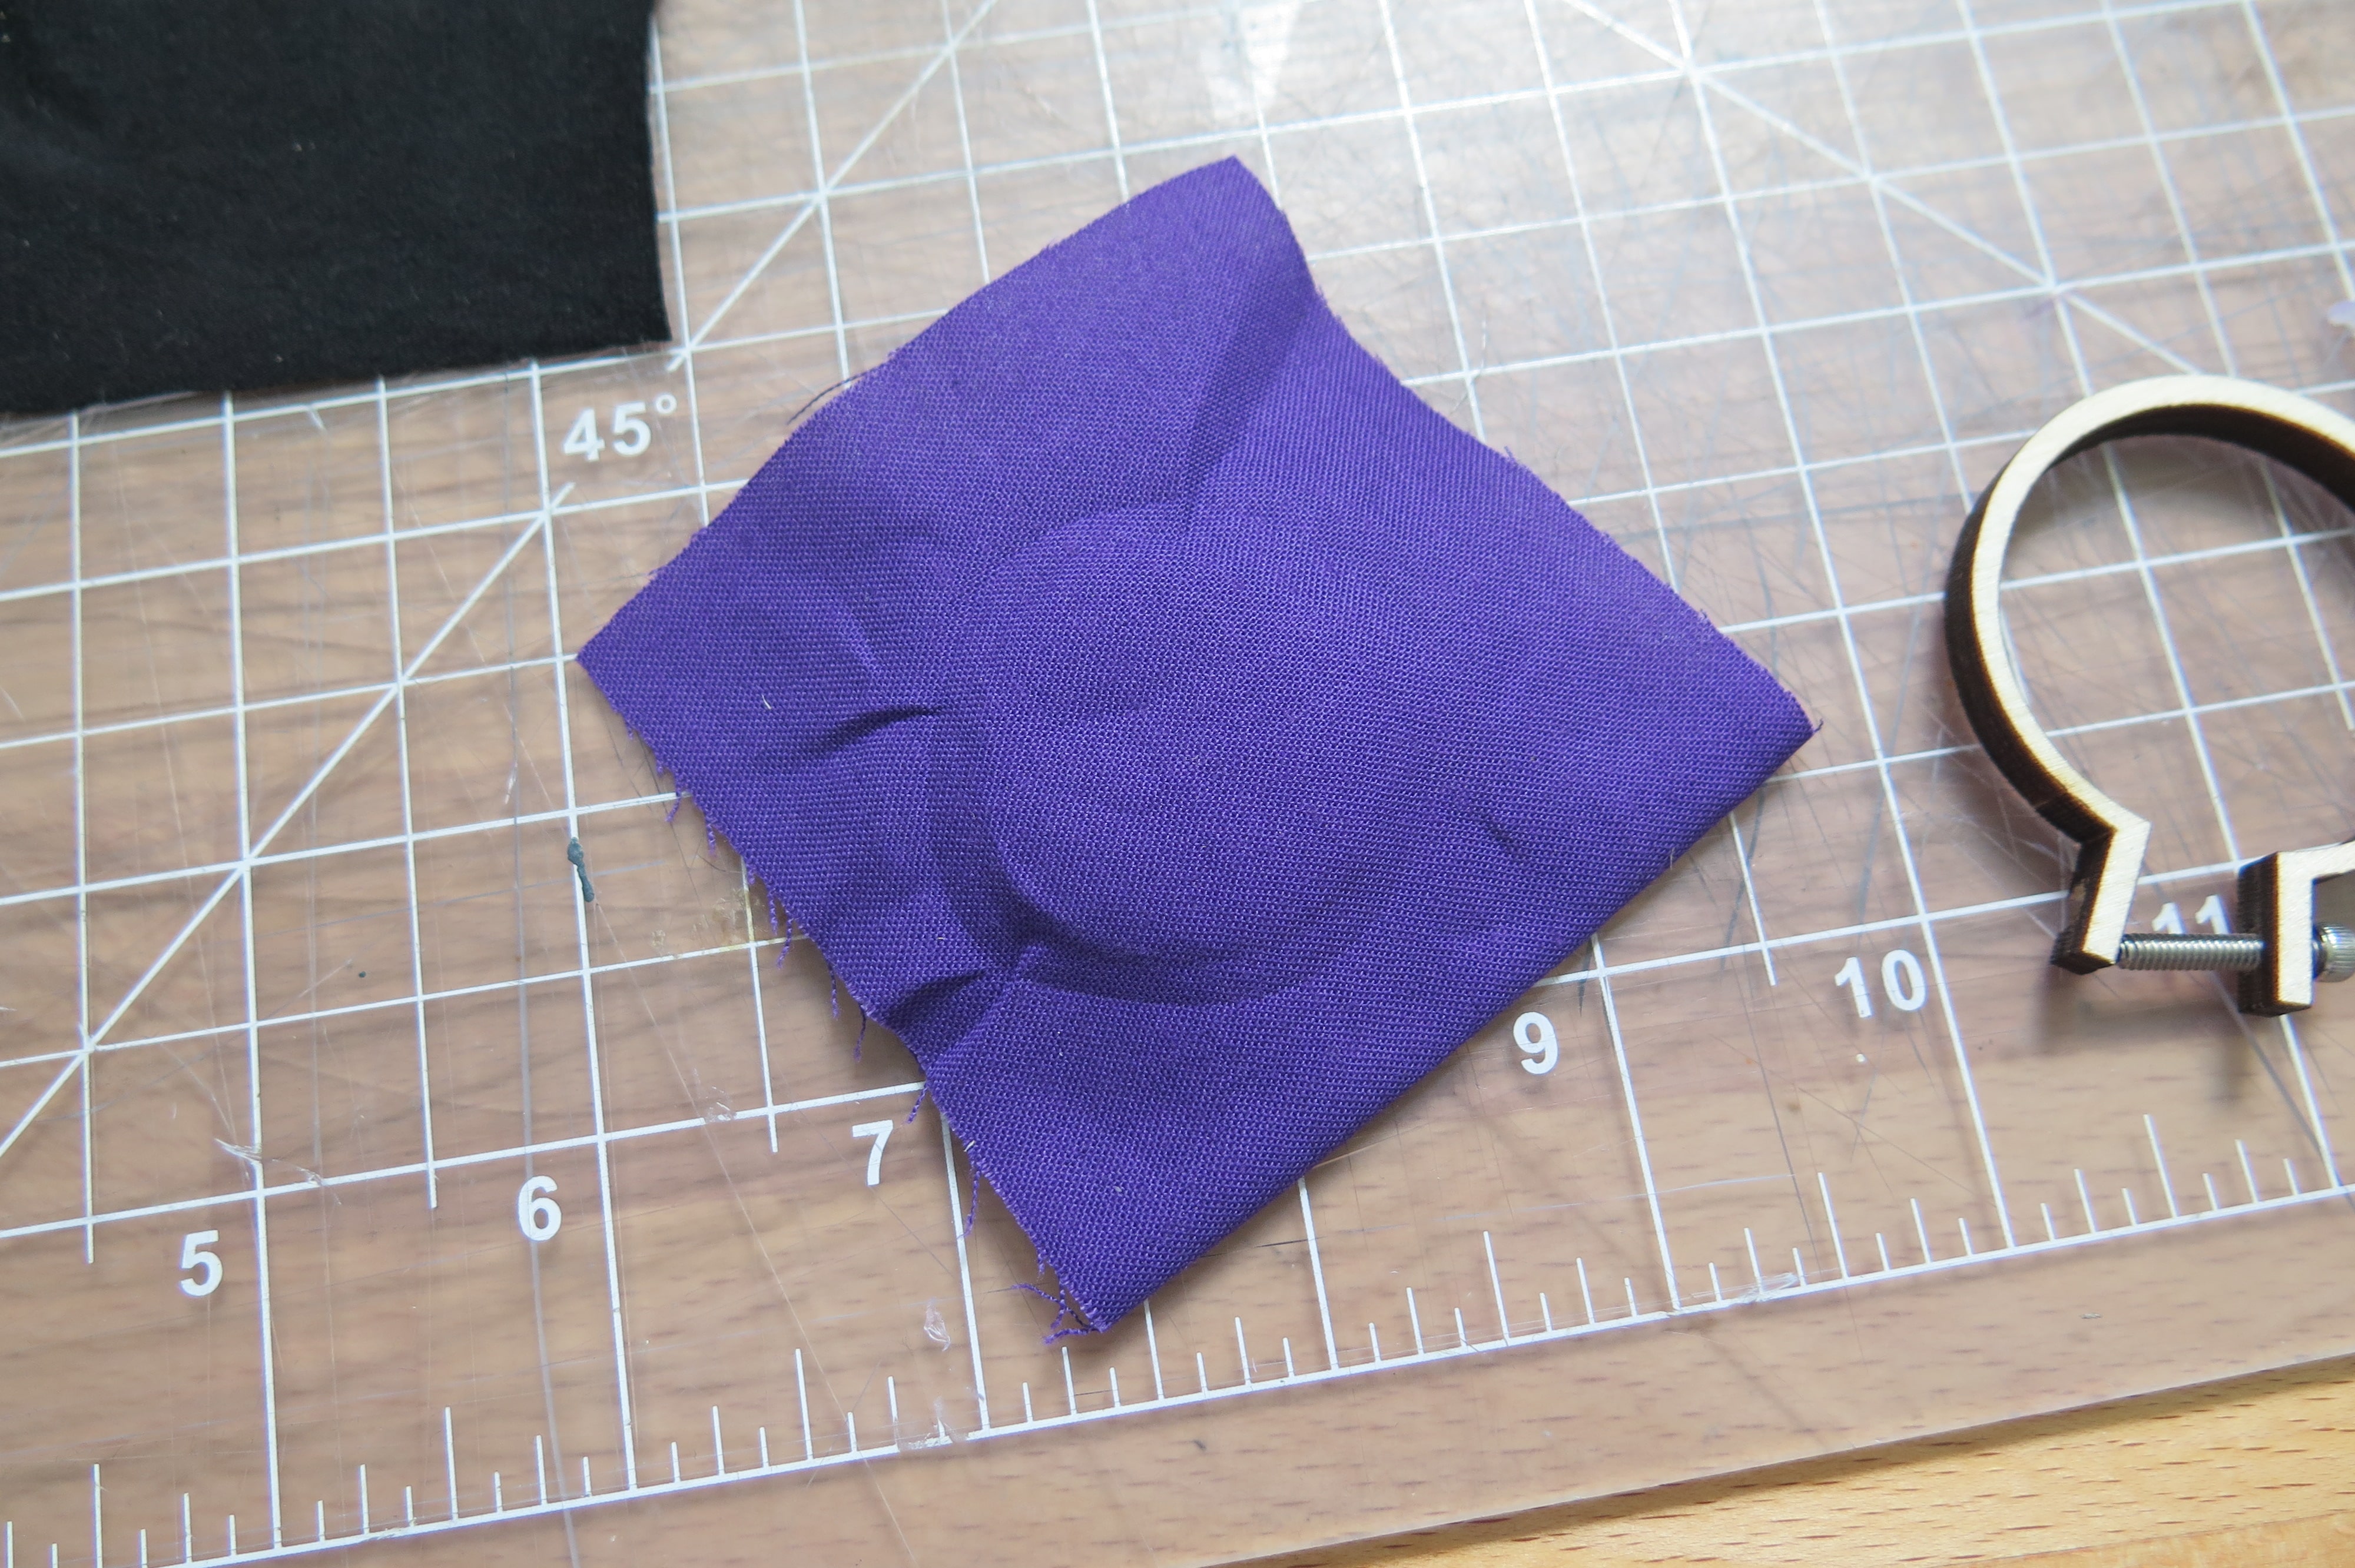
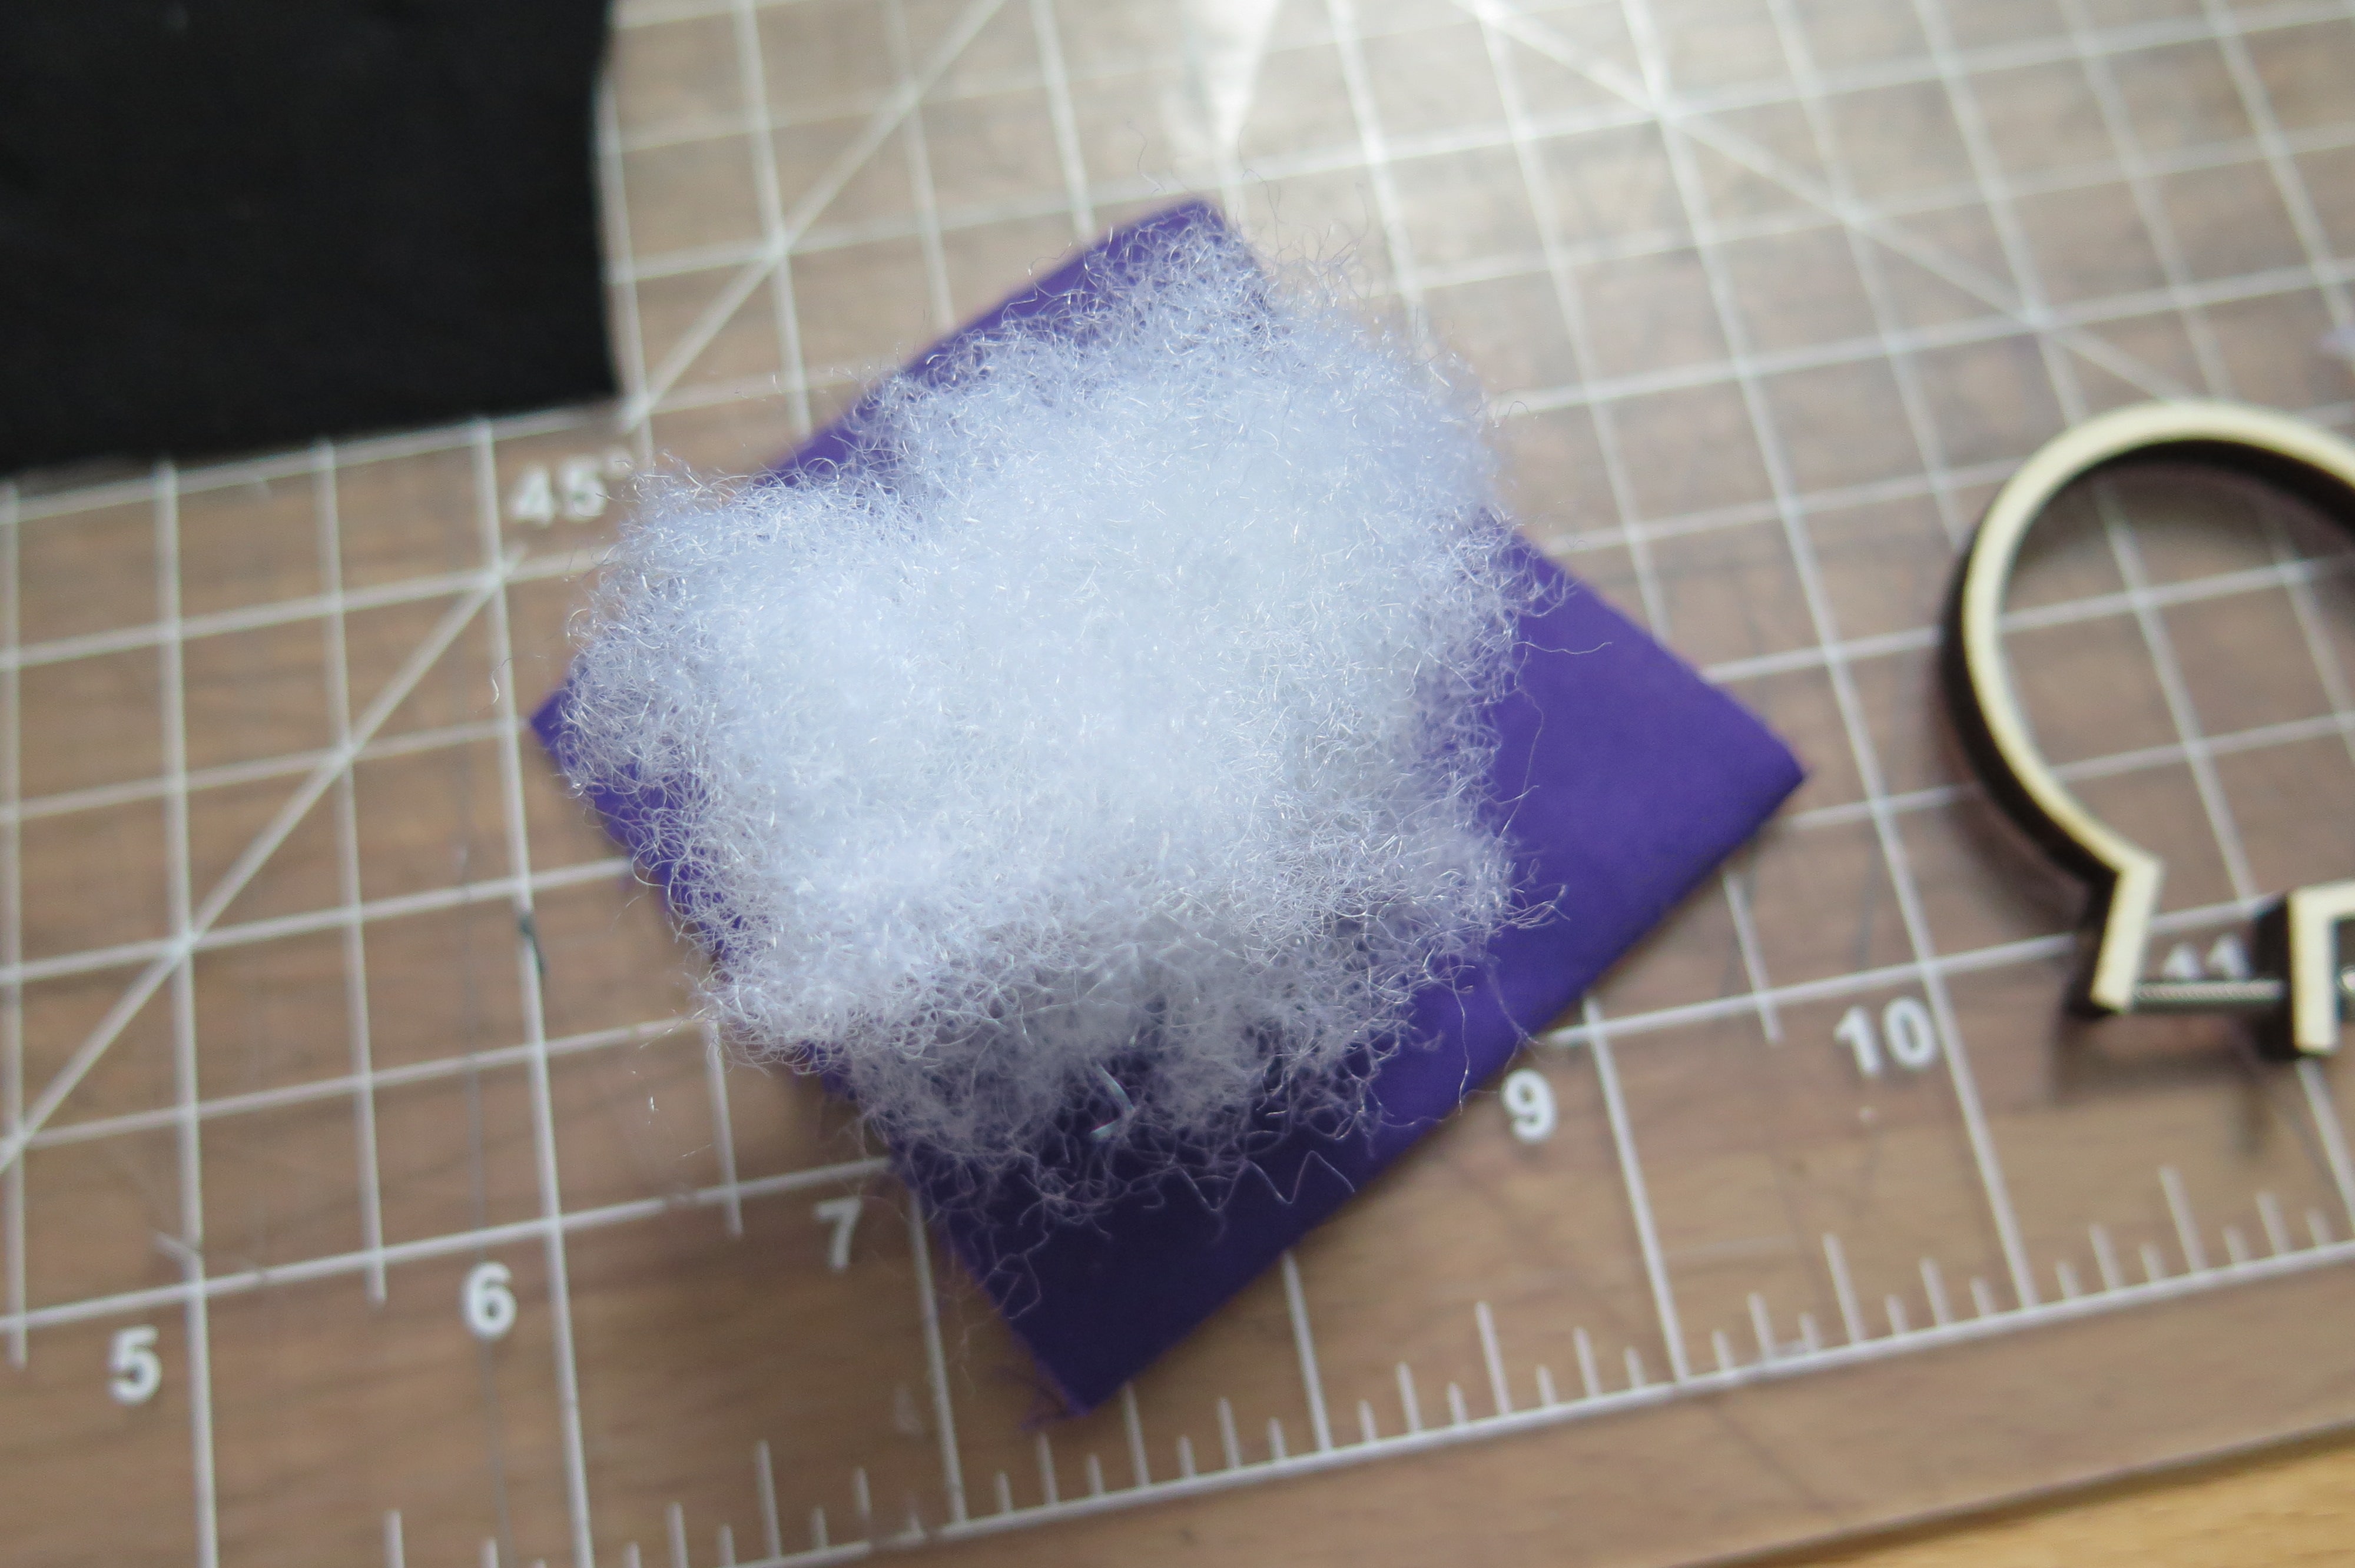
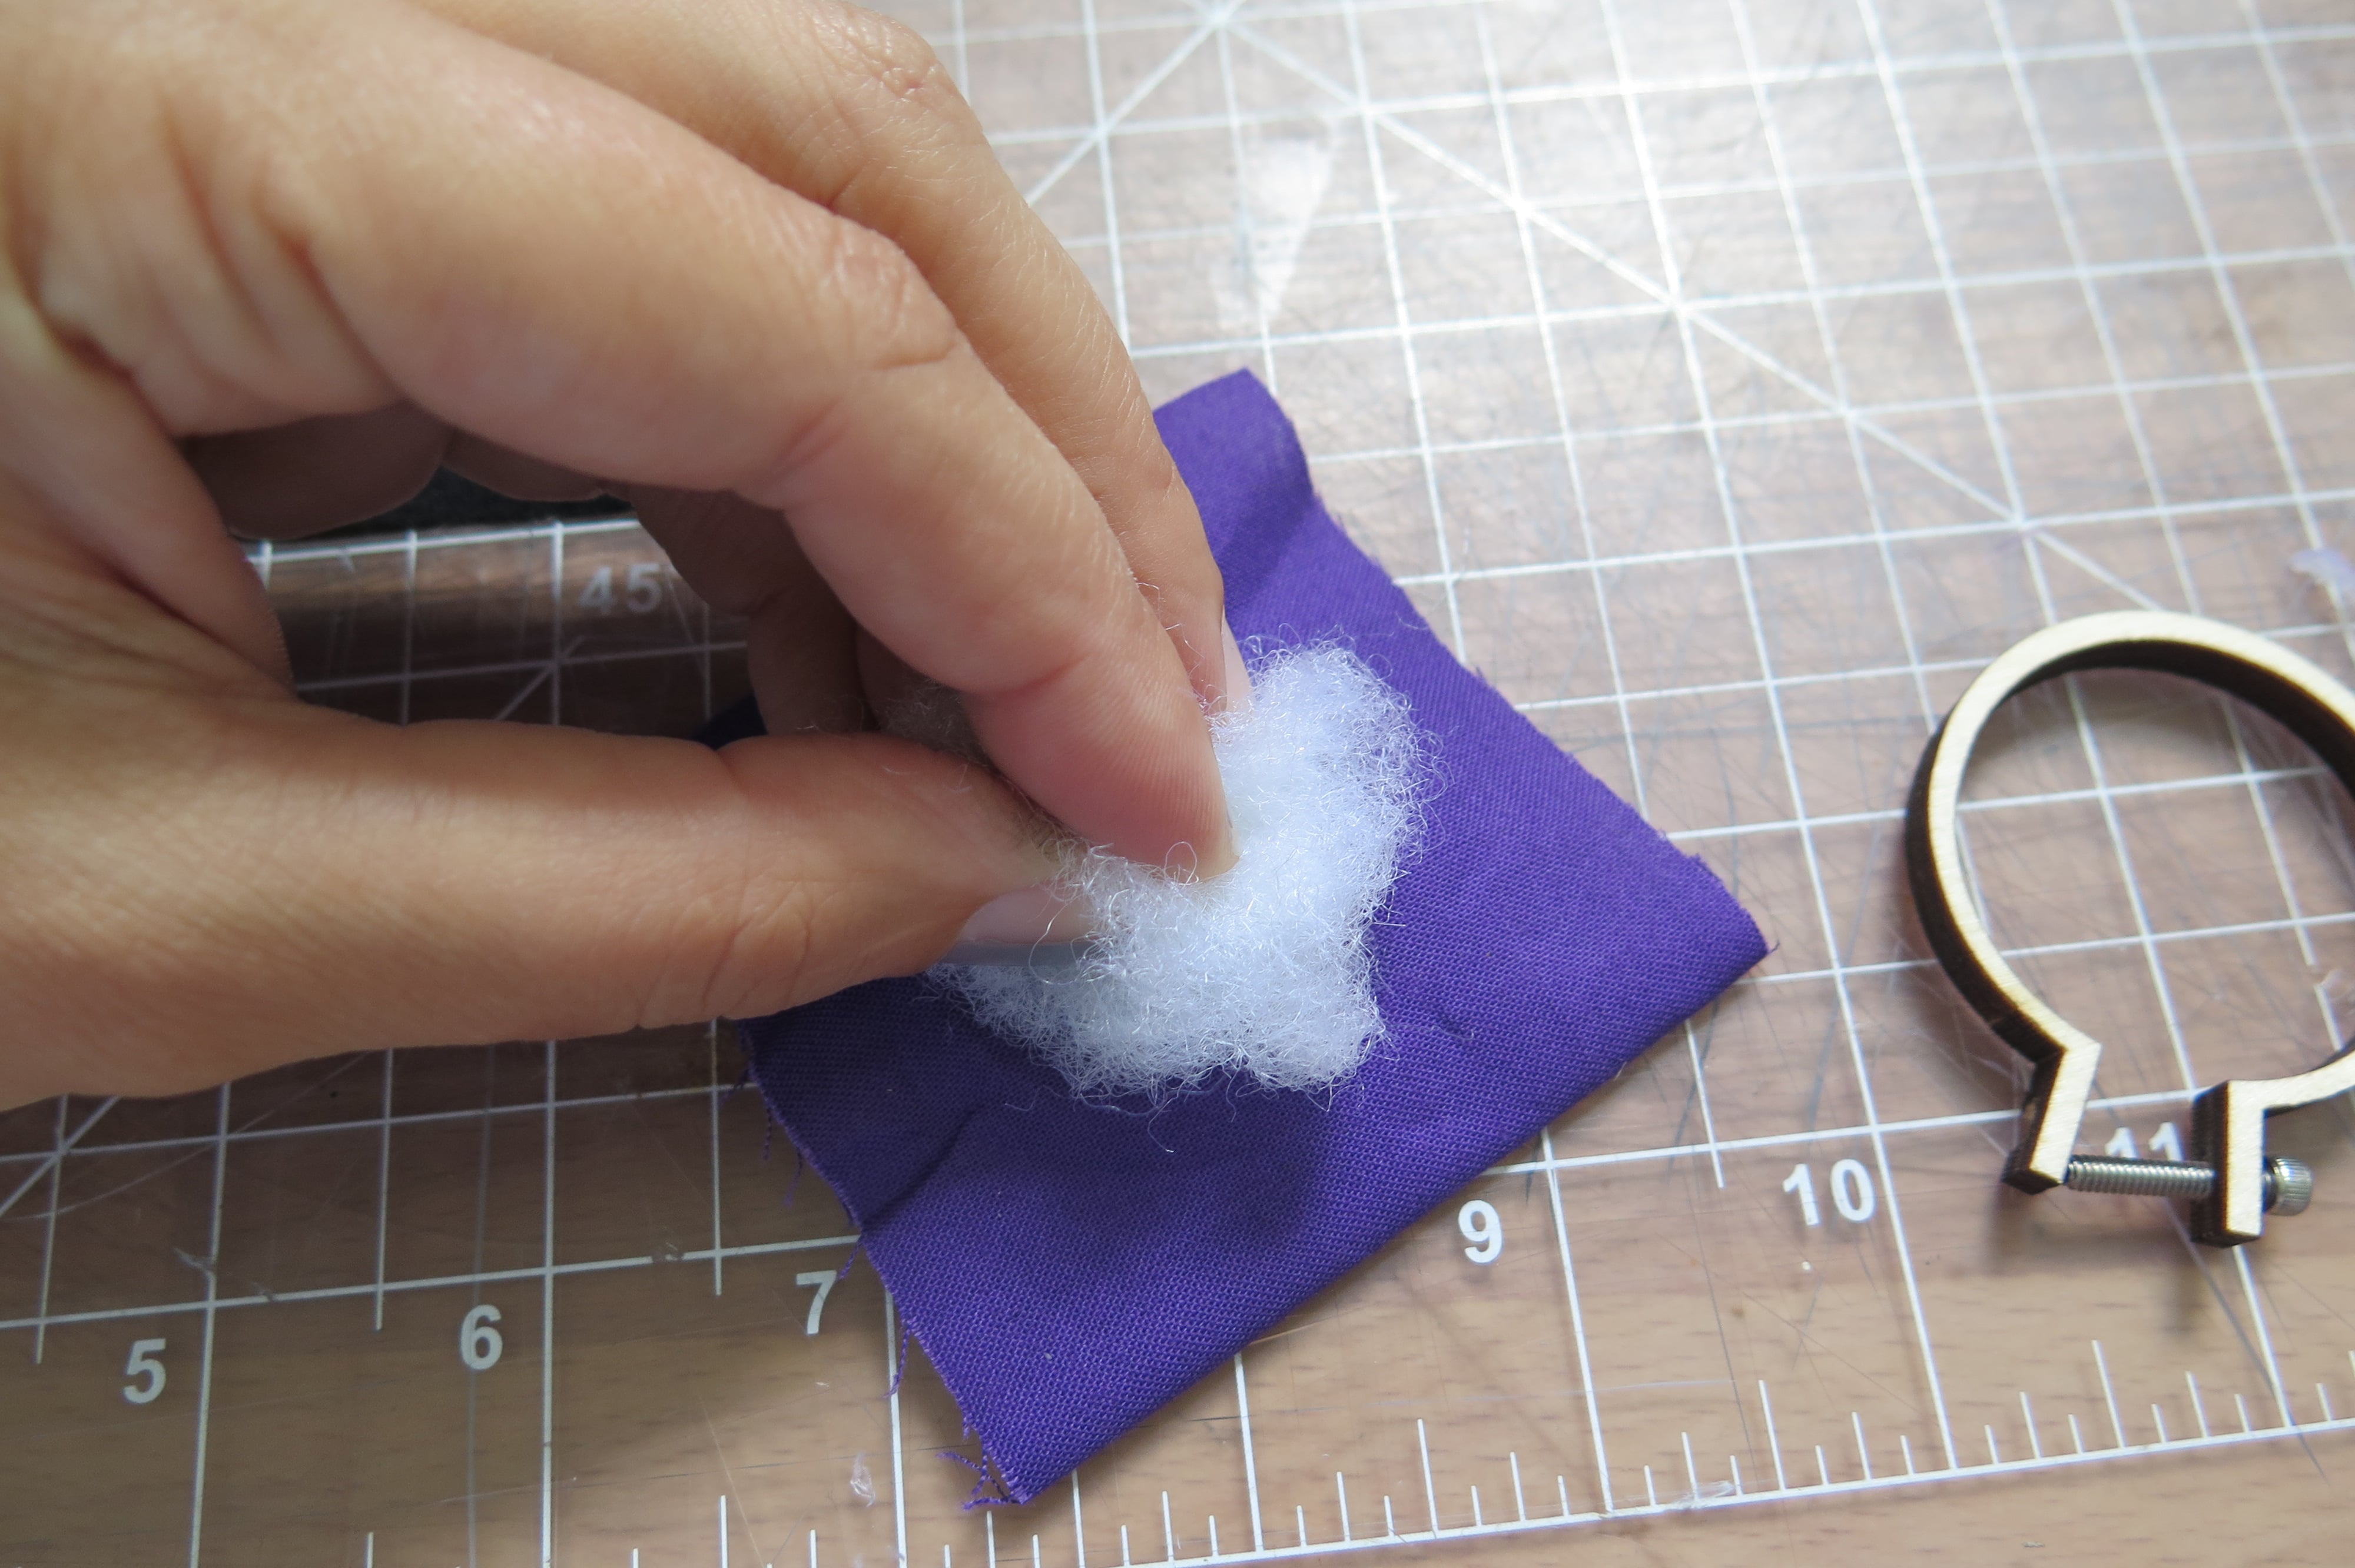
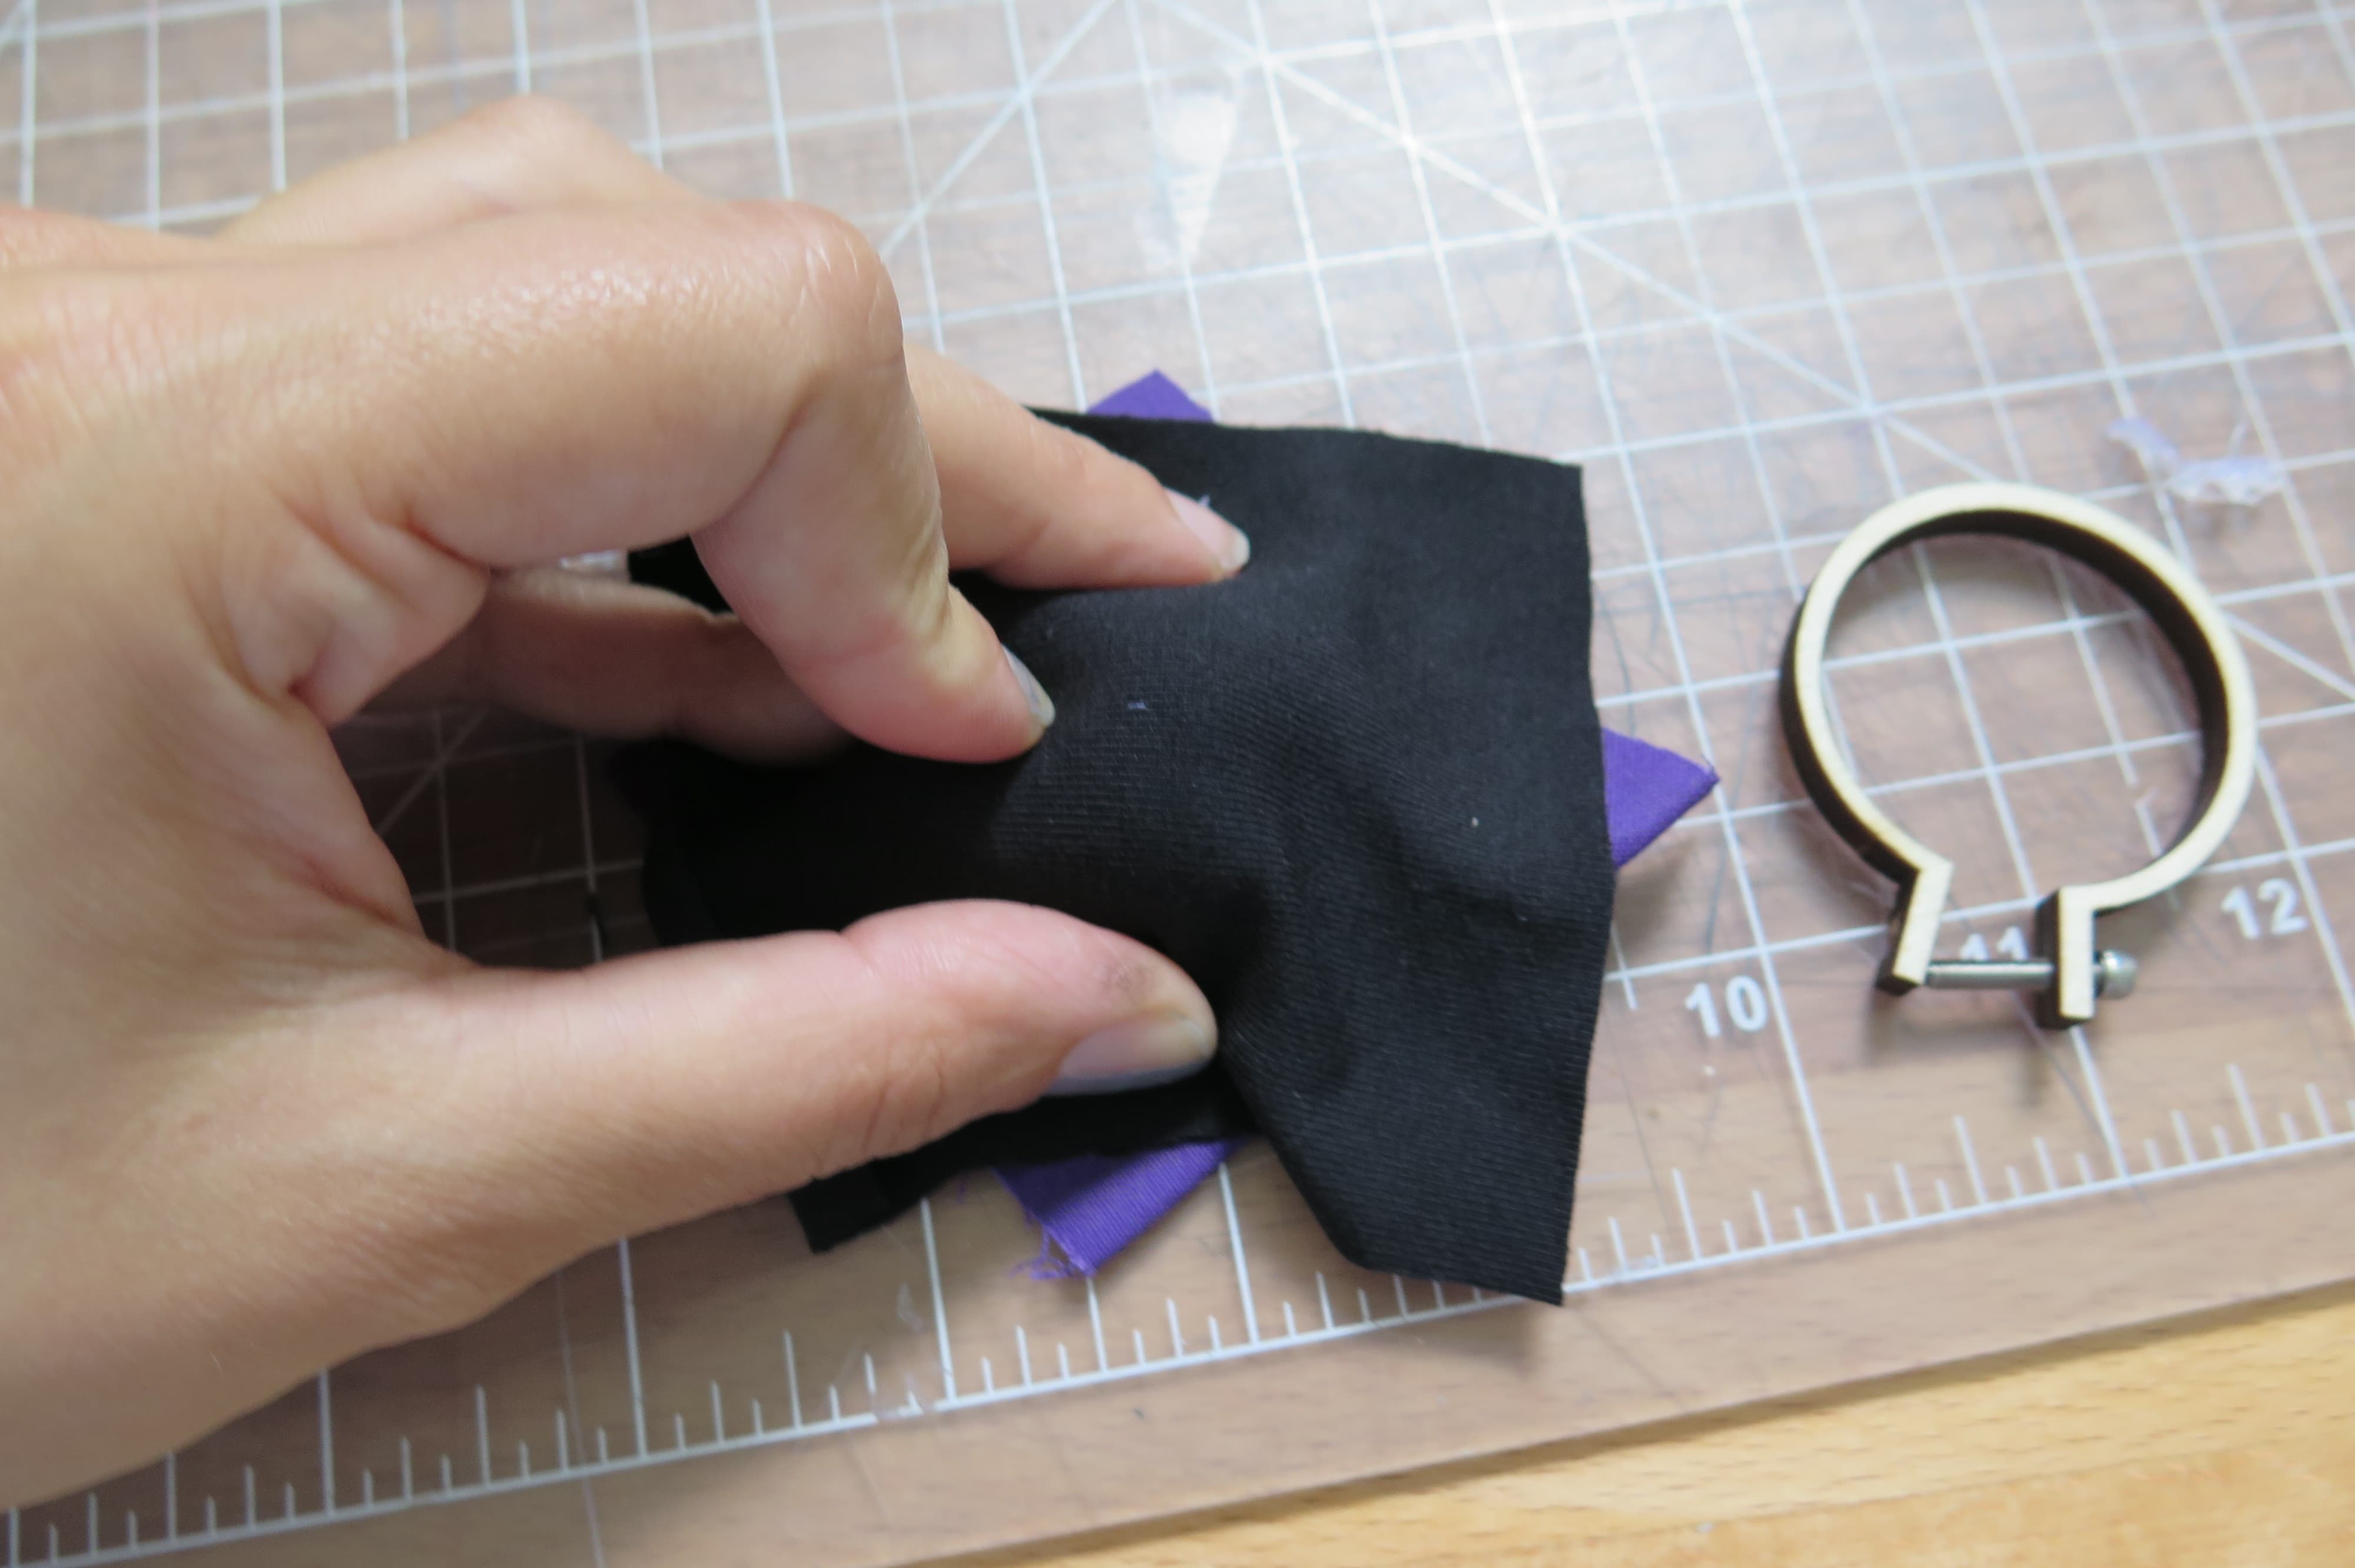

The inner hoop becomes the bottom of the switch. For the stuffing to have something to sit and to add stiffness to press against there needs to be a semi-rigid base attached to the inner hoop. This rigidness can be achieved in several ways but I opted to use a wood frame with a plastic mesh because I realized that the mesh was needed afterward but then later liked how light the plastic was and how tall the wood frame was. Another way it could be done which would eliminate this step altogether would be to cut the inner hoop as a solid and not a frame. However, I feel the wood to be much heavier and clunkier. Perhaps a semi-rigid plastic that is in between thicknesses of the wood and mesh would be ideal.